Departments
Departments allows you to create and manage multiple divisions within your organization. Departments can be classified based on your customer's organization, product, geographic location or workgroup. Each department can have its own set of technicians, email templates, email configuration, and contacts.
Adding a department
Adding a technician
Customizing the department
Enabling/Disabling the department
Adding a department
Adding a department
Go to Settings > Organization > Departments.
Click on Add department.

Provide the department name, display name and a brief description about the department.
Click on Add technician to add technicians to the department. Add at least one technician and click DONE.
Click CONFIGURE to configure the department.

Note : To switch departments, click on departments besidesplaced in the toolbar at the top and select the preferred department using their display name.
Adding a technician
Go to Settings > Organization > Departments .
Click on CONFIGURE given beside the department to be configured.

Select Technicians.
Click ADD TECHNICIAN and select the check box besides the technician to be added.

To remove technician click on
besides the technician.

Unattended access group permissions given to the technician can be altered under Groups.
Note : On downgrading your plan, the created departments will be disabled. They can be enabled again by upgrading to Enterprise Edition.
Customizing the department
Go to Settings > Organization > Departments .
Click on CONFIGURE given beside the department to be configured.
Select Email Templates to customize email templates.
Select Email Configuration to configure your emails settings.
Select Contacts to import contacts from Google or from your computer.

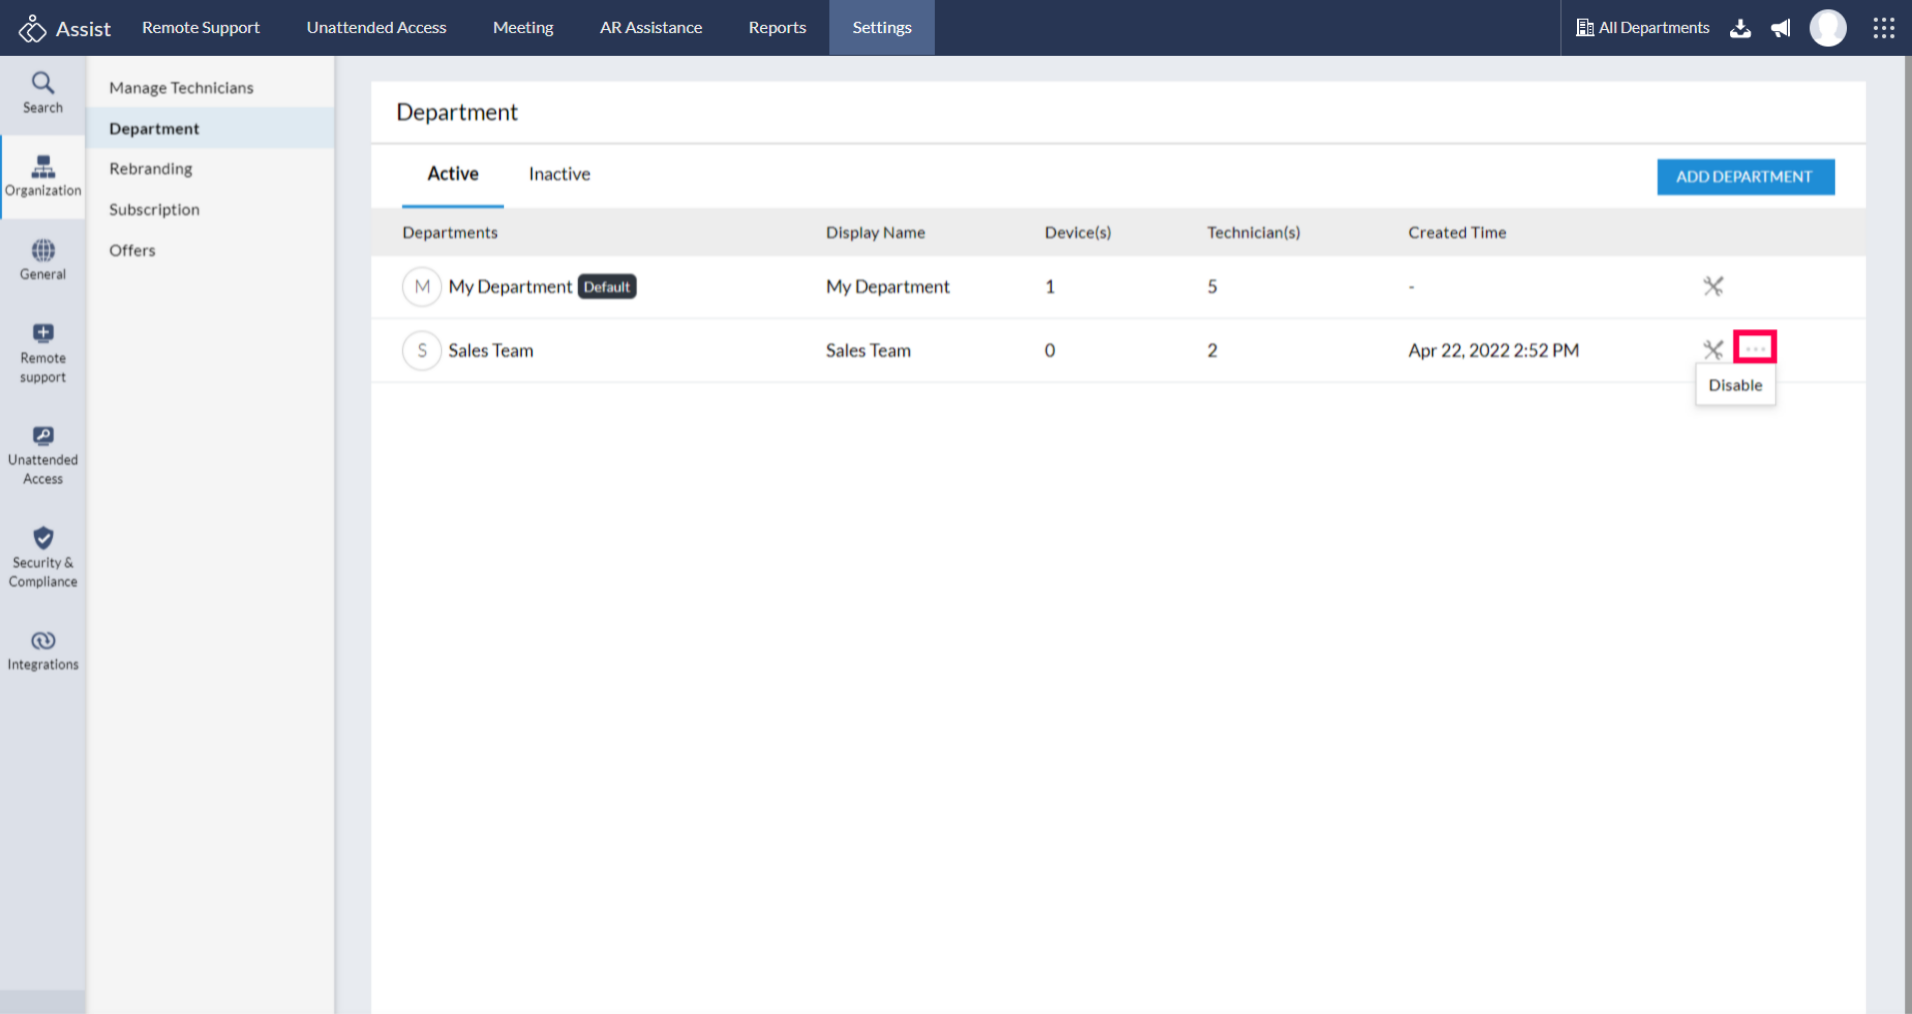
Enabling/disabling the department
Go to Settings > Organization > Departments.
Choose either Active or Inactive and click on
given beside the department to disable or enable the department.
Note: Once a department is added, it cannot be deleted. It can only be disabled.


