


Zendesk
Integration of Zendesk with Zoho Assist enables you to initiate remote support and screen sharing sessions directly from Zendesk support tickets. Resolve every ticket and enhance your customer service by providing remote support to customers anywhere in the world.
This integration allows you to:
Remotely troubleshoot and resolve tickets.
Support for both Windows and macOS.
Access to a detailed report that includes session duration, start time, end time, and session notes.
Update ticket status at the end of remote sessions.
To Configure Zendesk in Zoho Assist
Go to zoho.com/assist and log in using your Zoho Assist credentials.
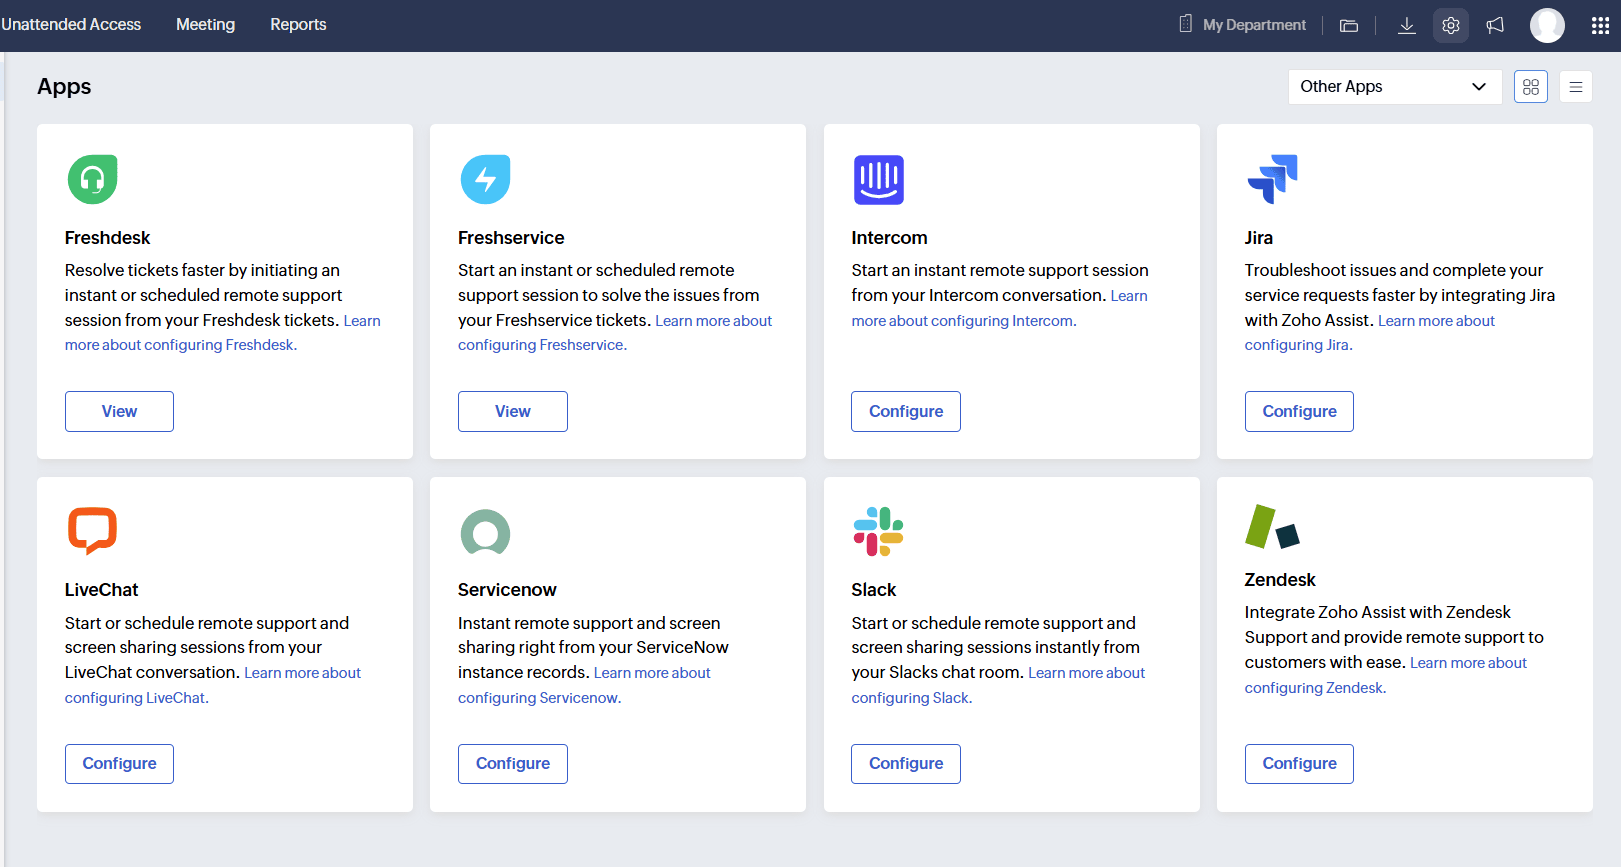
Navigate to Settings > Integrations > Apps.
Under Zendesk, click Configure.
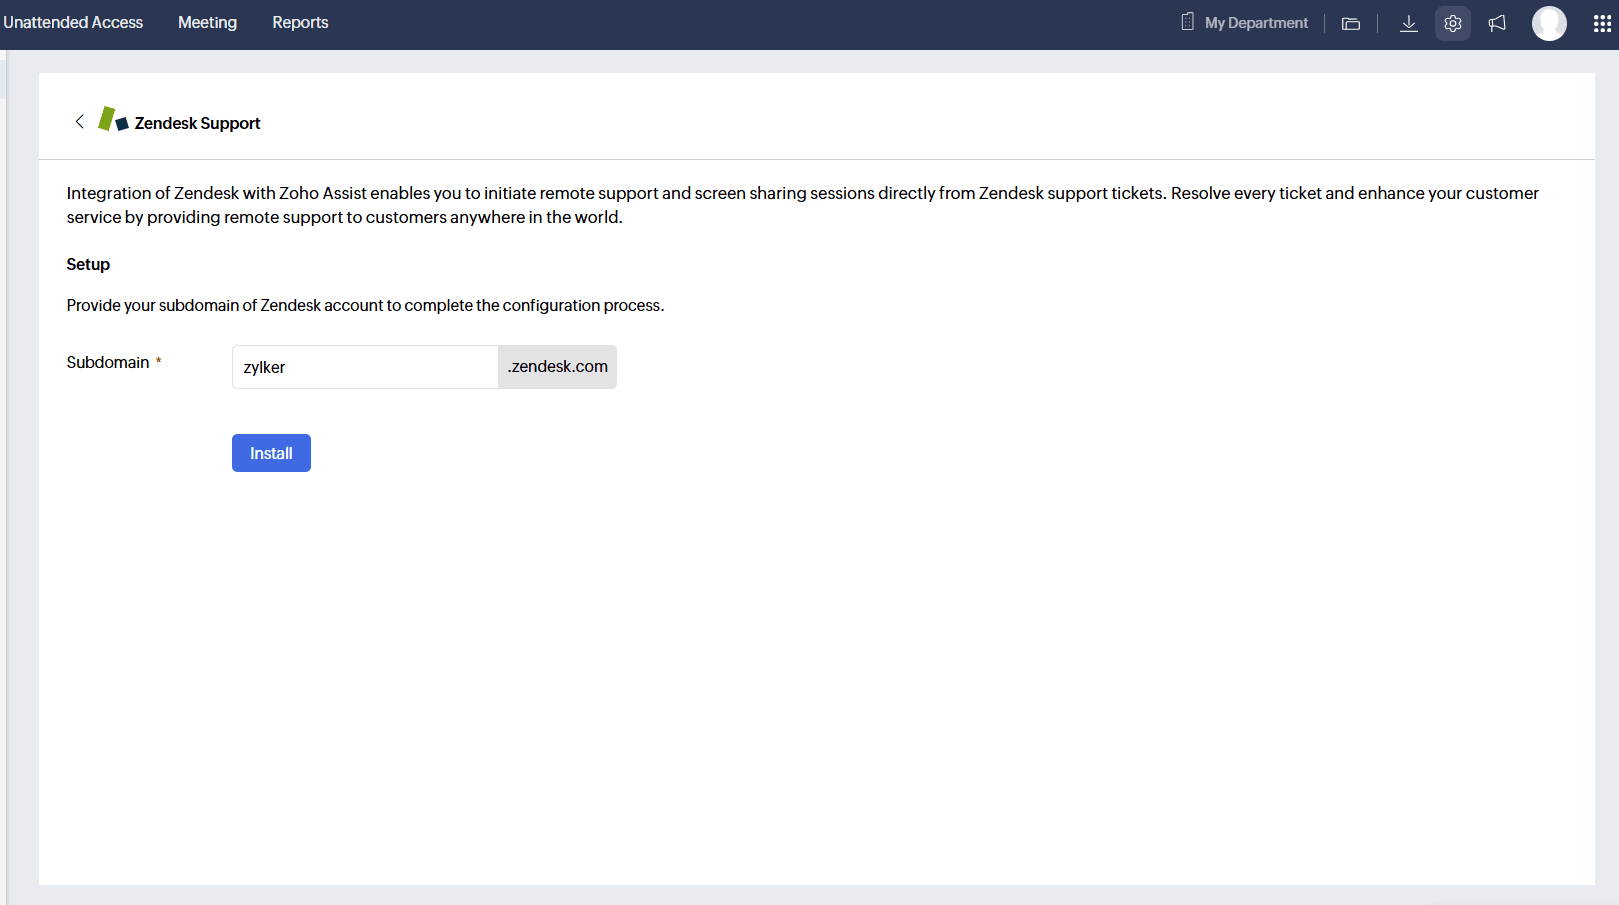
Enter your Zendesk sub-domain and click Install.
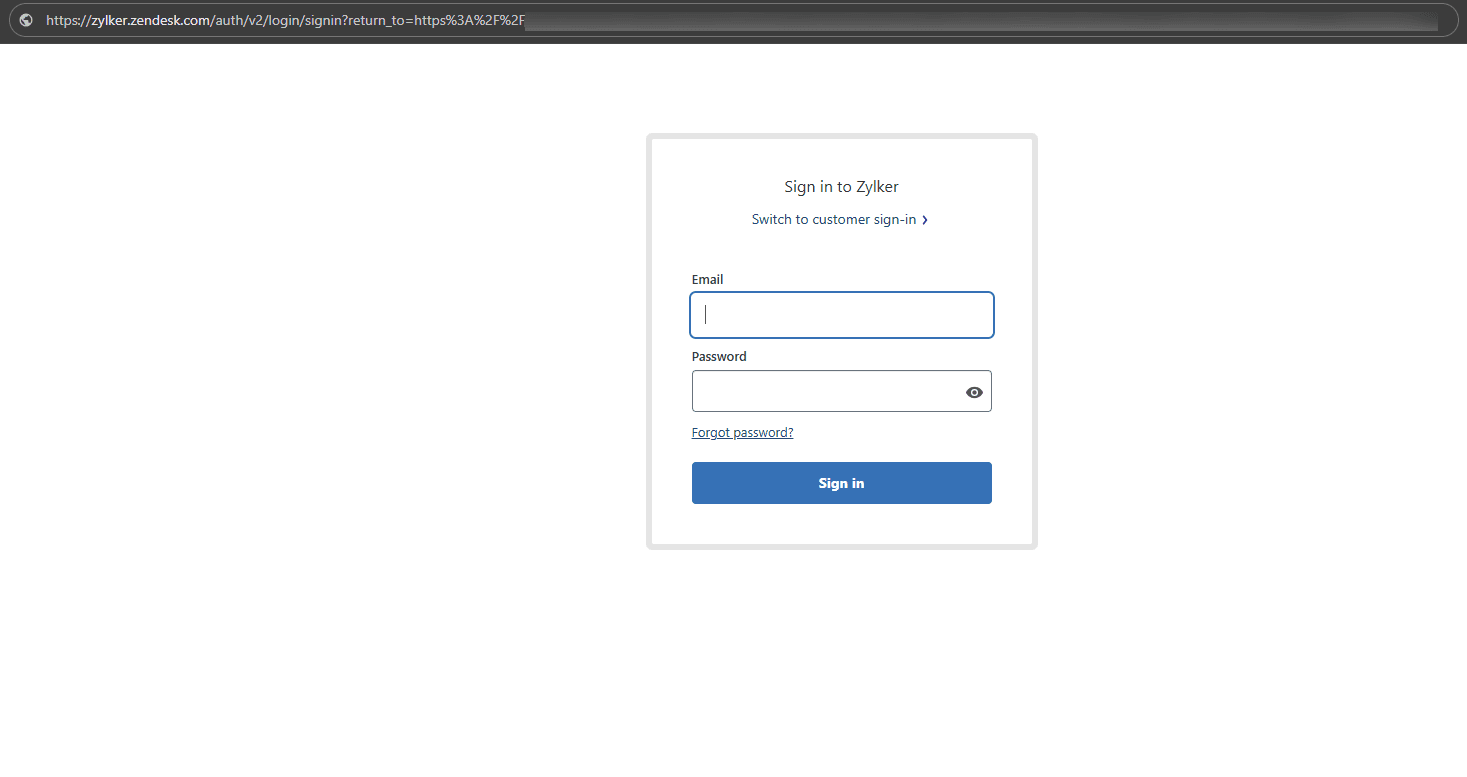
Enter your Zendesk credentials and click Sign In.
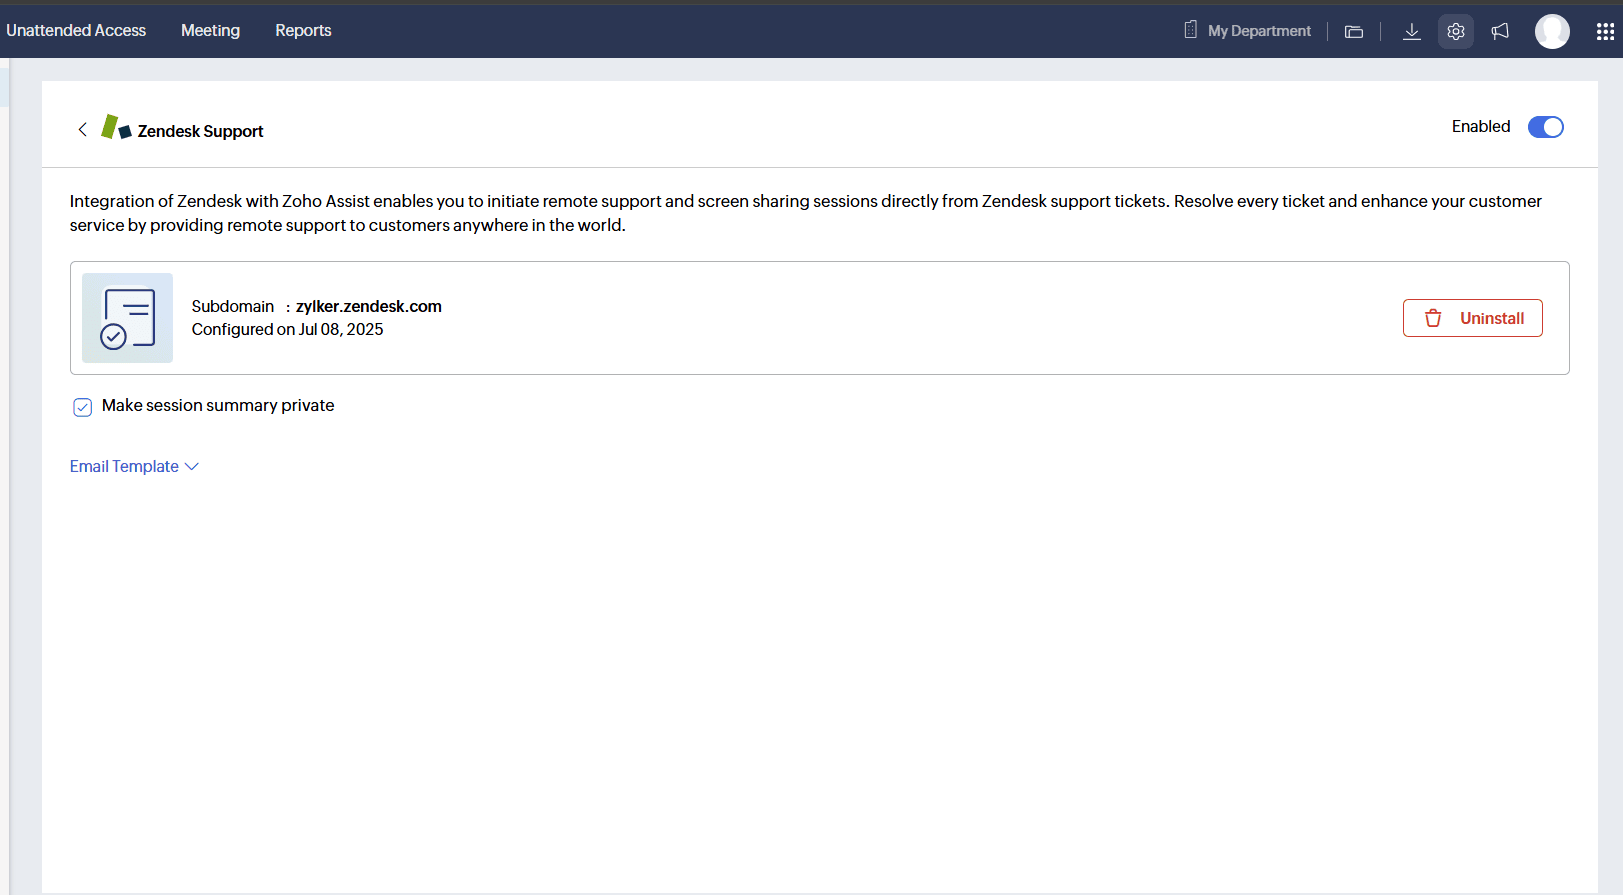
Once signed in, the Zendesk app integration will be enabled.


To install Zoho Assist from Zendesk Market place
Visit the Zendesk portal and log in with your credentials.
Open a ticket to be resolved in Zendesk and click Explore Zendesk Marketplace from the right-side app pane.
Search for Zoho Assist – Remote Support App and click Install (if not installed).
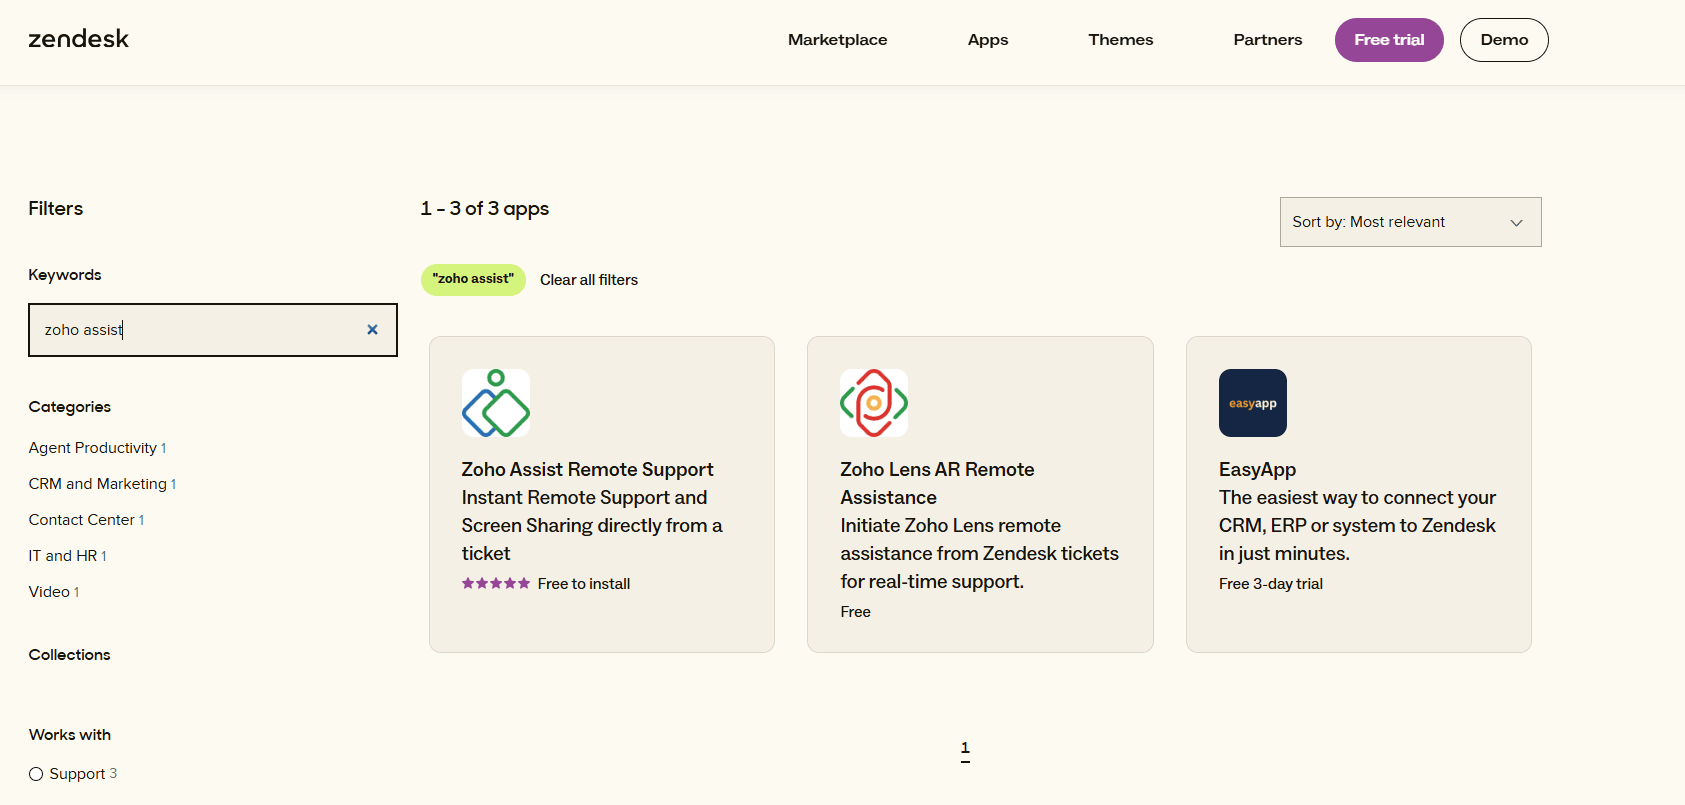
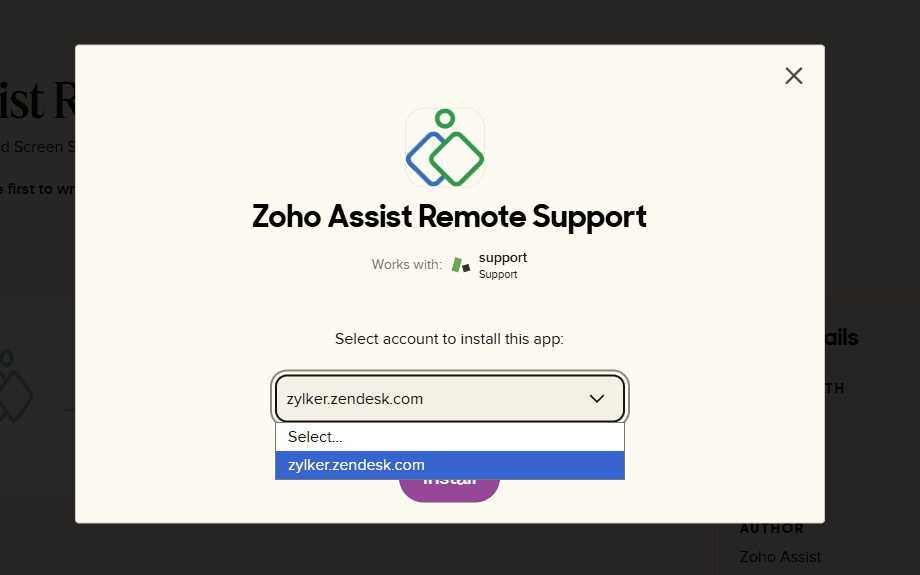
Select your Zendesk account, and click install.
Go to Apps and Integrations > Zendesk Support Apps.
Choose your Zoho data center and click Install.

After installation, Zoho Assist will be listed under Currently Installed Apps in Zendesk. You can also verify the installed app by visiting the Assist Settings > Integrations page.
Navigate to a Zendesk ticket and click the refresh icon in the top-right of the app pane.
Click Login under Zoho Assist:
Existing users can sign in using their Zoho Assist credentials.
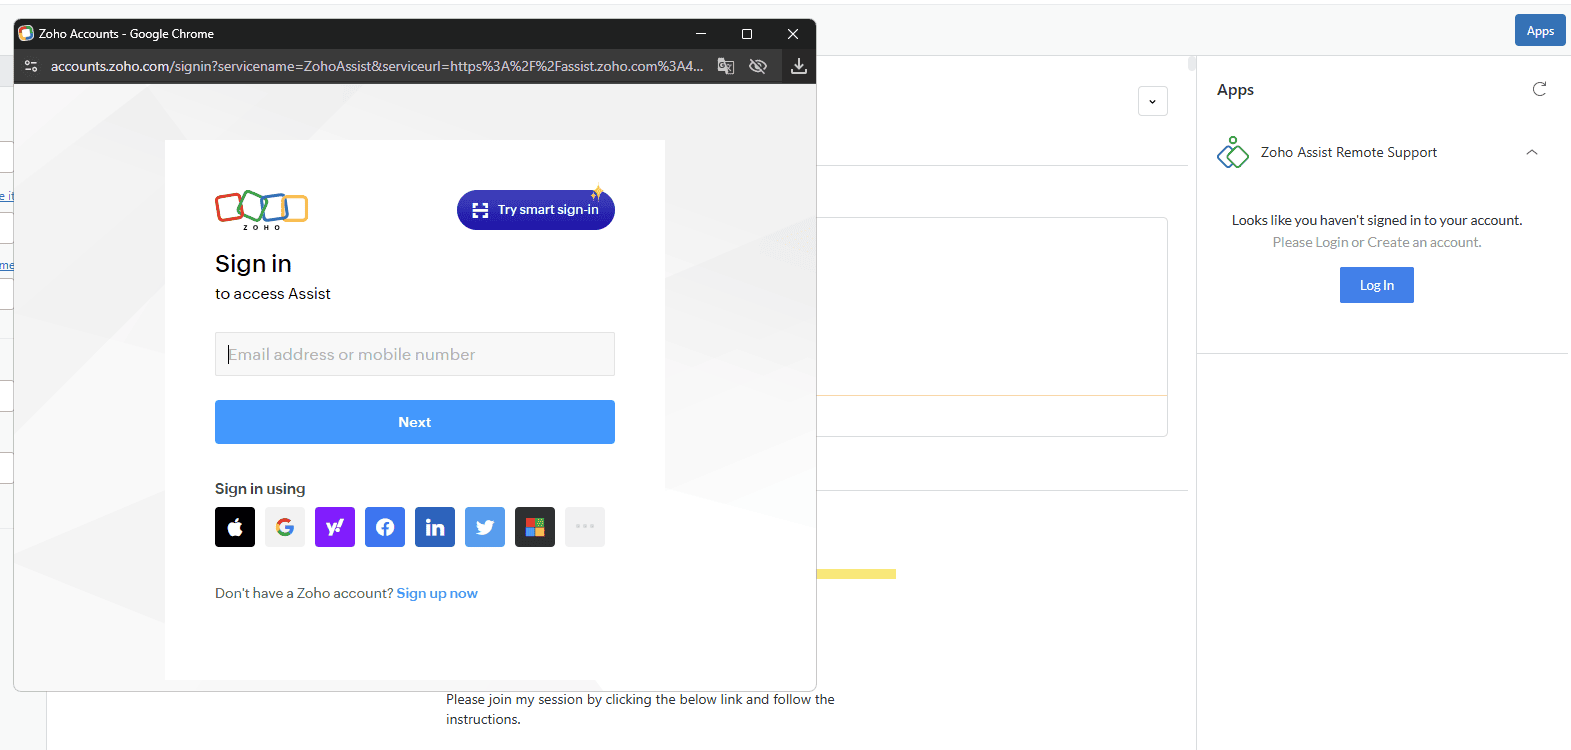
New users can click Sign up now and fill in name, mobile number, email, and password.
Accept the terms and click Sign Up.
Complete the sign-up verification process, if prompted.


To start a remote session
Once configured and installed,
Go to the ticket view and click Start Session.
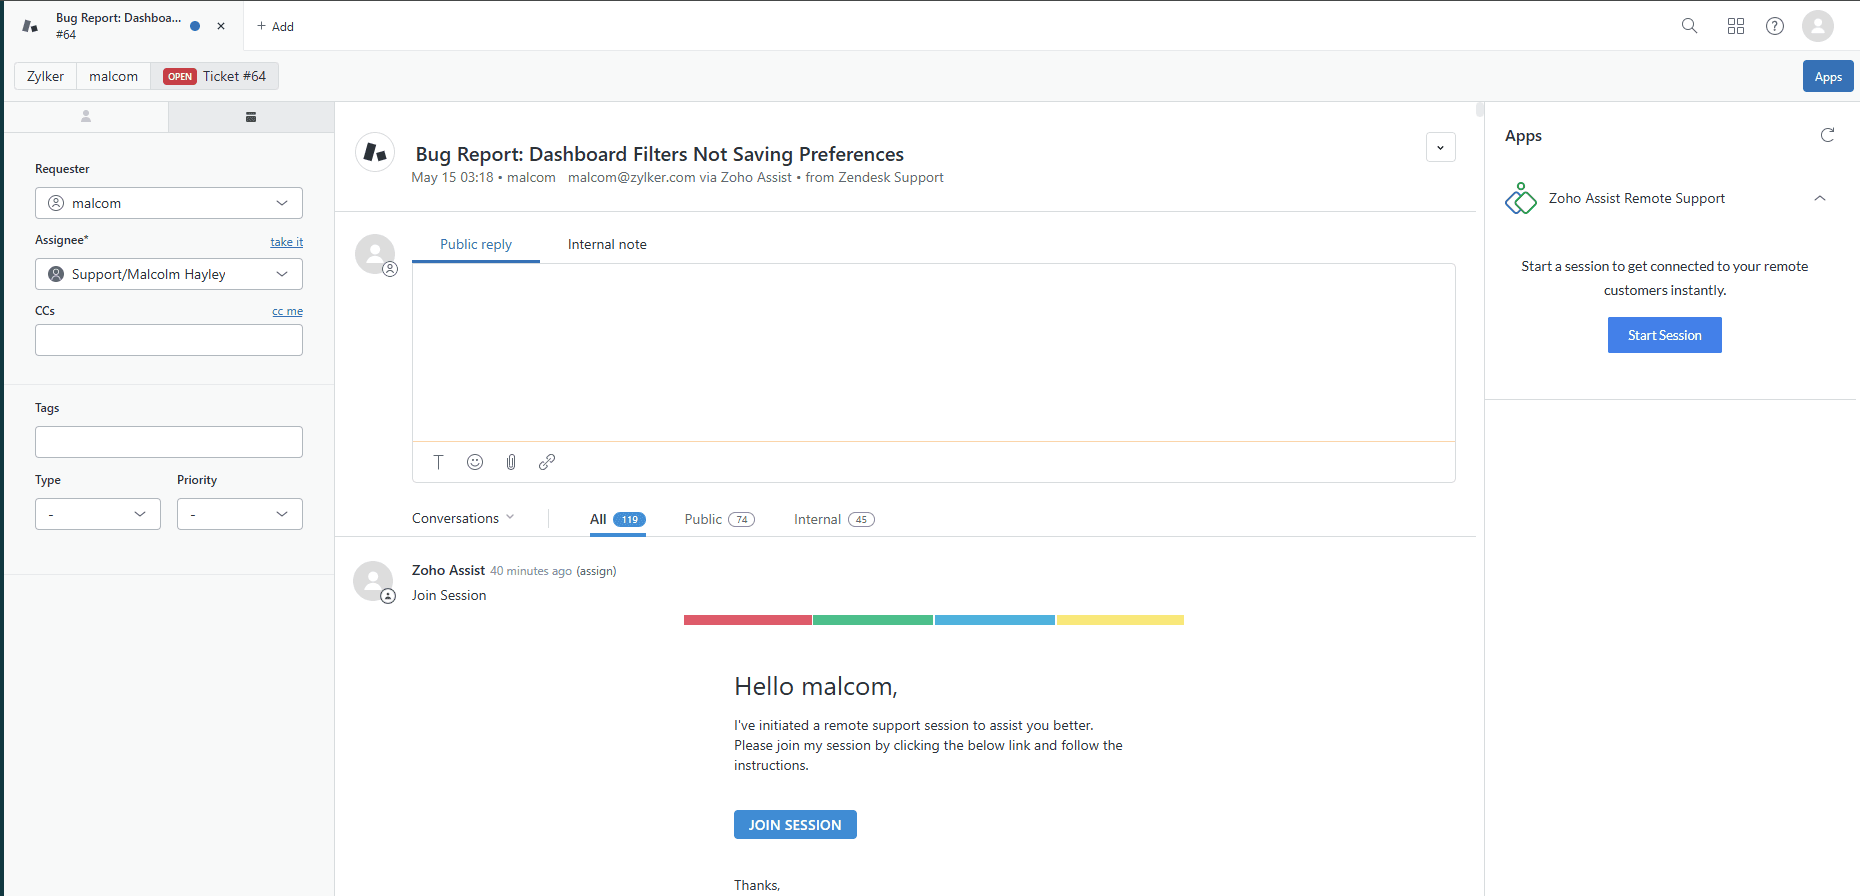
A new tab opens with a session ID and joining link.
Share the joining link with the customer to begin the remote session.
Once customer joins the session, you will be able to view the remote screen.


To update the ticket status after every session
Once you click End Session, a End Session Confirmation dialog will appear where you can select the ticket status from the dropdown menu.
You can add an internal session note or a public reply, then click Save & End Now to complete the process.
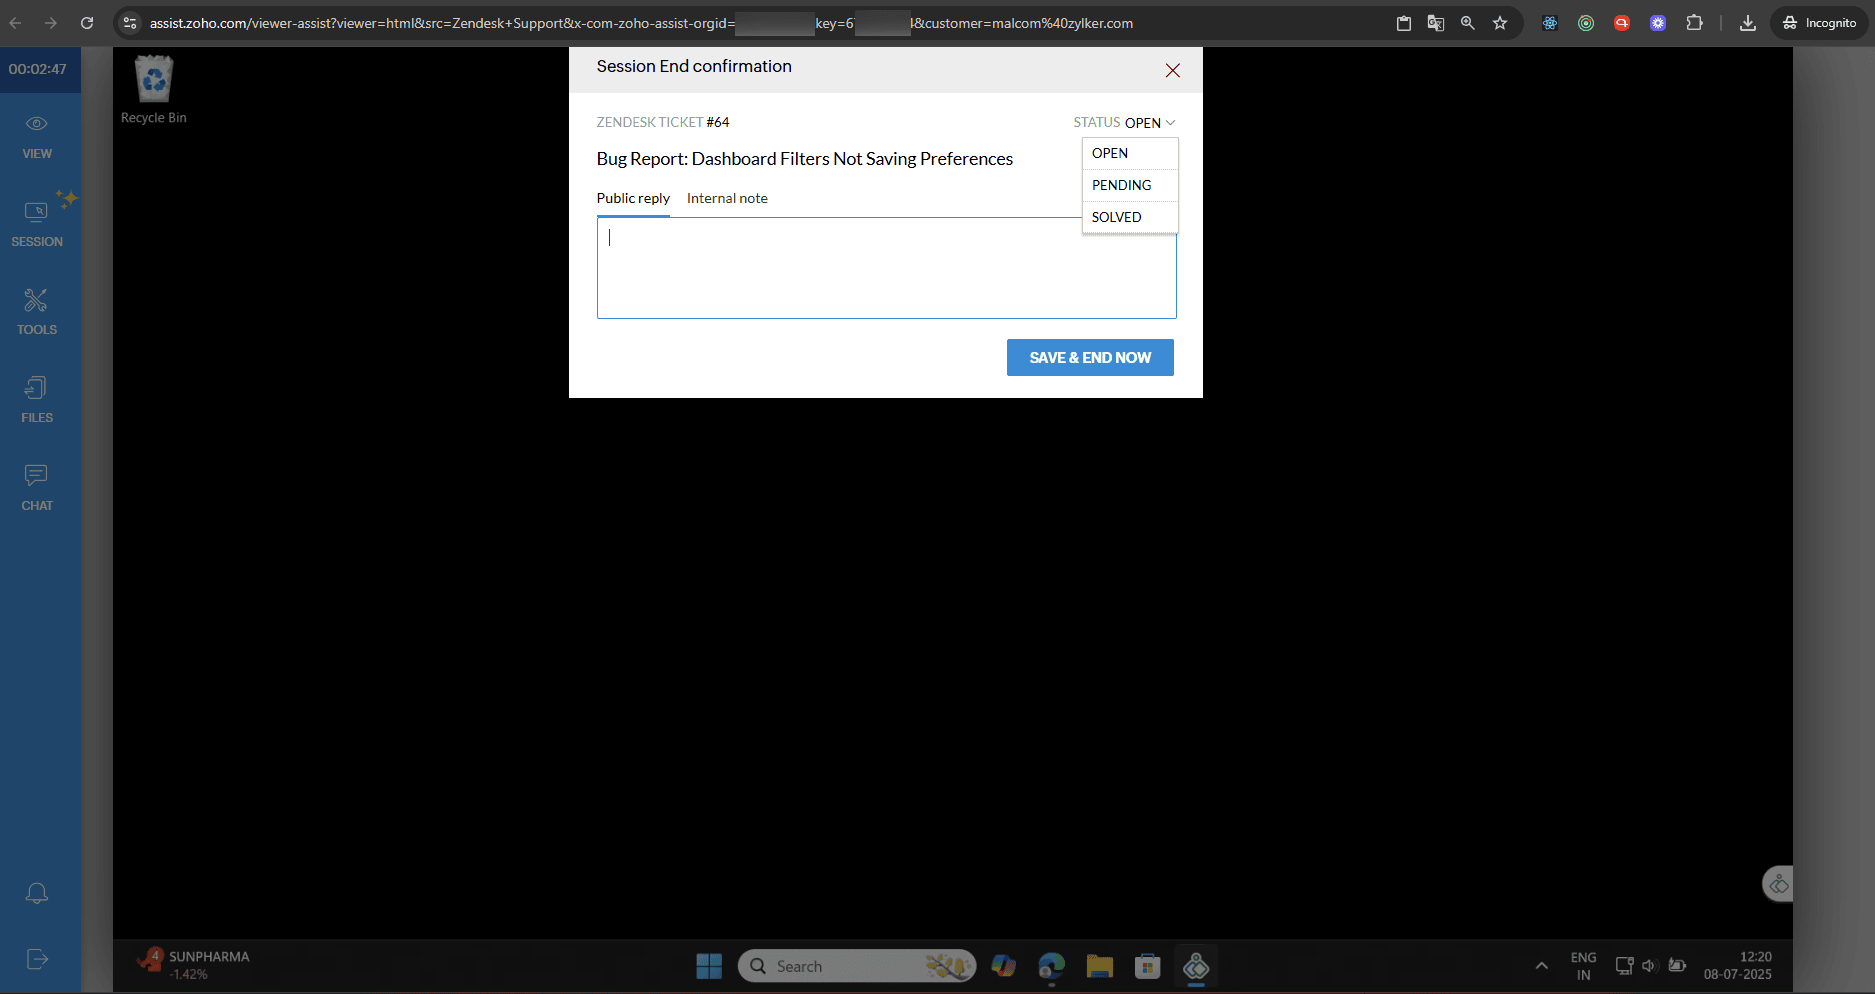
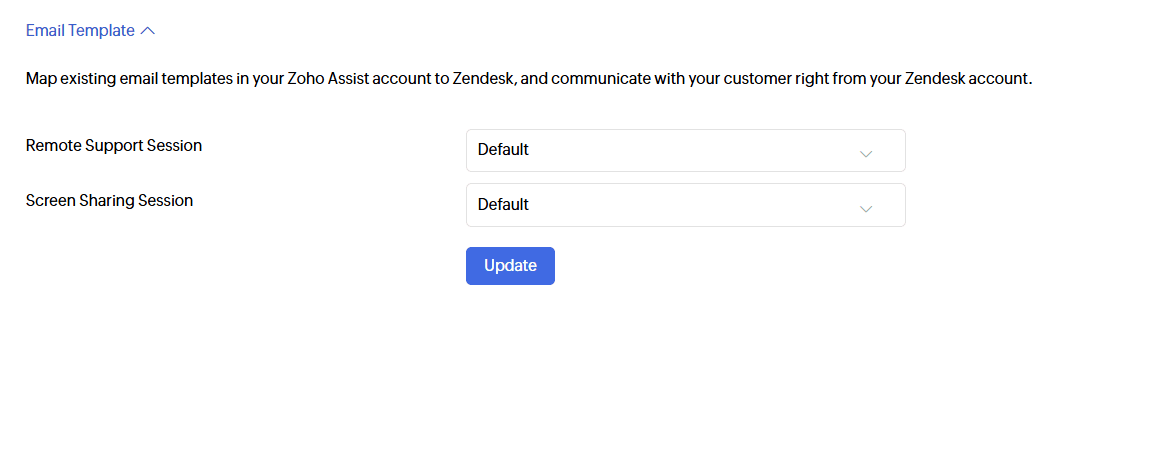
You can also include a custom email template, if needed.


To Viewing Session Details in Zendesk Interface
Select the Zendesk ticket you want to review.
Session details such as session key, duration, start time, end time, and notes will appear in the comment box.
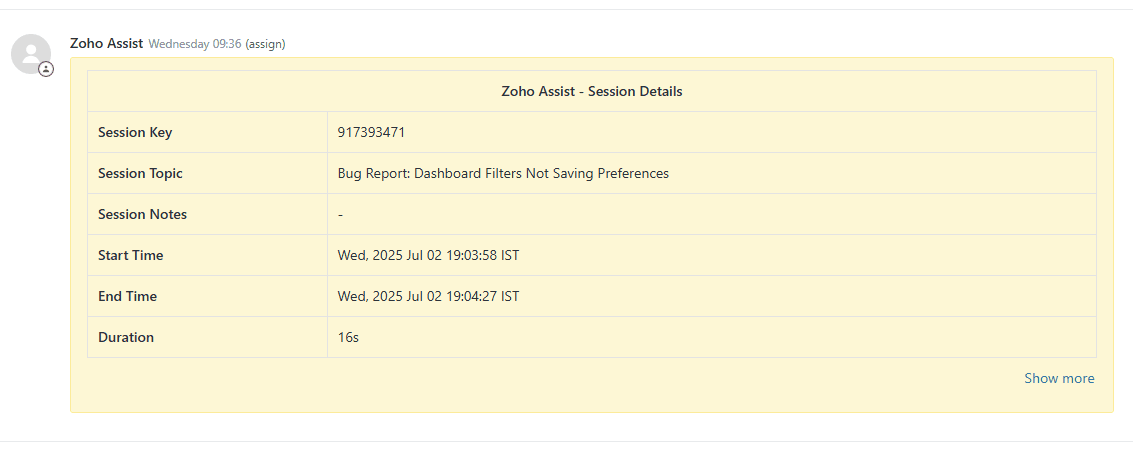
A session summary will be logged under the corresponding Zendesk ticket. A Show More option will be available at the end of the summary view, which redirects you to the detailed reports page.
