Install agents via Microsoft Azure
Zoho Assist Unattended Agent is used to manage devices under the Azure AD. To manage these devices, you must install your agents. Agent installation in an Azure AD environment can be done in two ways:
- Microsoft Intune service with storage account
- Azure Automation service
Microsoft Intune service with storage account
To install agents using the Intune service, follow the steps below:
- Create a storage account
- Create a blob and upload your agent files
- Modify the script
- Initiate installation via Intune
Create a storage account
- In the Azure portal, select All Services.
- From the available list, select Storage Accounts and click the Add option.
- Select a Subscription to create your storage account.
- Under the Resource group field, select Create New (or choose an existing resource group from the drop-down menu). Enter a name for the new resource group, as shown in the following image.
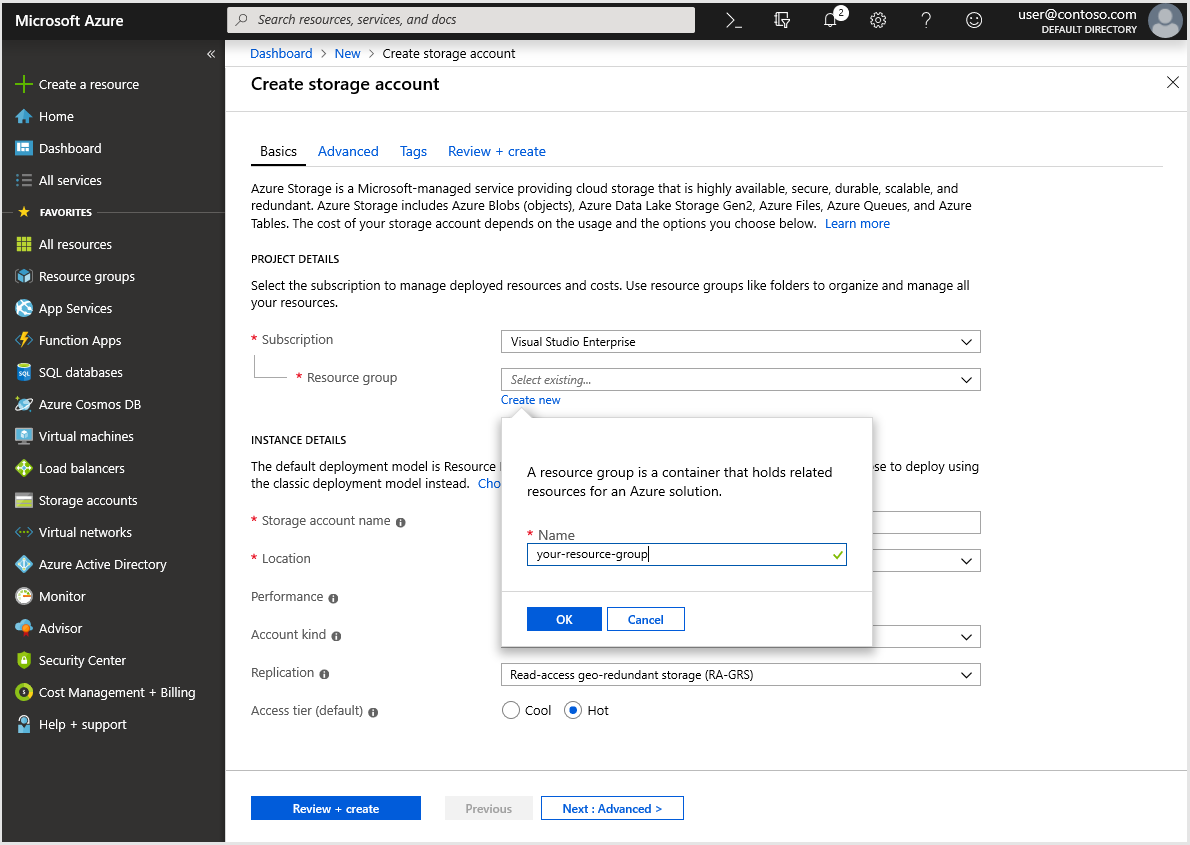
- Select a location for your storage account, or use the default location.
Leave the following fields set to their default values:
Field Value Deployment Model Resource Manager Performance Standard Account Kind StorageV2 (general-purpose v2) Replication Read-access Geo-redundant storage (RA-GRS Access Tier Hot - Select Review + Create to review your storage account settings and create the account.

Create a blob and upload agent files
- Go to the storage account you have created.
- Under Blob Services, click Blob
- Now click the Container button.
- Enter the name and public access level as "Blob".
- Click the OK button to add the blob.
- Open the blob you have created, click Upload, and navigate to the file location to select ZA_Access.msi file .
- Click on Advanced DropDown List and set the authentication type as Account Key, set the blob type as Block Blob, and select the required blob size.
- Click the Upload button to upload your files.
Modify the script
- Go to Storage account-> Blob-> Container (which contains uploaded ZA_Access.msi file).
- Copy the URLs of the above files separately.
- Download and extract the zip file attached to this document below. From the extracted script folder, copy the PowerShell script named AzureAgentInstall.ps1 and paste it into the Text Editor.
- Navigate to the text: "<ZA_ACCESS_MSI_URL>" in the AzureAgentInstall.ps1 file and replace it with the copied URL of uploaded ZA_Access.msi file.
Initiating installation via Intune
- Navigate to Microsoft Intune -> Device Configuration -> PowerShell Scripts and then click the Add button.
- Provide a name and click the Next button.
- Under Script Settings, navigate to the AzureAgentInstall.ps1 file location and click the Open button.
- Under Assignments, assign the script to all devices, all users, or desired groups, depending on the devices that need installation.
- Then, click the Next button and review the task.
- Click the Add button to execute the script.
You have now successfully installed an agent on devices in a Microsoft Azure AD environment using the Intune service.
Azure Automation service
Following are the prerequisites to install an agent using Automation services:
- Microsoft storage account
- Azure Automation service.
To install agents using the Automation service, follow the steps below:
- Create an Automation account
- Create a storage account
- Create a hybrid runbook worker group
- Create a blob and upload the agent files
- Modify the script
- Create a runbook
Create an Automation account :
- In the Azure portal, select All Services.
- On the list of resources, type and select Automation Account.
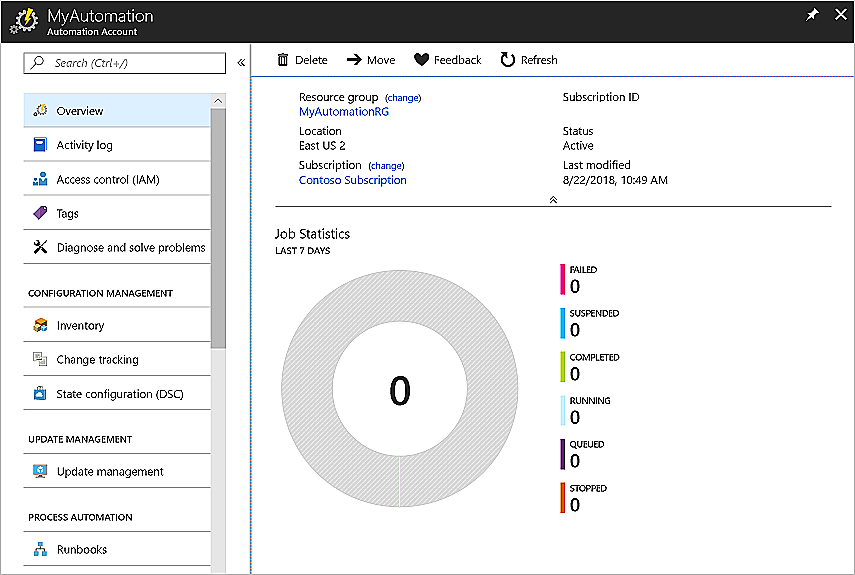
- Choose Add in the Automation Accounts window that appears.
- In the Add Automation Account, provide a name and subscription details.
- In the Resource Group section, select Create New and provide the details (or select an existing resource group.
- Click Azure RunAs Account and Add an Account with administrative privilege.
- Click the Create button to finish setting up the Automation account.

Create a storage account
- In the Azure portal, select All Services.
- From the available list, select Storage Accounts and click the Add option.
- Select a subscription to create your storage account.
- Under the Resource Group field, select Create New (or choose an existing resource group from the drop-down menu).

- Enter a name for the new resource group.
- Select a location for your storage account, or use the default location.
Leave the following fields set to their default values:
Field Value Deployment Model Resource Manager Performance Standard Account Kind StorageV2 (general-purpose v2) Replication Read-access Geo-redundant storage (RA-GRS Access Tier Hot - Select Review + Create to review your storage account settings and create the account.

Create a hybrid runbook worker group
- Copy the contents of this Azure_Automation.ps1 (script file extracted from the zip) to the worker machine and save it as New-OnPremiseHybridWorker.ps1.
- The New-OnPremiseHybridWorker.ps1 script requires the following parameters during execution.
- On your computer, select Windows PowerShell from the start screen in Administrator mode.
- From the PowerShell command-line shell, open the file that contains the script that you downloaded.
- Change the values for the parameters, such as AutomationAccountName, -AAResourceGroupName, -OMSResourceGroupName, -HybridGroupName, -SubscriptionId, and -WorkspaceName.
Then run the following:
Info: PowerShell command script: " .\New-OnPremiseHybridWorker.ps1 -AutomationAccountName -AAResourceGroupName -OMSResourceGroupName -HybridGroupName -SubscriptionId -WorkspaceName".(When a prompt to install NuGet and a prompt to authenticate with your Azure credentials appears, click Agree to install software and fill in the Azure AD credentials.)
- After the script is finished, the Hybrid Worker Groups page will show the new group and the number of members (For an existing group, the number of members is incremented.). You can select the group from the list on the Hybrid Worker Groups page. On the Hybrid Workers page, you will see each member of the group listed.
Note:
By configuring SoM policy, the following can be achieved:
- The Operations Management Suite (OMS) is only used to install and maintain the management agent and to monitor the functionality of the worker. The delivery of runbook and the instruction to run them are performed by Azure Automation.
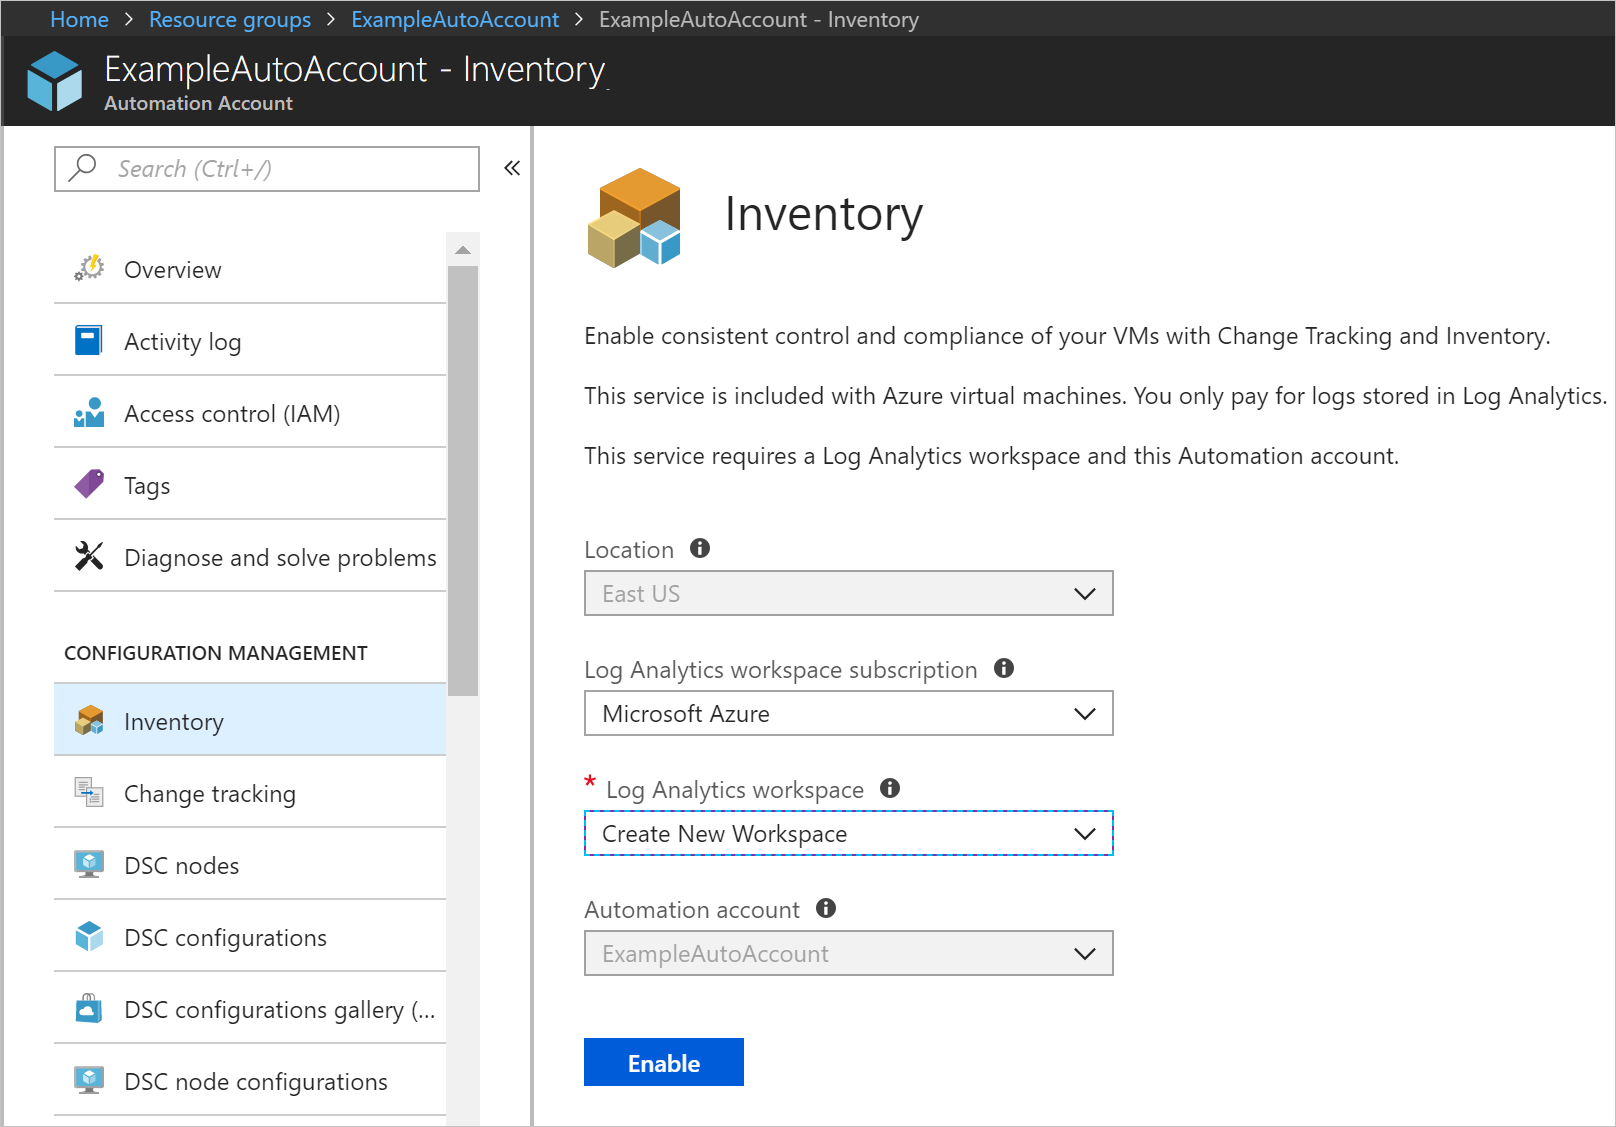
- The Log Analytics Workspace service and your Automation account should be linked to track the changes made to hybrid workers. To link them, follow the steps below:
- Go to Automation Account and click on Inventory under Configuration Management.
- Select the concerned Log Analytics Workspace, Log Analytics Workspace subscription, and Automation Account and click Enable.

Create a blob and upload agent files
- Go to the storage account you created.
- Click on Blob under Blob Services.
- Click the Container button.
- Enter the name and public access level as "Blob".
- Click the OK button to add the blob.
- Now, open the blob you've created, click Upload, and navigate to the file location to select ZA_Access.msi file.
- Click on Advanced Drop-Down List and set the authentication type as "Account key", set blob type as "Block blob," and select the required blob size.
- Click Upload to have the files uploaded.
Modify the script
- Go to Storage Account -> Blob -> Container (which contains uploaded ZA_Access.msi file).
- Copy the URLs of the above files separately.
- Download and extract the zip file attached to this document and open AzureAgentInstall.ps1 file.
- Navigate to the text: "<ZA_ACCESS_MSI_URL>" in the AzureAgentInstall.ps1 file and replace it with the copied URL of your uploaded ZA_Access.msi file.
Create a runbook
- Go to Automation Accounts in the Azure portal.
- On the Automation Account tab, go to Process Automation and open Runbook.
- Click on Add a Runbook.
- Provide a name for the runbook and set the runbook type as PowerShell.
- Click the Create button.
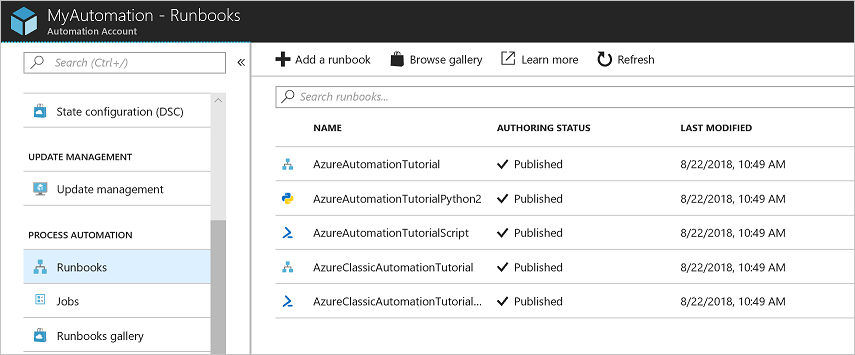
- Now, open the runbook and click the Edit option.
- Copy and paste the contents from the AzureAgentInstall.ps1 script to the runbook.
- Save and Publish the runbook.
- On clicking the Start button, a prompt will appear. Select the Hybrid Worker Group option.
- Select the Group for which the Zoho Assist Unattended Agent needs to be installed.
- Click the OK button to initiate the installation process.

You have now successfully installed the agent in a Microsoft Azure AD environment.
Attachments ::