Import or Export Calendars
Import Calendars
Any external calendar can be added to your Zoho Calendar through the Import option. Importing helps you to manage your calendars in one single interface without having to switch between various other calendar applications. Calendars can be imported using an ICS file or by using the Calendar URL. While importing the calendars, you can choose the specific calendar to which you want to add the events.
Steps to Import a Calendar as an ICS File
- Log in to Zoho Calendar.
- Go to Settings > Import
- Under the ICS File field click the Upload file button to upload an ICS file of a calendar from your desktop or drag the file and drop it over the Drag and drop here box.
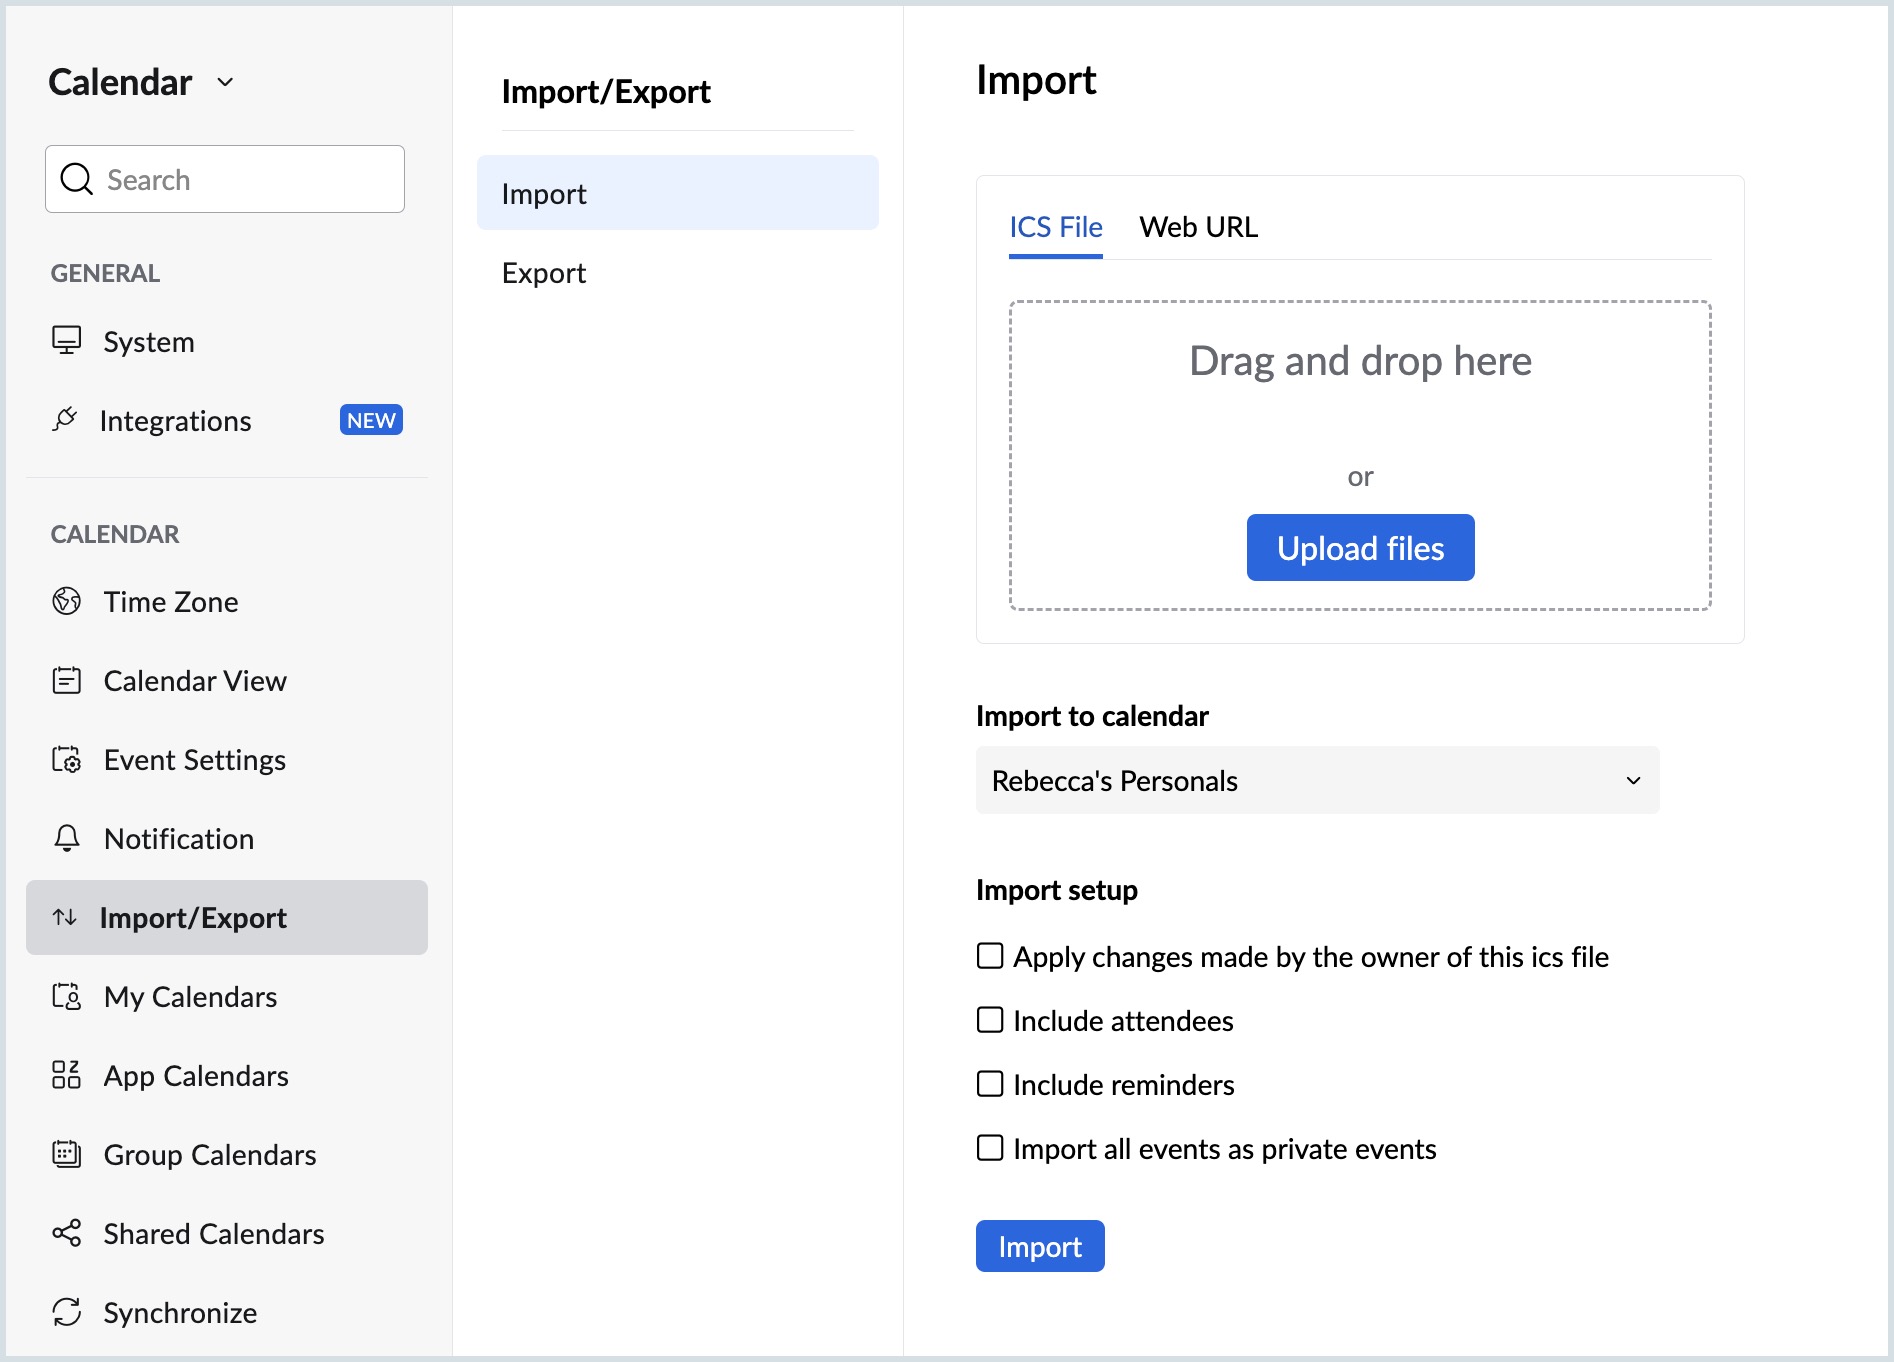
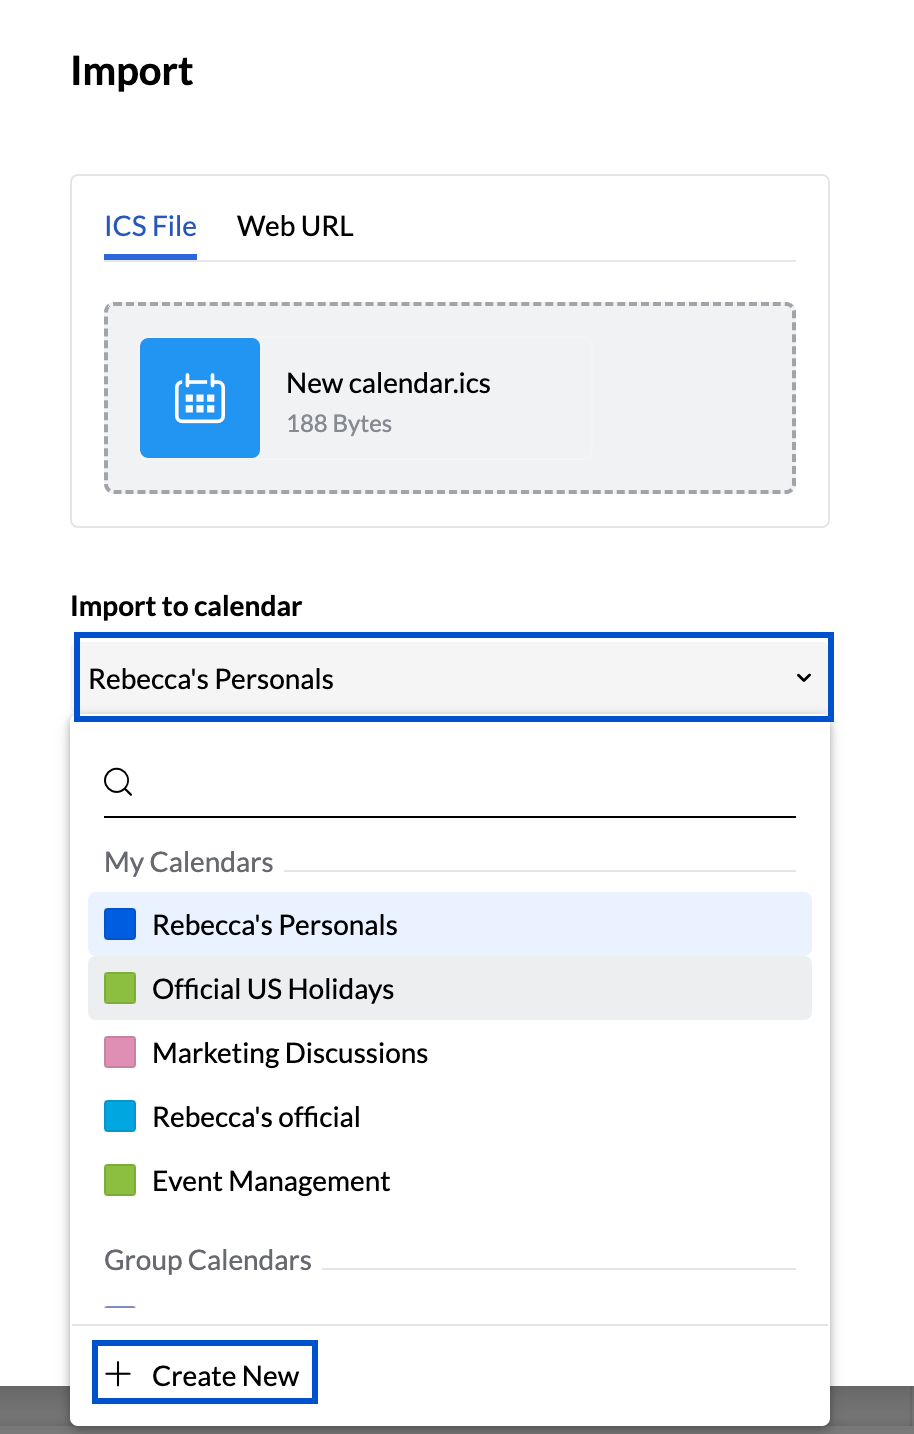
- Under the Import to calendar field choose the calendar into which the ICS file should be imported.
- Click the +Create New option to add a new calendar to import the ICS file into.
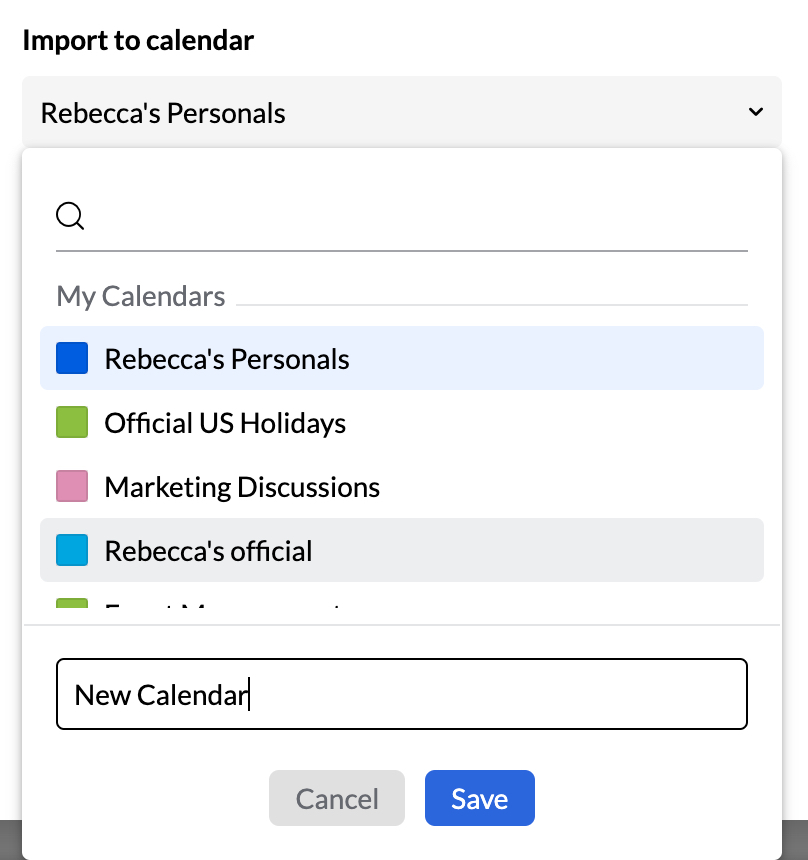
- Type the calendar name and click Save. A new calendar will be added under the My Calendar section.
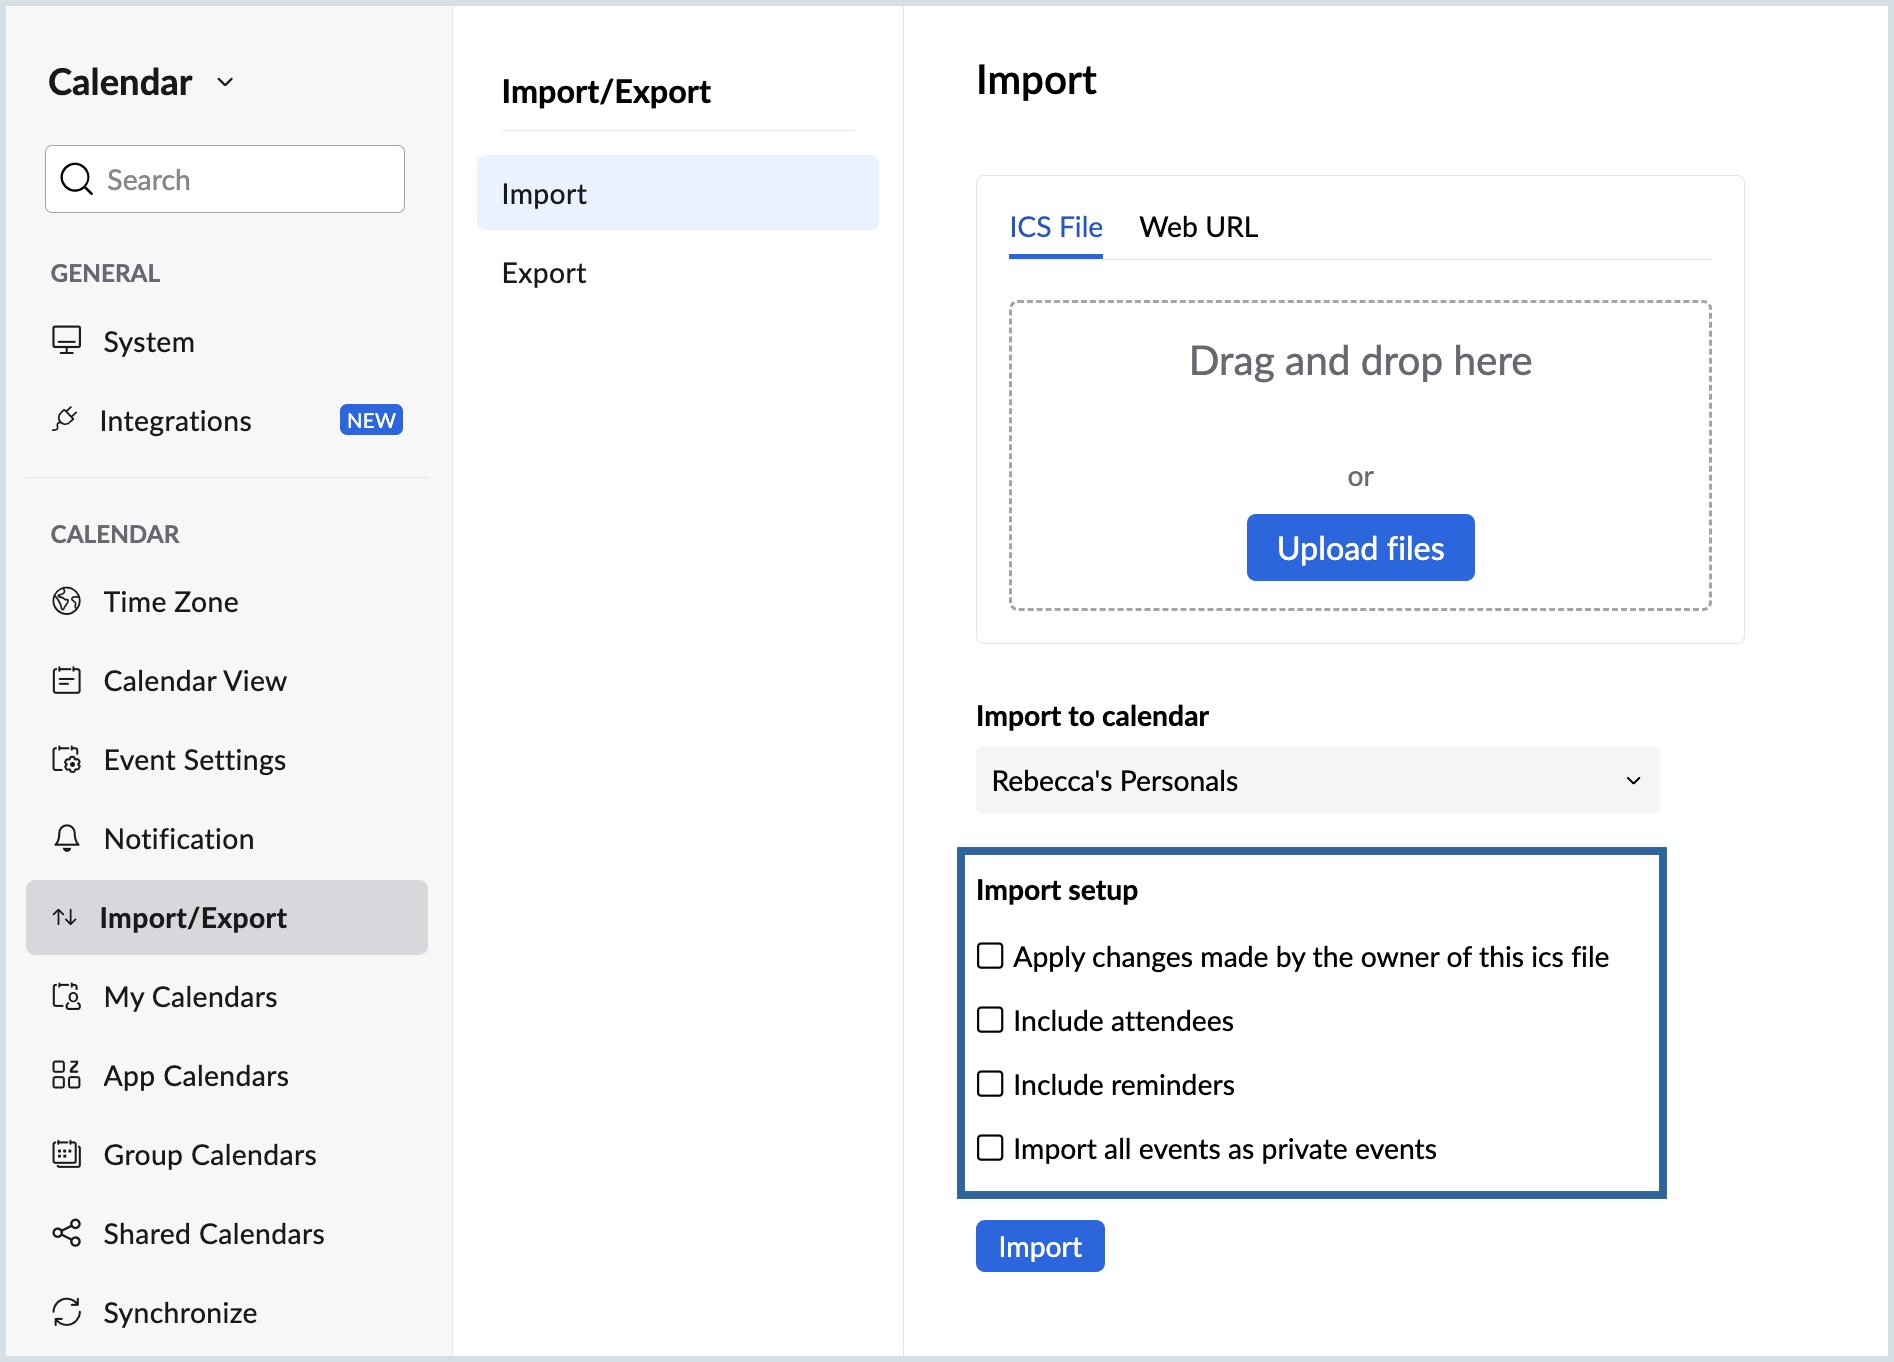
- Choose the necessary options under the Import Setup field. The options are:
- Apply changes made by the owner of the ics file- To update the existing events in the calendar based on the changes made by the owner in the ics file imported.
- Include attendees.
- Include reminders.
- Import all events as private events
- Click Import.
The calendar will be imported to the chosen calendar and the selected import setup options will be applied to the events in the calendar.
Steps to Import a Calendar using a Web URL
- Log in to Zoho Calendar.
- Go to Settings > Import
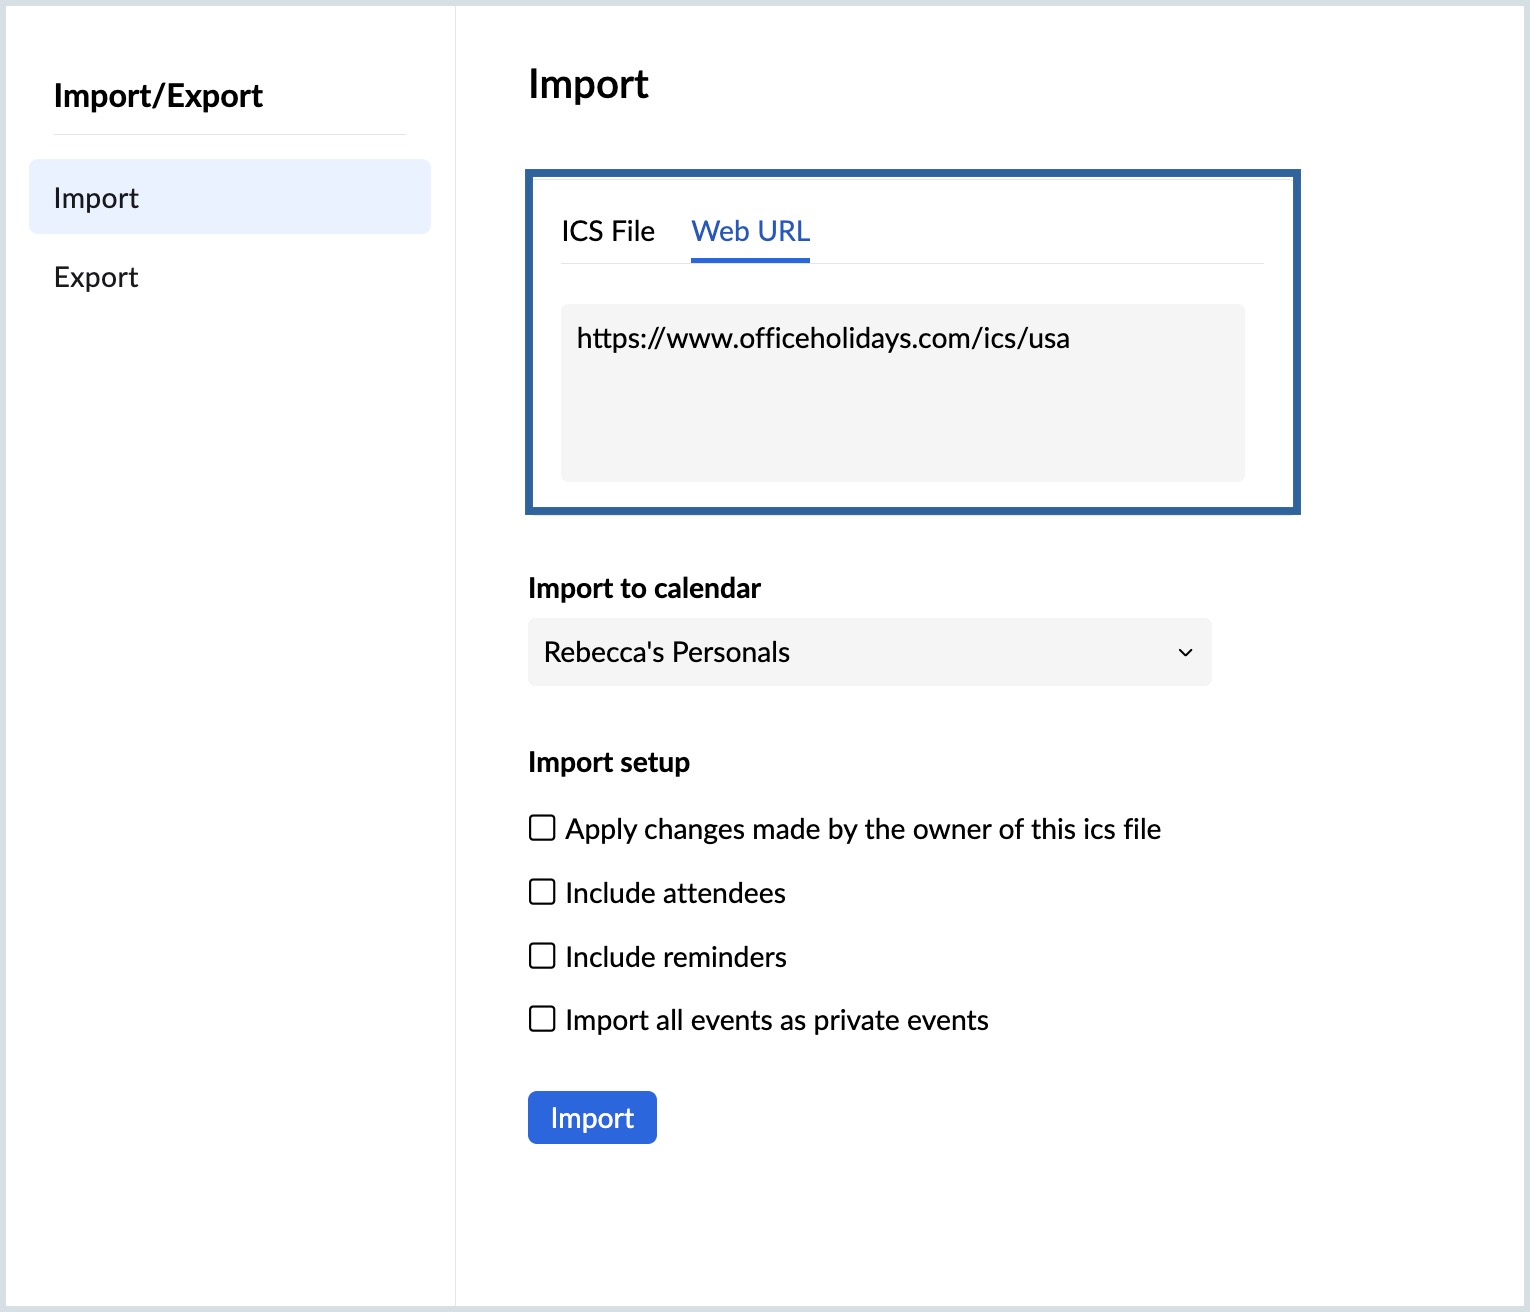
- Click the Web URL option and Enter a valid HTTP/ Webcal URL in iCal format.
- Under the Import to Calendar field choose the calendar into which the calendar URL should be imported.
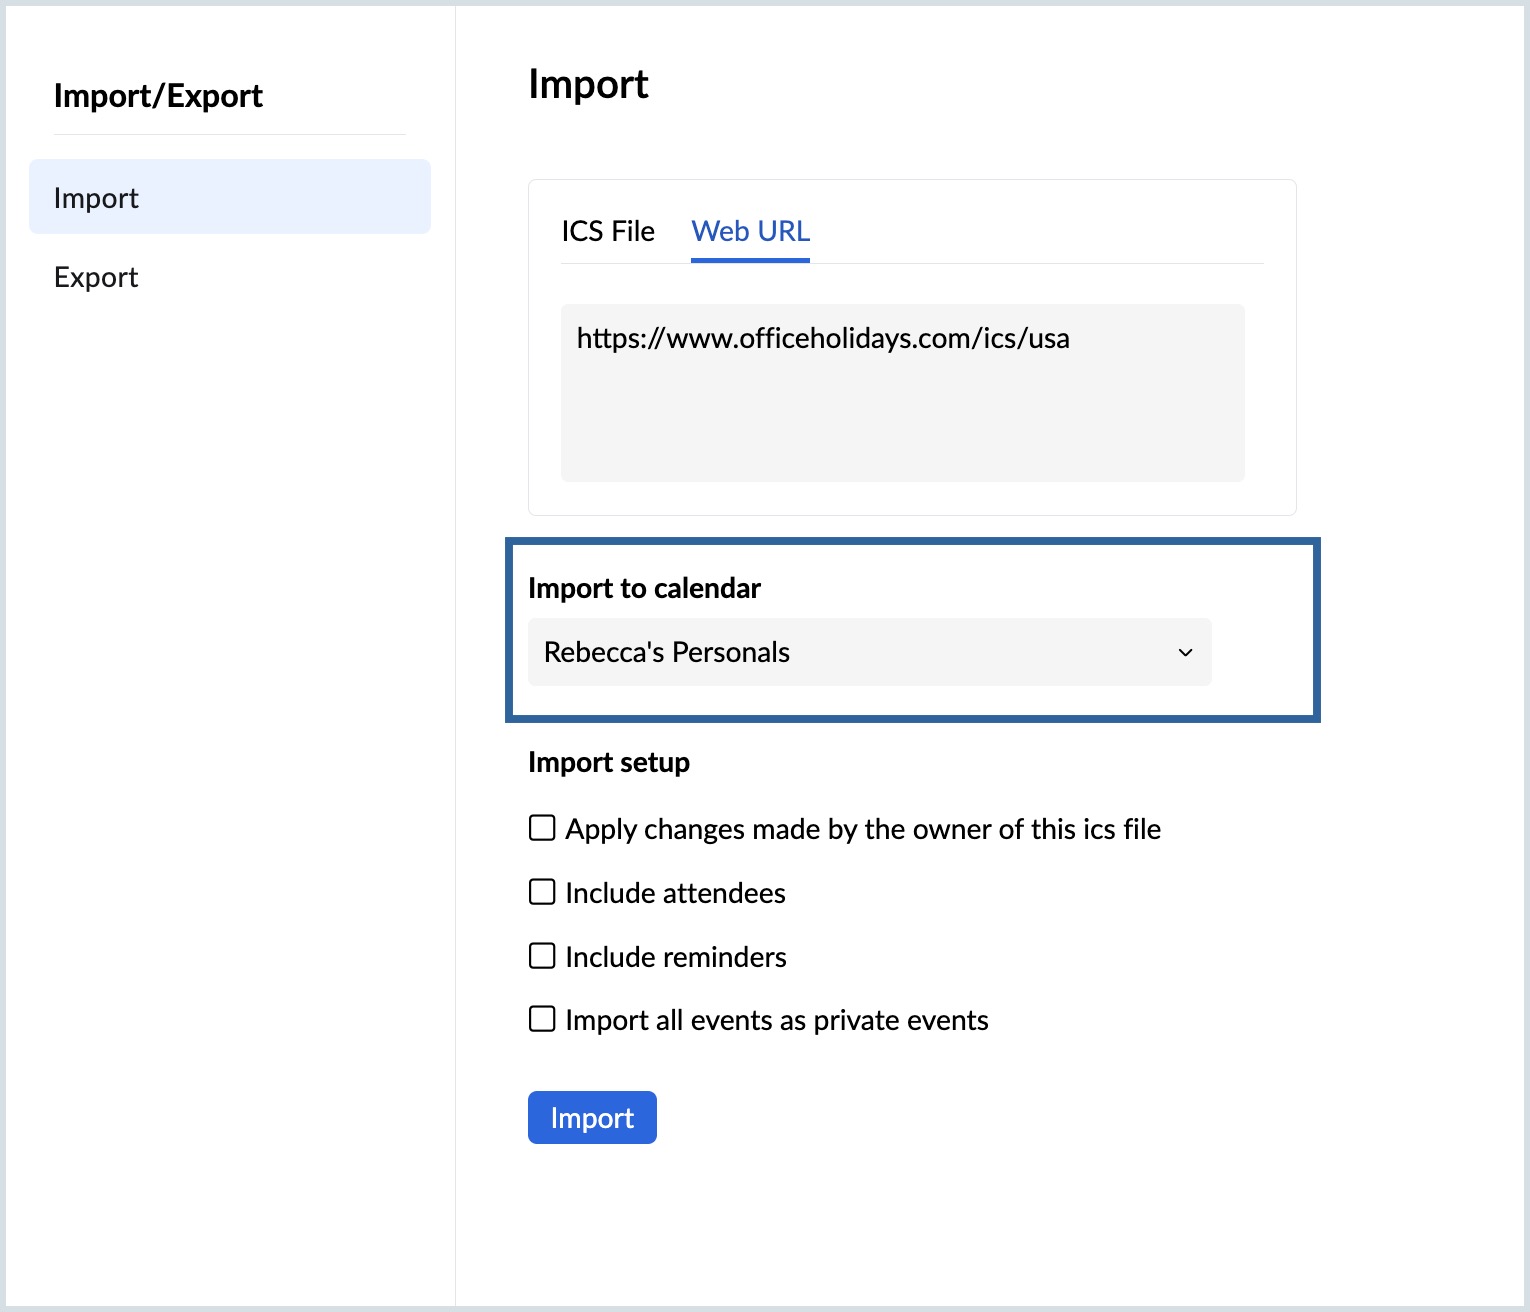
- Click the +Create New option to add a new calendar to import the calendar URL
- Type the calendar name and click Save. A new calendar will be added under the My Calendar section
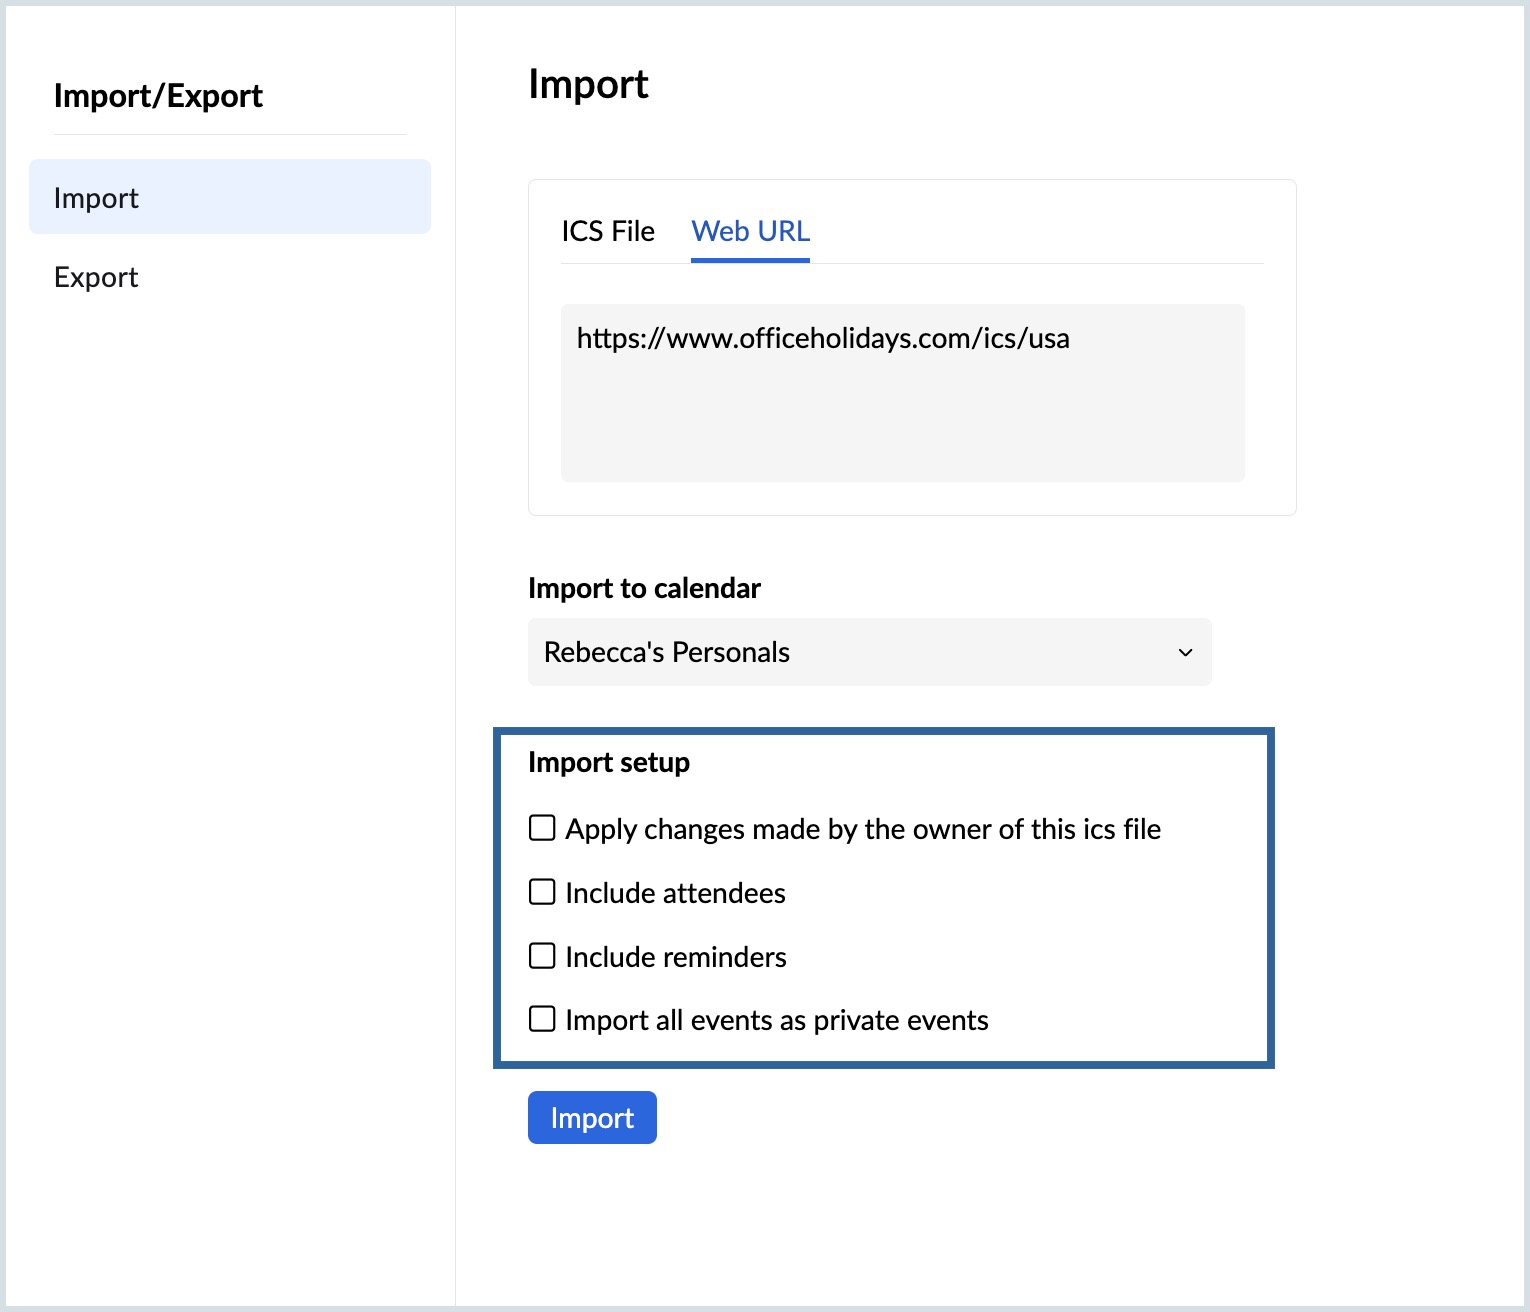
- Choose the necessary options under the Import Setup field. The options are:
- Apply changes made by the owner of the ics file- To update the existing events in the calendar based on the changes made by the owner in the ics file imported.
- Include attendees.
- Include reminders.
- Import all events as private events.
- Click Import
You can also open the Edit Calendar tab of any calendar under the My Calendars section and click on the Import icon to import events to the particular calendar.
The events from the ICS file/ Web URL will be imported to the chosen calendar and the selected import setup options will be applied to the events in the calendar.
Note:
- The calendar URL should support the iCal format.
- You can import the events only to the calendars under My Calendars section of the left pane.
- After import, if any changes are made in the external calendar, the import process needs to be repeated for the changes to get updated.
Export Calendars
When you are working offline, it is better to get your important calendars added to your device's calendar to access on the go. Zoho Calendar gives you the option to export all the calendars from the My Calendars section. In addition to that, you can also export Group Calendars that have been created by you or in which you are a moderator, and Shared calendars.
This helps you download the file in ICS or CSV format to your device. You can import the file to your device calendar and manage your schedule. You can also secure your downloaded calendar file using password protection.
Steps to Export a Calendar
- Log in to Zoho Calendar.
- Go to Settings > Import/Export and select Export option from the left menu.
- Choose the calendar you want to export from the drop-down.
- Select the preferred time range for your export. You can choose to export the data of the preferred calendar for All days or only From a specific date by choosing the date.
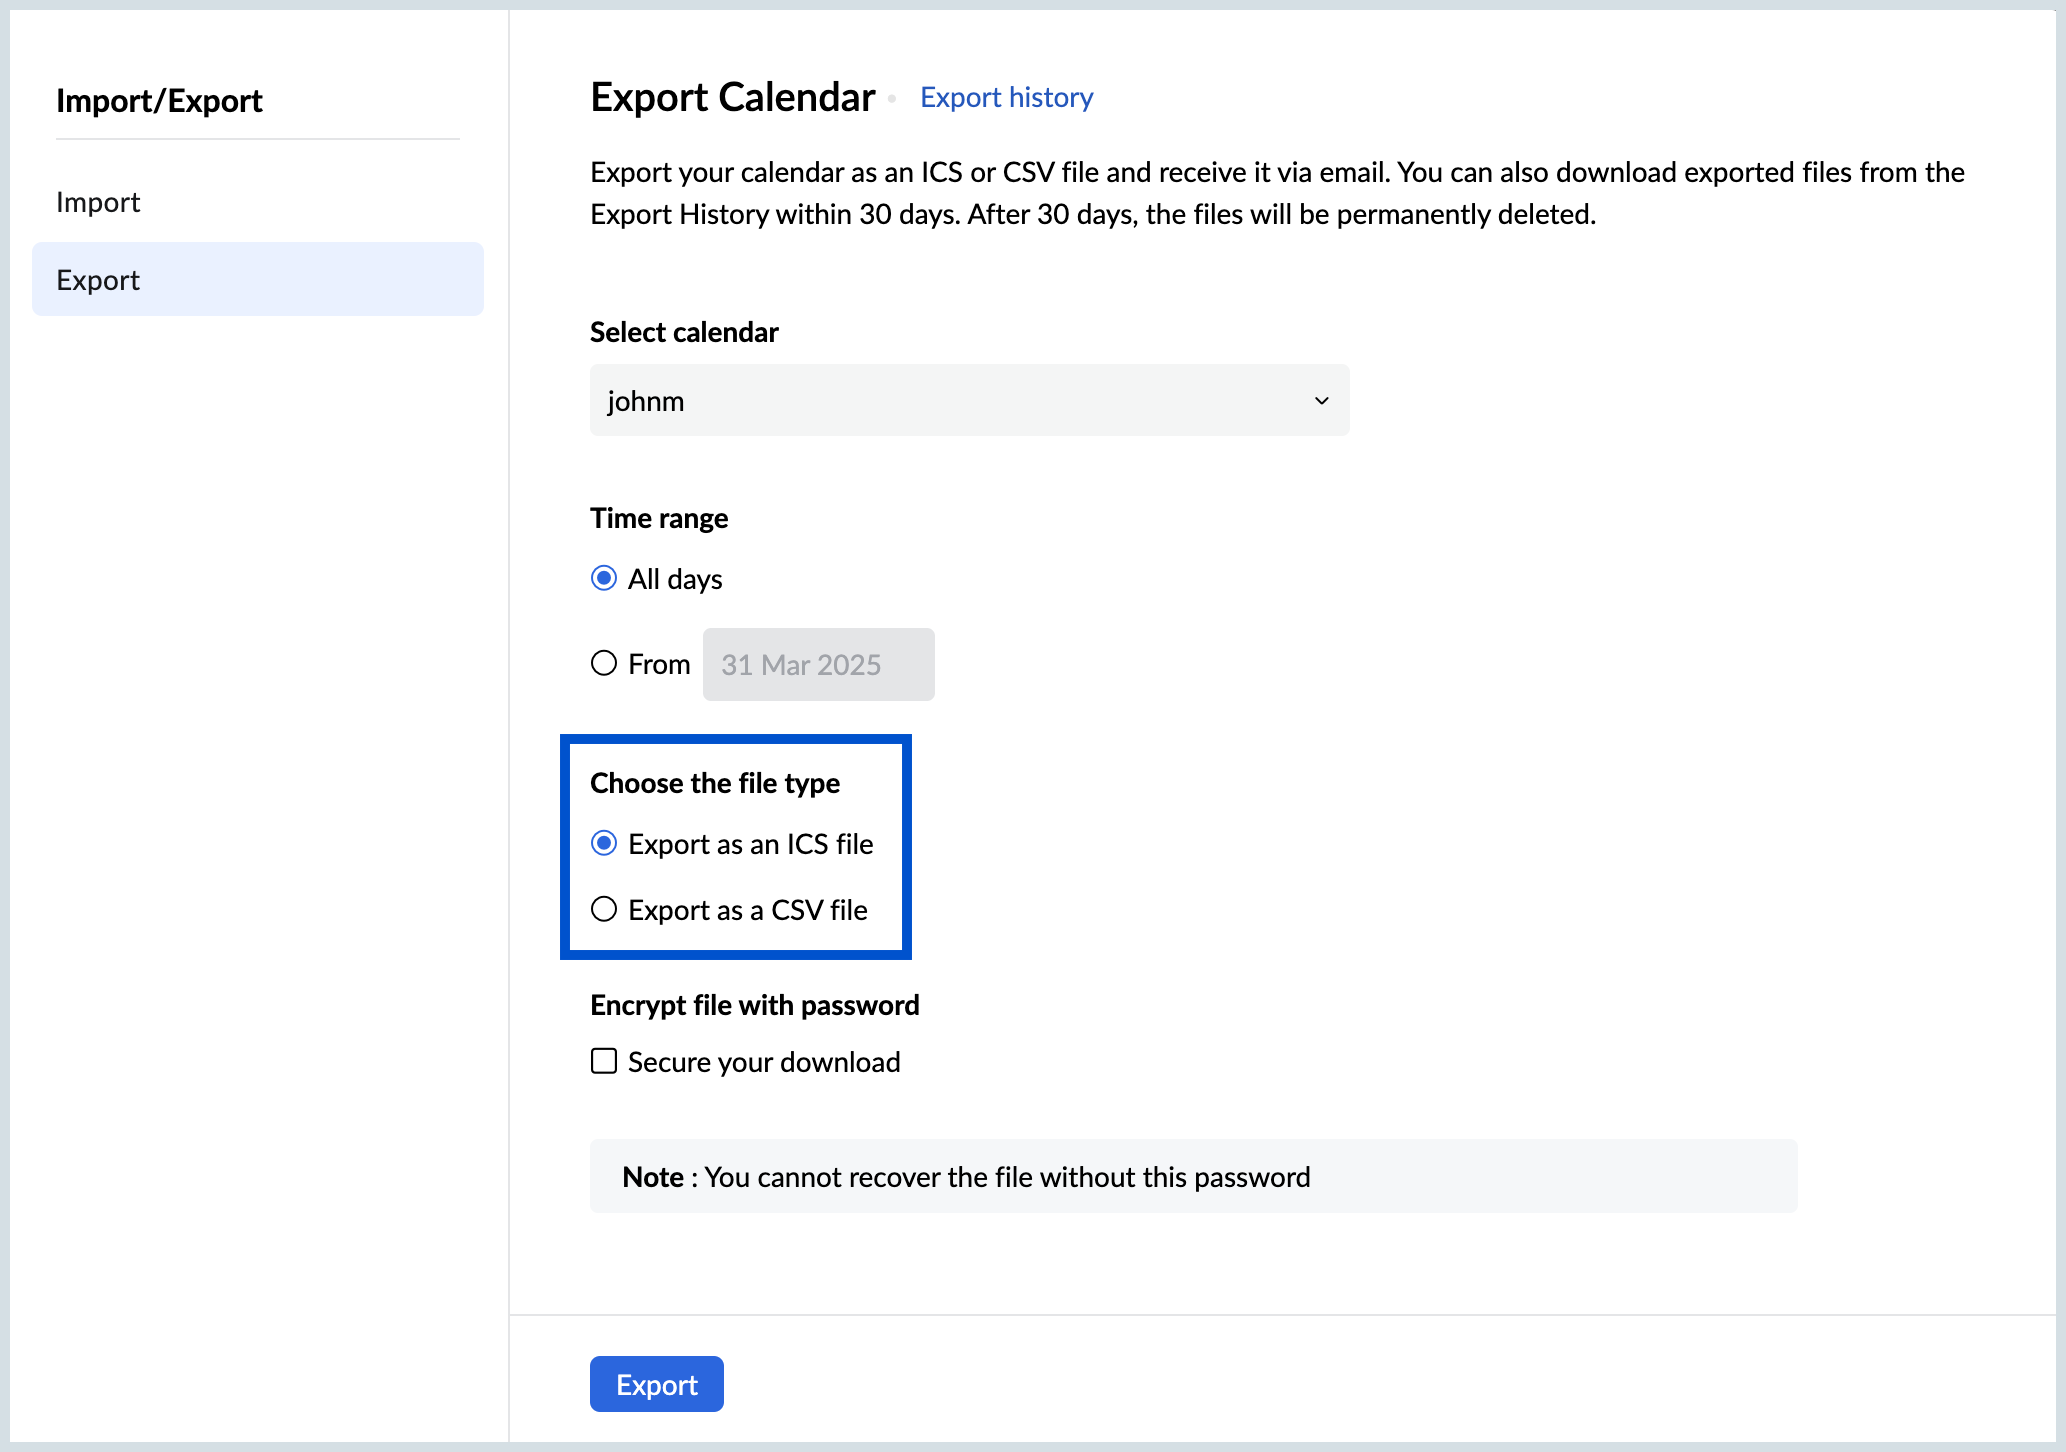
- Select the format of the export file from Choose the file type option. You can either select ICS or CSV format.
- If you want to secure the file you export, you can choose to encrypt the exported file with a password. To enable password protection, click on the 'Secure your download' checkbox.
- Provide a Password and re-enter to confirm it.
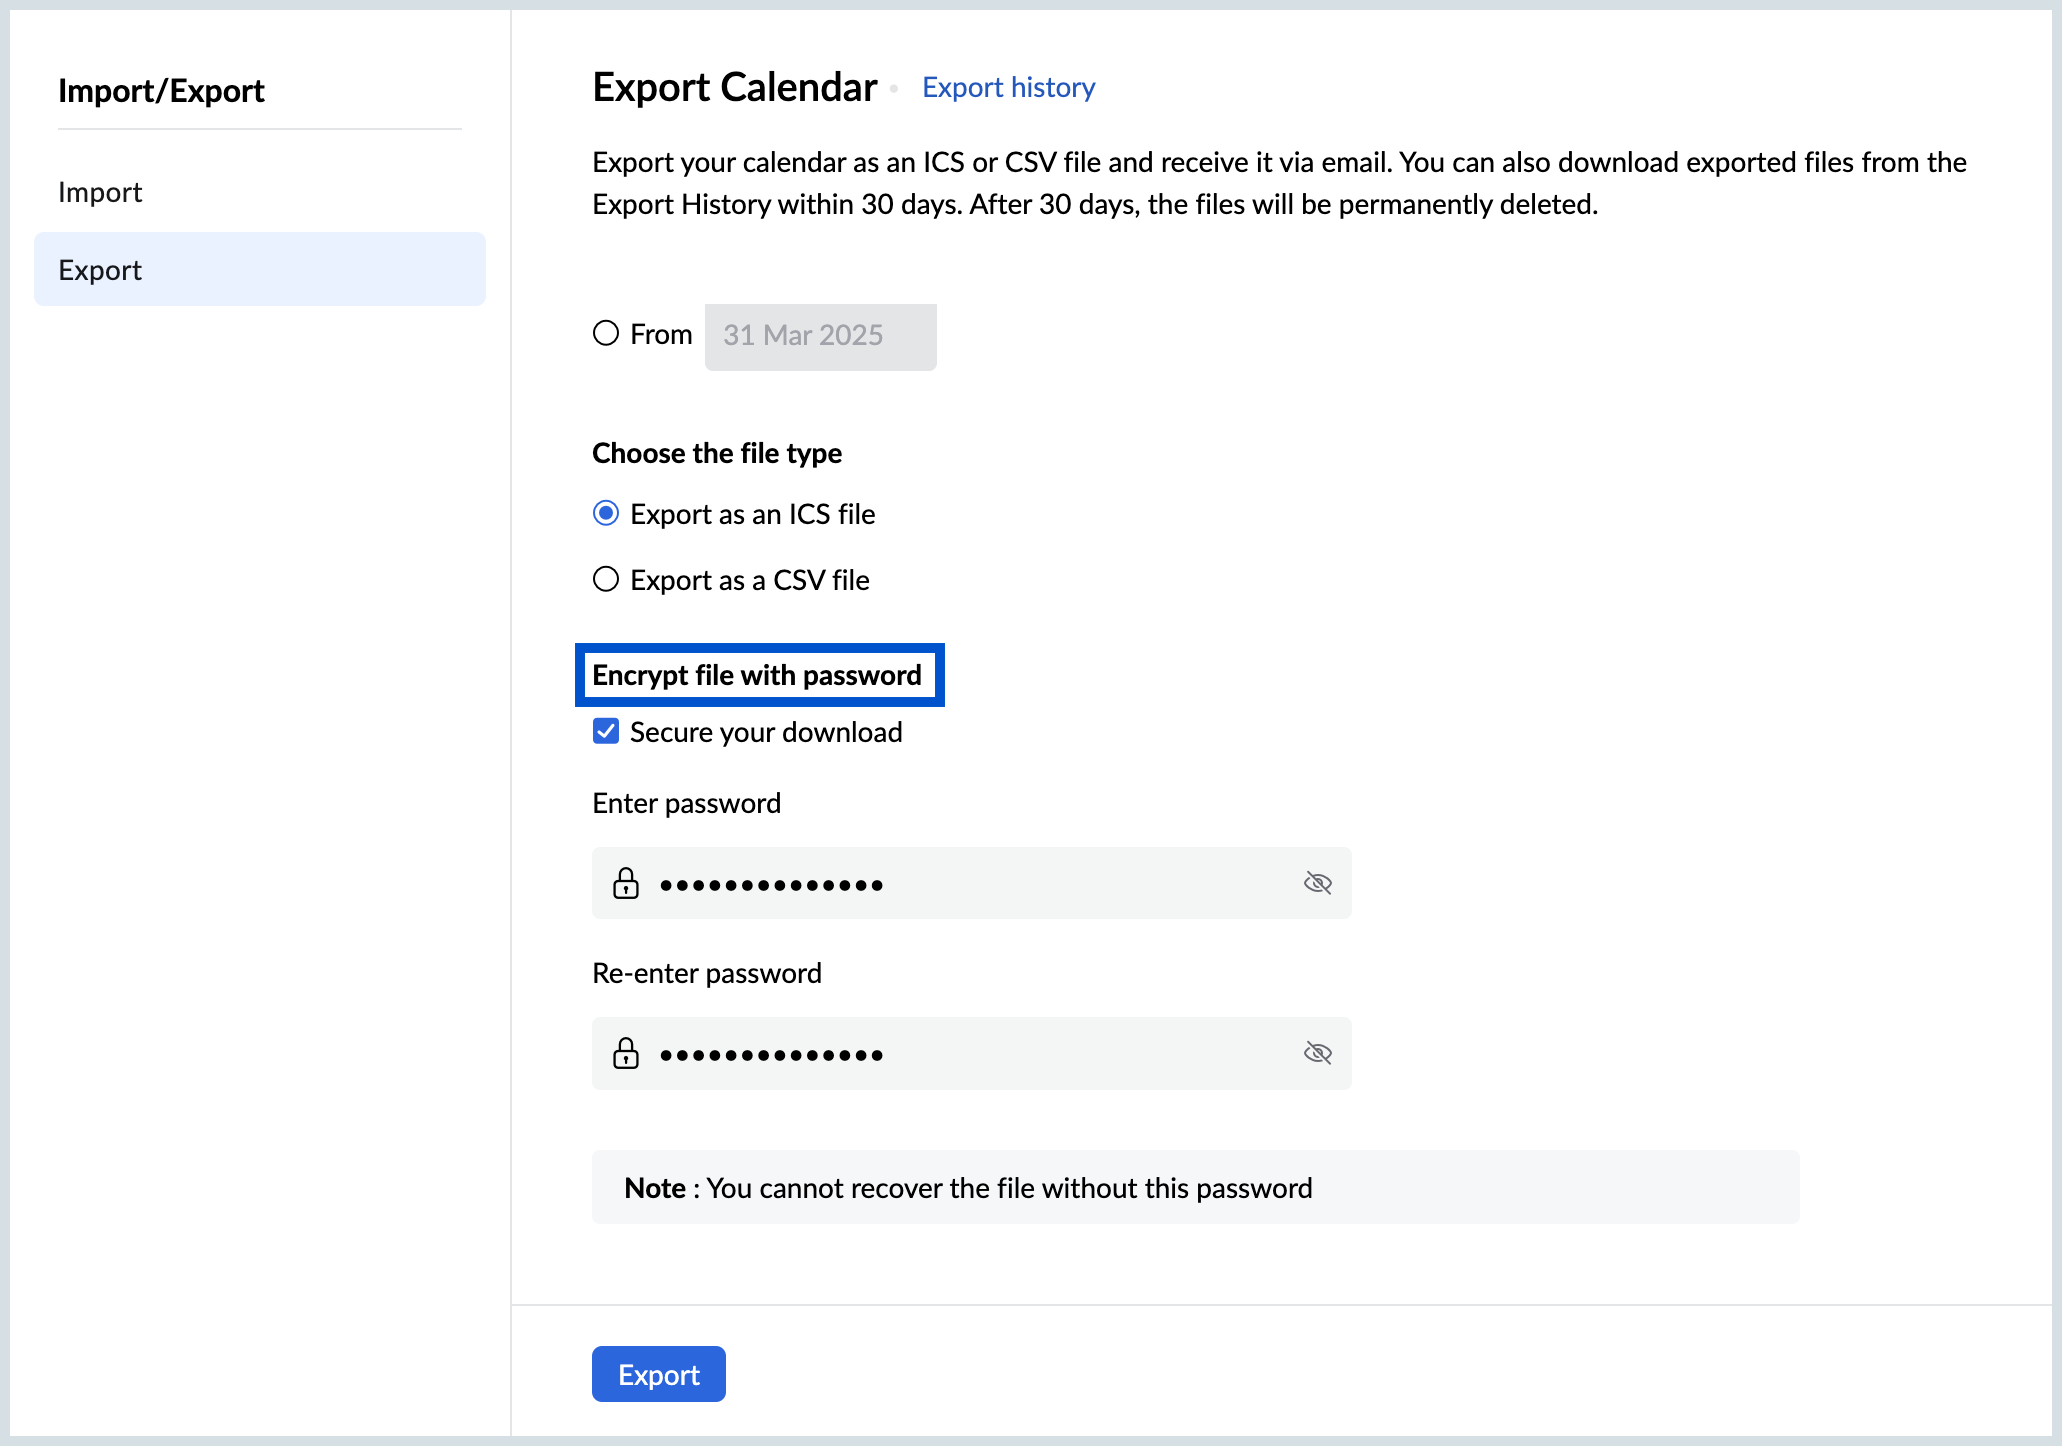
- Click on the Export button to export the calendar.
- The calendar file will be exported in the selected file type (either CSV or ICS format).
- You can find the list of all the exports made in the last 30 days in the exports history section which you can download anytime. After 30 days, the export history will be deleted permanently.
Note:
To export the calendar with password protection:
The password entered should have a minimum of 8 characters with a combination of an upper and a lower case letter, a number, and a special character (#, ?, !, @, $, %, ^, &, *, -).
The password of the downloaded file will not be saved. In case you have forgotten the password, you will not be able to recover it and open the downloaded file.


