Import tasks
Adding tasks can be done by importing tasks from various sources. If you're having your tasks on your desktop or any other applications such as Trello, you can import them to Tasks powered by Zoho ToDo using a CSV file or direct migration.
Import tasks using a CSV file
Sometimes you may have a list of tasks and adding them individually can be exhausting. With the Import option, you can add tasks easily with the help of a CSV file. To Import tasks using a .csv file,
- Log in to Zoho Mail and navigate to Tasks or log in to Zoho ToDo.
- Navigate to a group to which you want to upload your tasks to. You can always move the task to a different group or edit them later.
- If you don't choose a group the tasks will be imported to Personal Tasks by default.
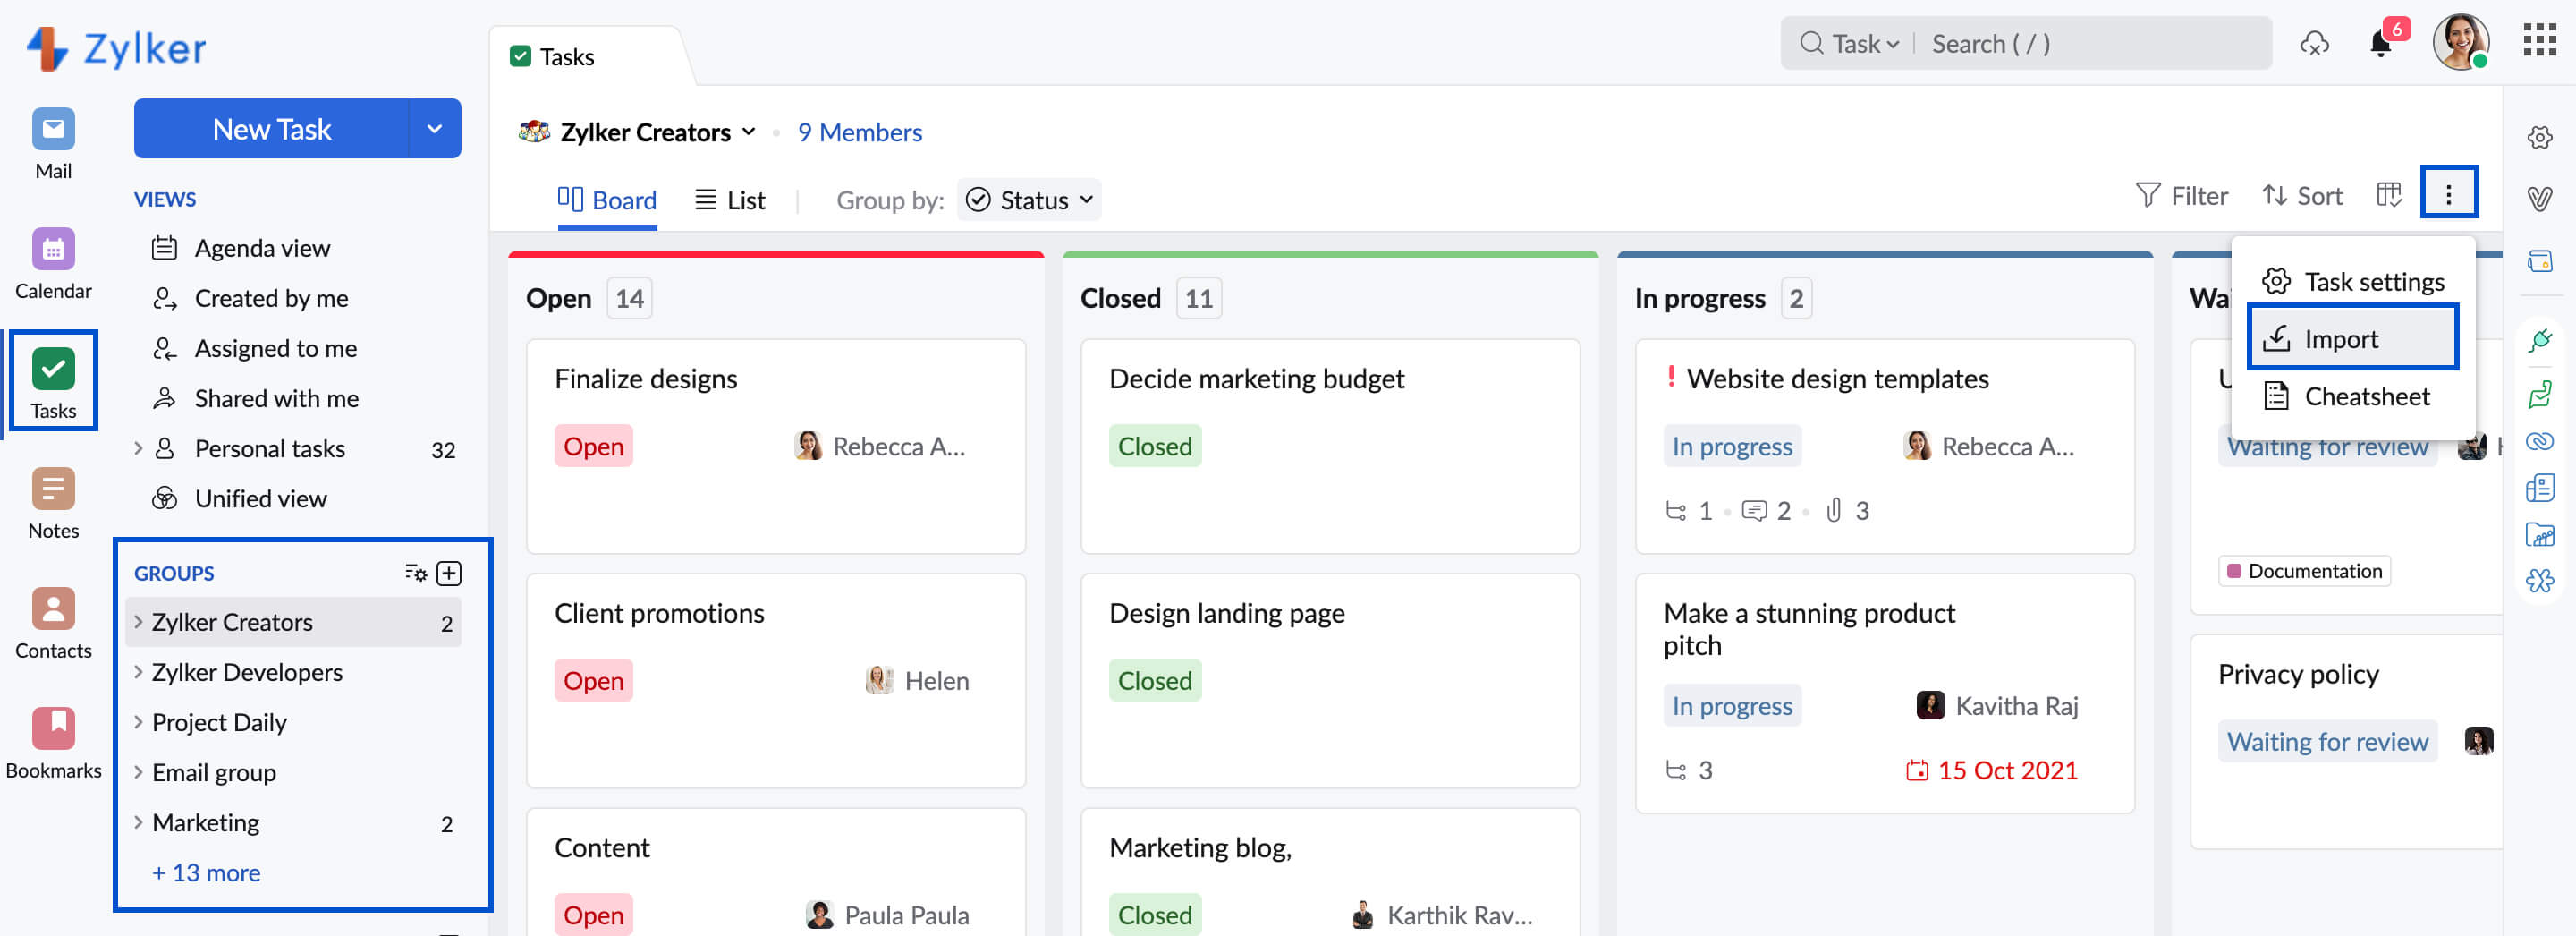
- Click the More options icon and then choose Import
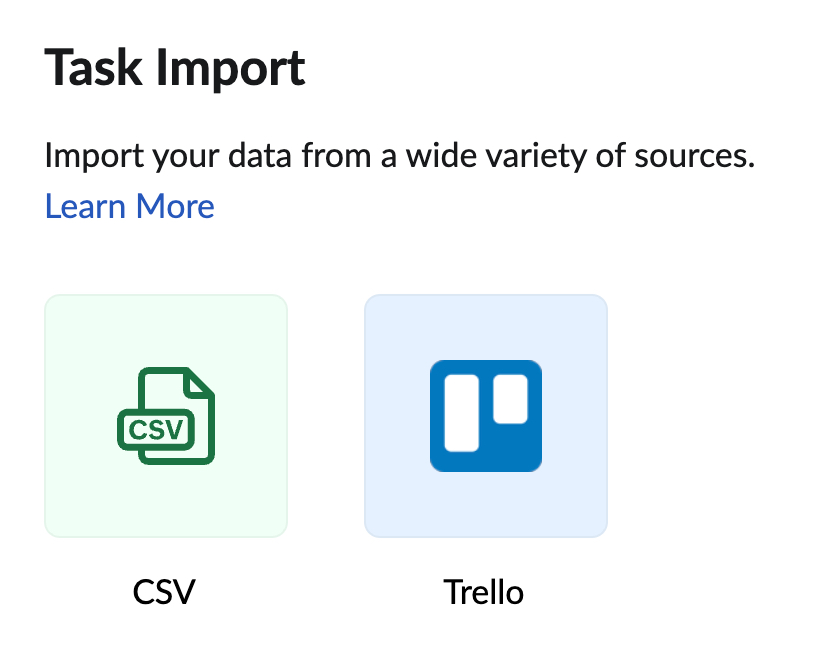
- Choose CSV from the Task Import pop-up.
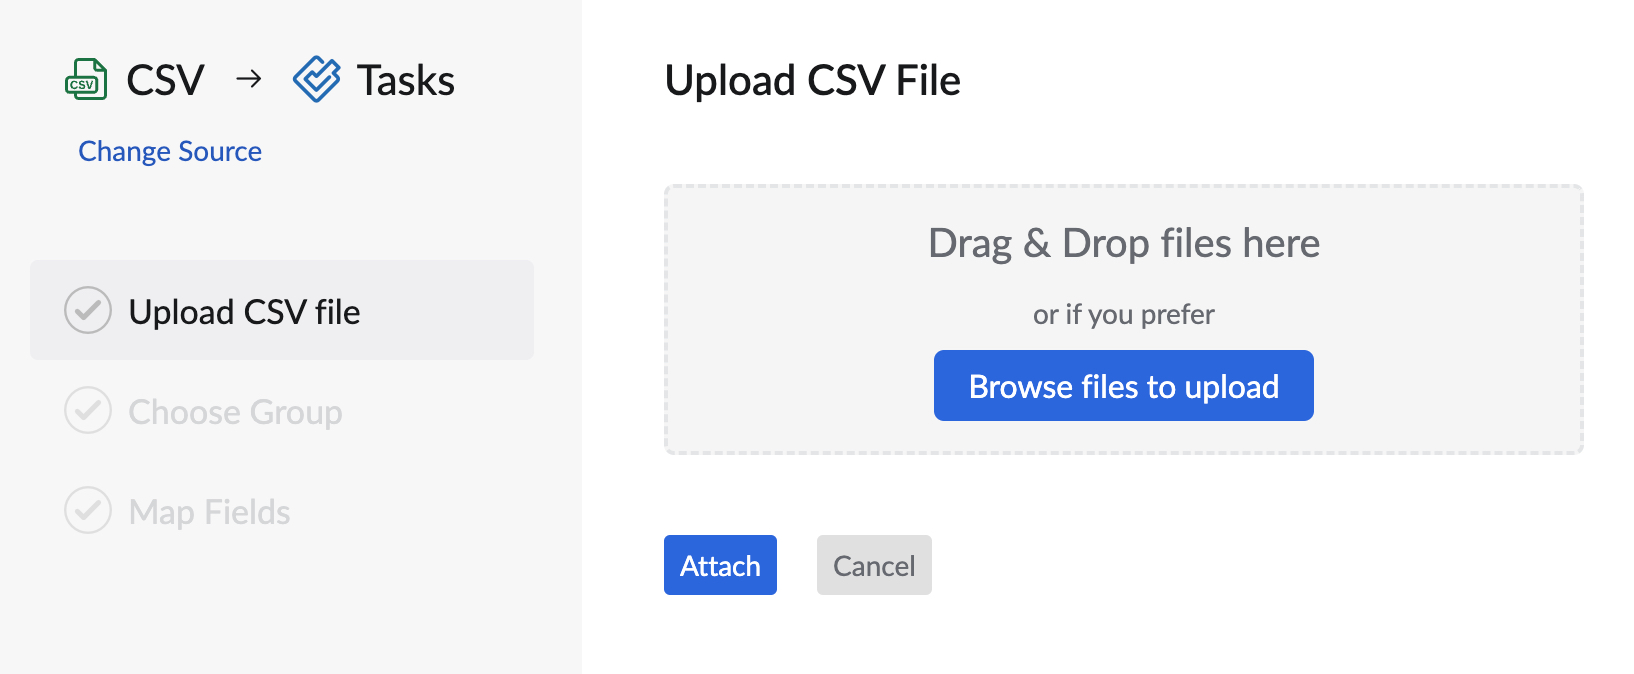
- Click the Browse files to upload button and upload the .csv file with your task info from your local storage. You can download the sample CSV file from here.
- Click Attach after uploading the file.
- Choose the group to which you want to import the Tasks using the Import Tasks to drop-down. You can also choose to import the tasks to your Personal tasks.
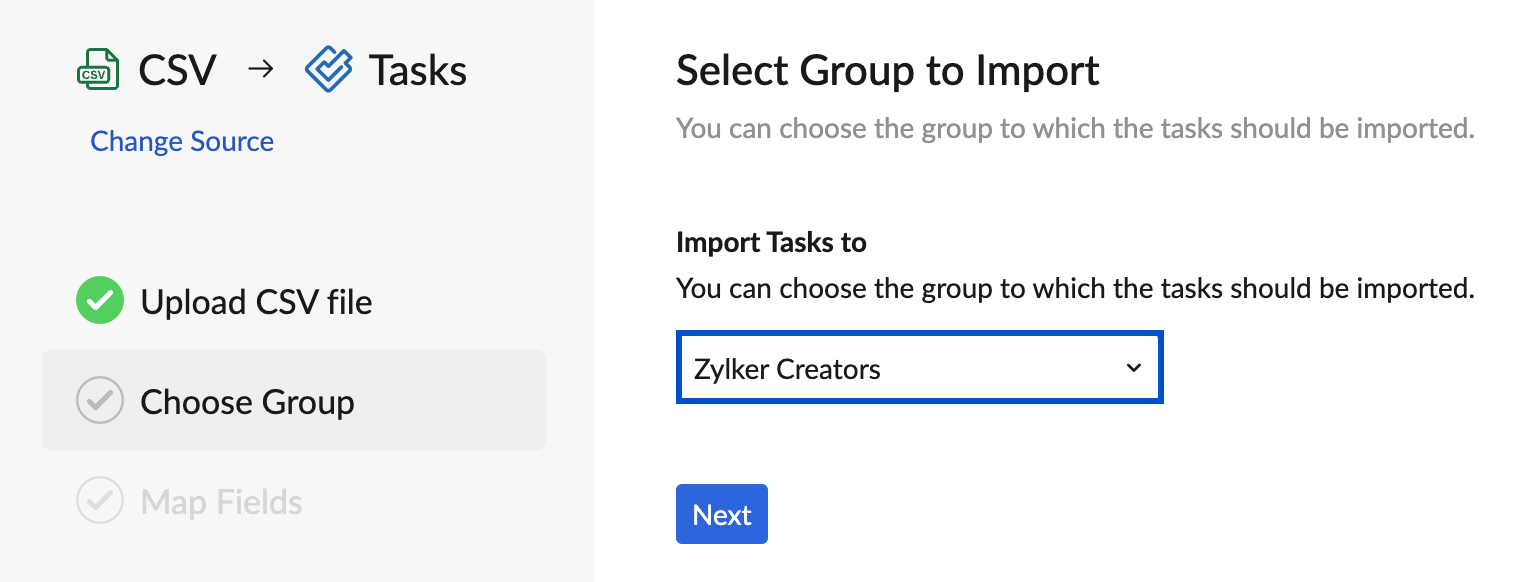
- Click Next.
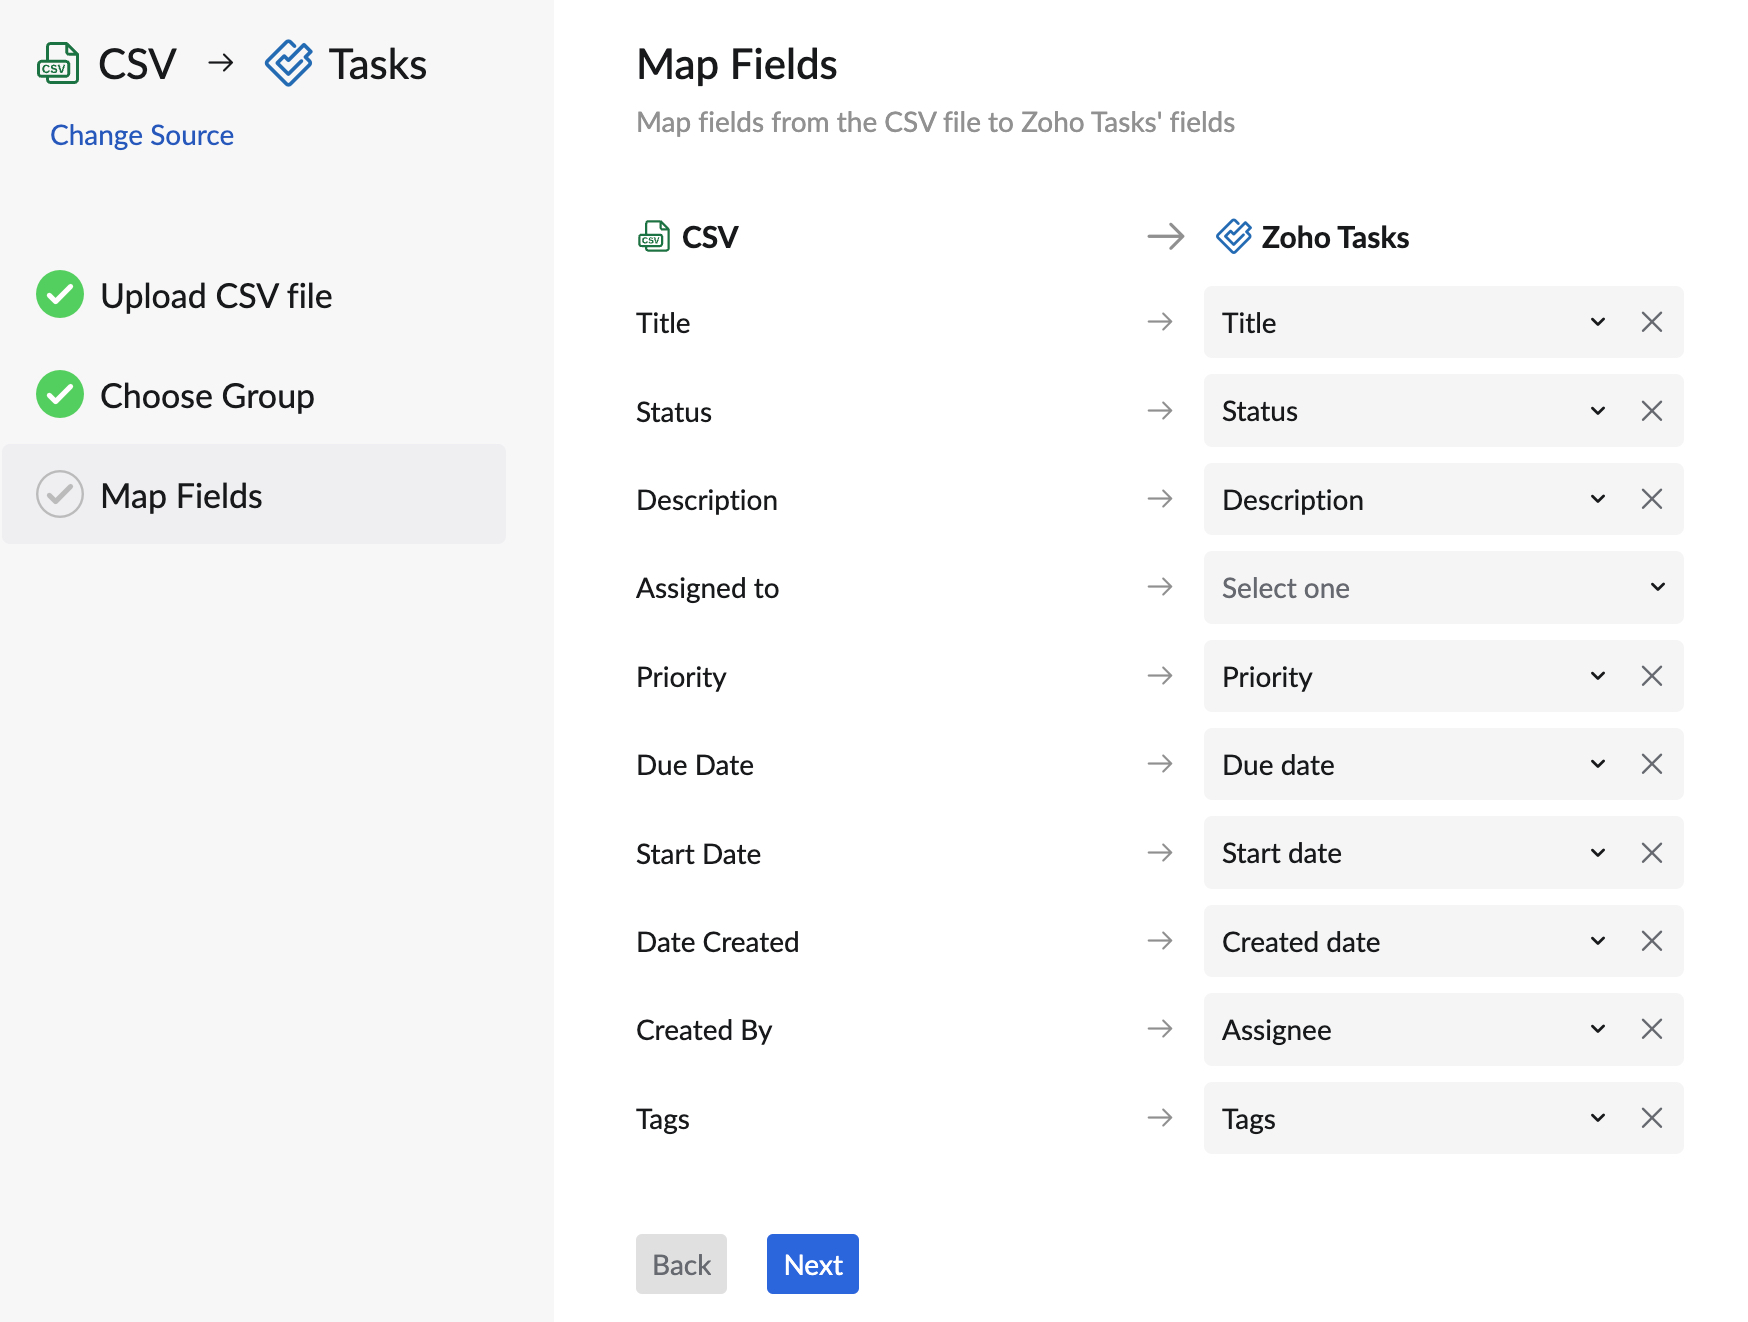
- Map fields to associate the fields in the CSV file with the Tasks fields.
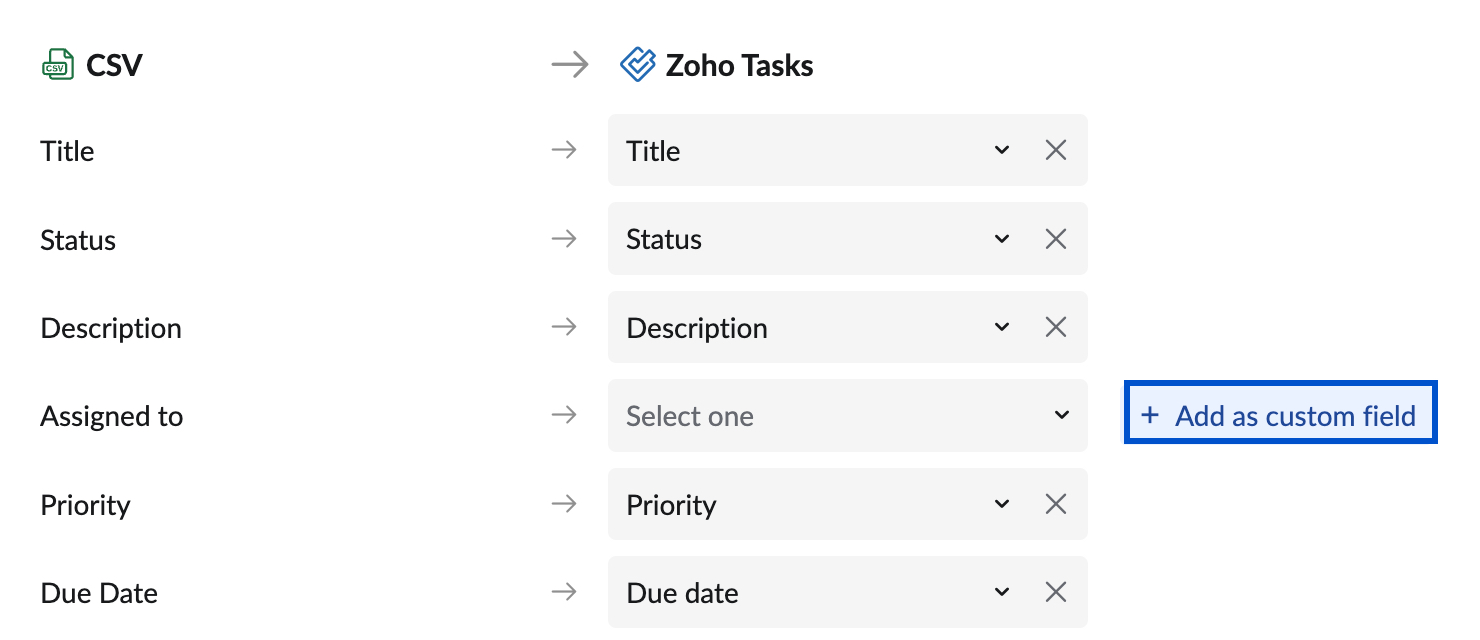
- If you want to add a custom field in the Tasks app for the fields provided in the CSV file, click + Add as custom field.
- Select the field type:
- Text field: You will have to provide the field name and choose to provide a default field value which will be applied if no values are mapped for the particular field. The field value will accept alphabets, numbers, and special characters.
- Numeric: You will have to provide the field name and choose to provide the default field value which will be applied if no values are mapped for the particular field. The field value can be a whole number or a decimal number.
- Dropdown: You will have to provide the field name and a set of values by clicking Add option from which one of the choices can be selected as a value. You can also choose to provide a default value to the field which will be applied if no values are mapped for the particular field.
- MultiChoice: You will have to provide the field name and a set of values by clicking Add option from which one or more choices can be selected as values. You can also choose to provide multiple values that can be applied to the field if no values are mapped for the particular field.
- You can make the Custom field mandatory for the users to fill during task creation by enabling the Mandatory toggle.
- Check the preview generated and once you are satisfied with the result, click Create.
- Select the field type:
- If you want to add a custom field in the Tasks app for the fields provided in the CSV file, click + Add as custom field.
- Click Next once you map the fields.
- Map values for the associated fields like:
- Status - Open/ Closed/ Renewed/ Review. If no option is mapped, the task will be marked Open by default.
- Priority - High/ Medium/ Low. If no option is mapped, the task will be marked for Medium priority by default.
- Category - General/ Any other Tasks category created by you. If no category is mapped, the task will be put under the General category by default.
- Assignee - If the tasks are not assigned to a particular person, they will be left unassigned by default.
- Tags and custom fields with multiple values.
- Click Finish.
- The upload will begin and you can continue performing other operations. Once the import is done, you will receive an email notification.
Your tasks will be imported and added to the respective group.
Note:
You have to provide the date format in the CSV file to associate the Due date, Start date, and Created date with the Tasks fields. Refer to Sample CSV.
Import tasks from Trello
You have the option of importing your tasks from Trello to Tasks and managing them here with the help of Trello integration.
To import tasks from Trello:
- Login to Zoho Mail and navigate to Tasks or log in to Zoho ToDo.
- Navigate to a group to which you want to upload your tasks to. You can always move the task to a different group or edit them later.
- If you don't choose a group the tasks will be imported to Personal Tasks by default.
- Click the More options icon and then choose Import.

- Choose Trello from the Task import pop-up.

- Click Authenticate if you haven't linked your Trello account to Zoho. (or) Click Next if you have already authenticated Zoho Mail to access your Trello account and skip the next two steps given below.
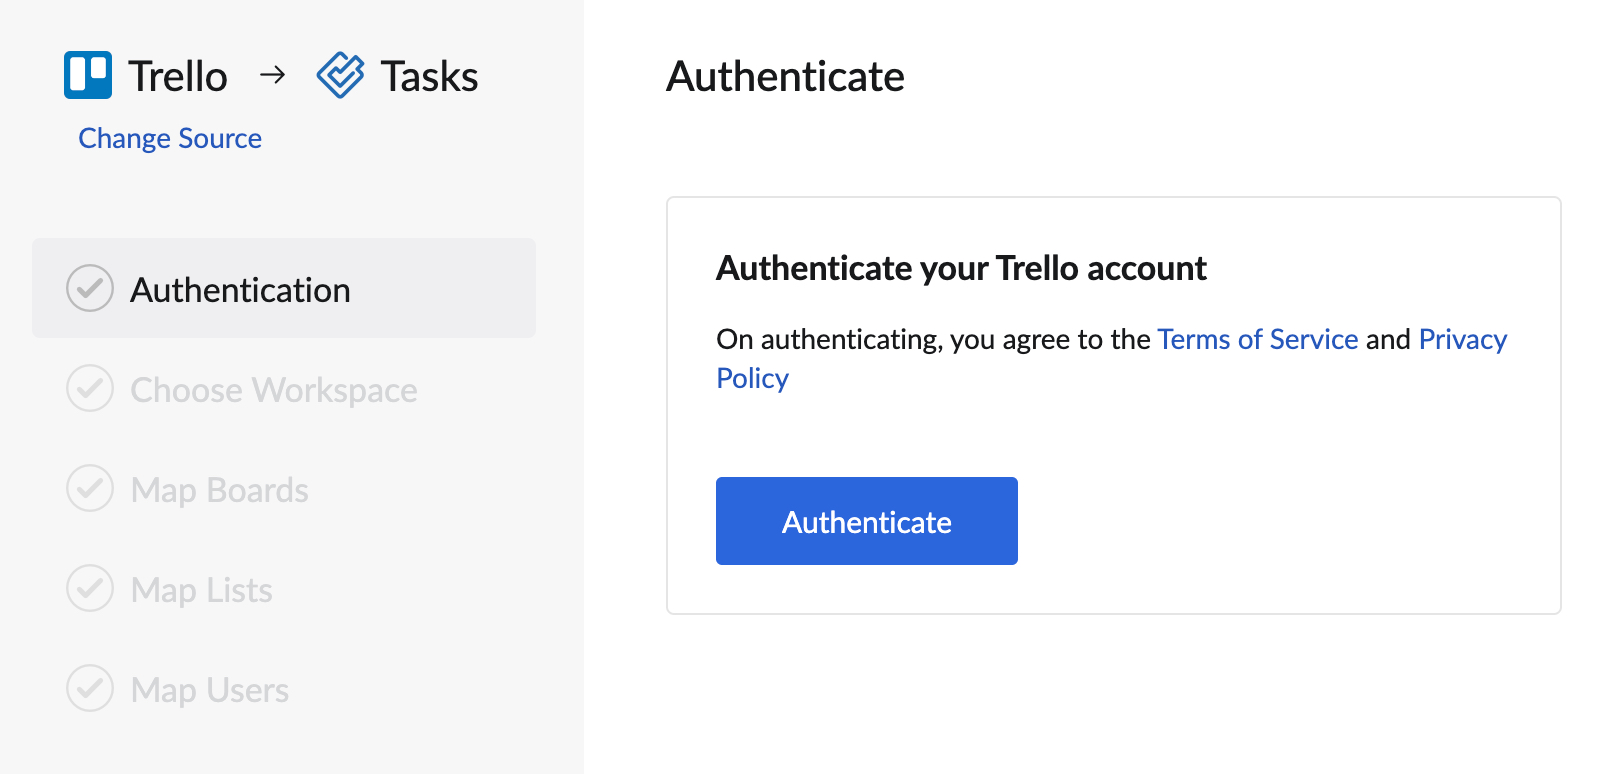
- Click Login in the Authorize | Trello pop-up and log into your Trello account.
- Click Allow. You can now proceed to import your tasks from Trello.
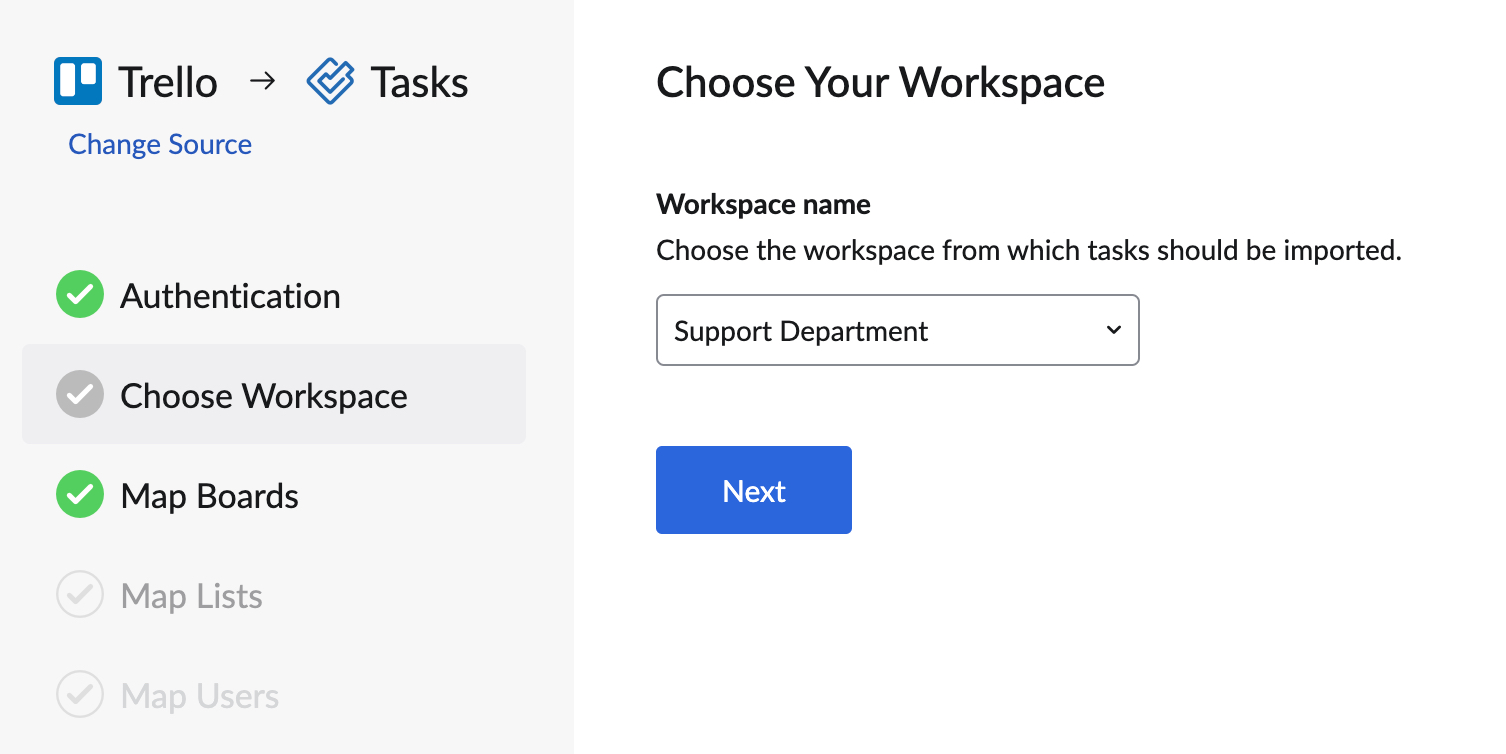
- Choose a Workspace from which you want to import the tasks using the drop-down and click Next.
- Map Boards in Trello with the Groups in Zoho Tasks. You can also map the Boards to your Personal Tasks.
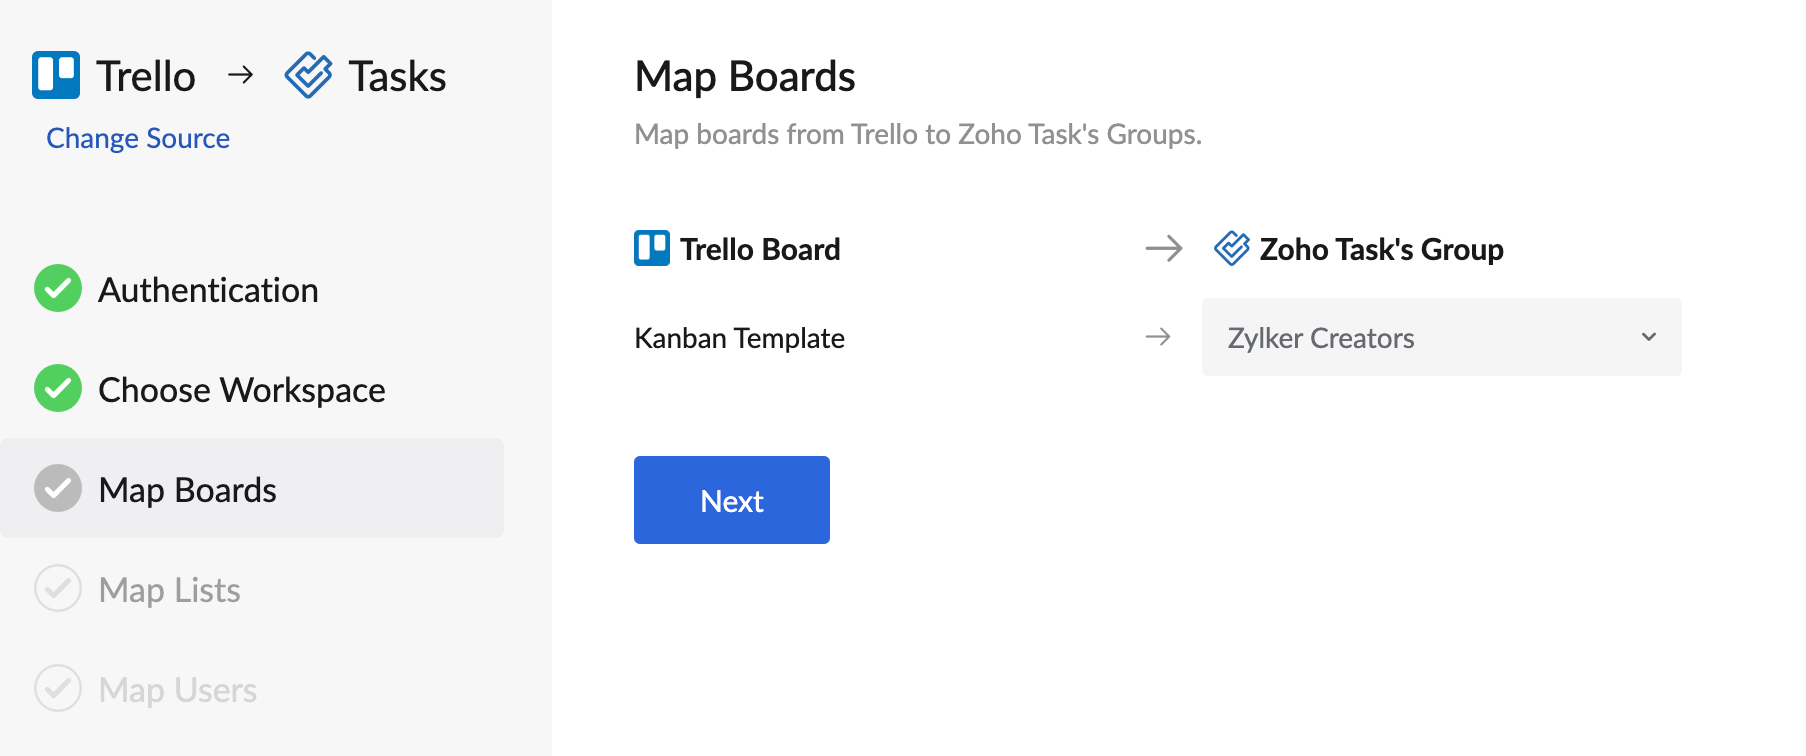
- If you don't choose an option the boards will be mapped to Personal Tasks by default.
- Click Next.
- Map the Lists on each board with the Categories in Tasks. You can also create new categories and map the lists with them.
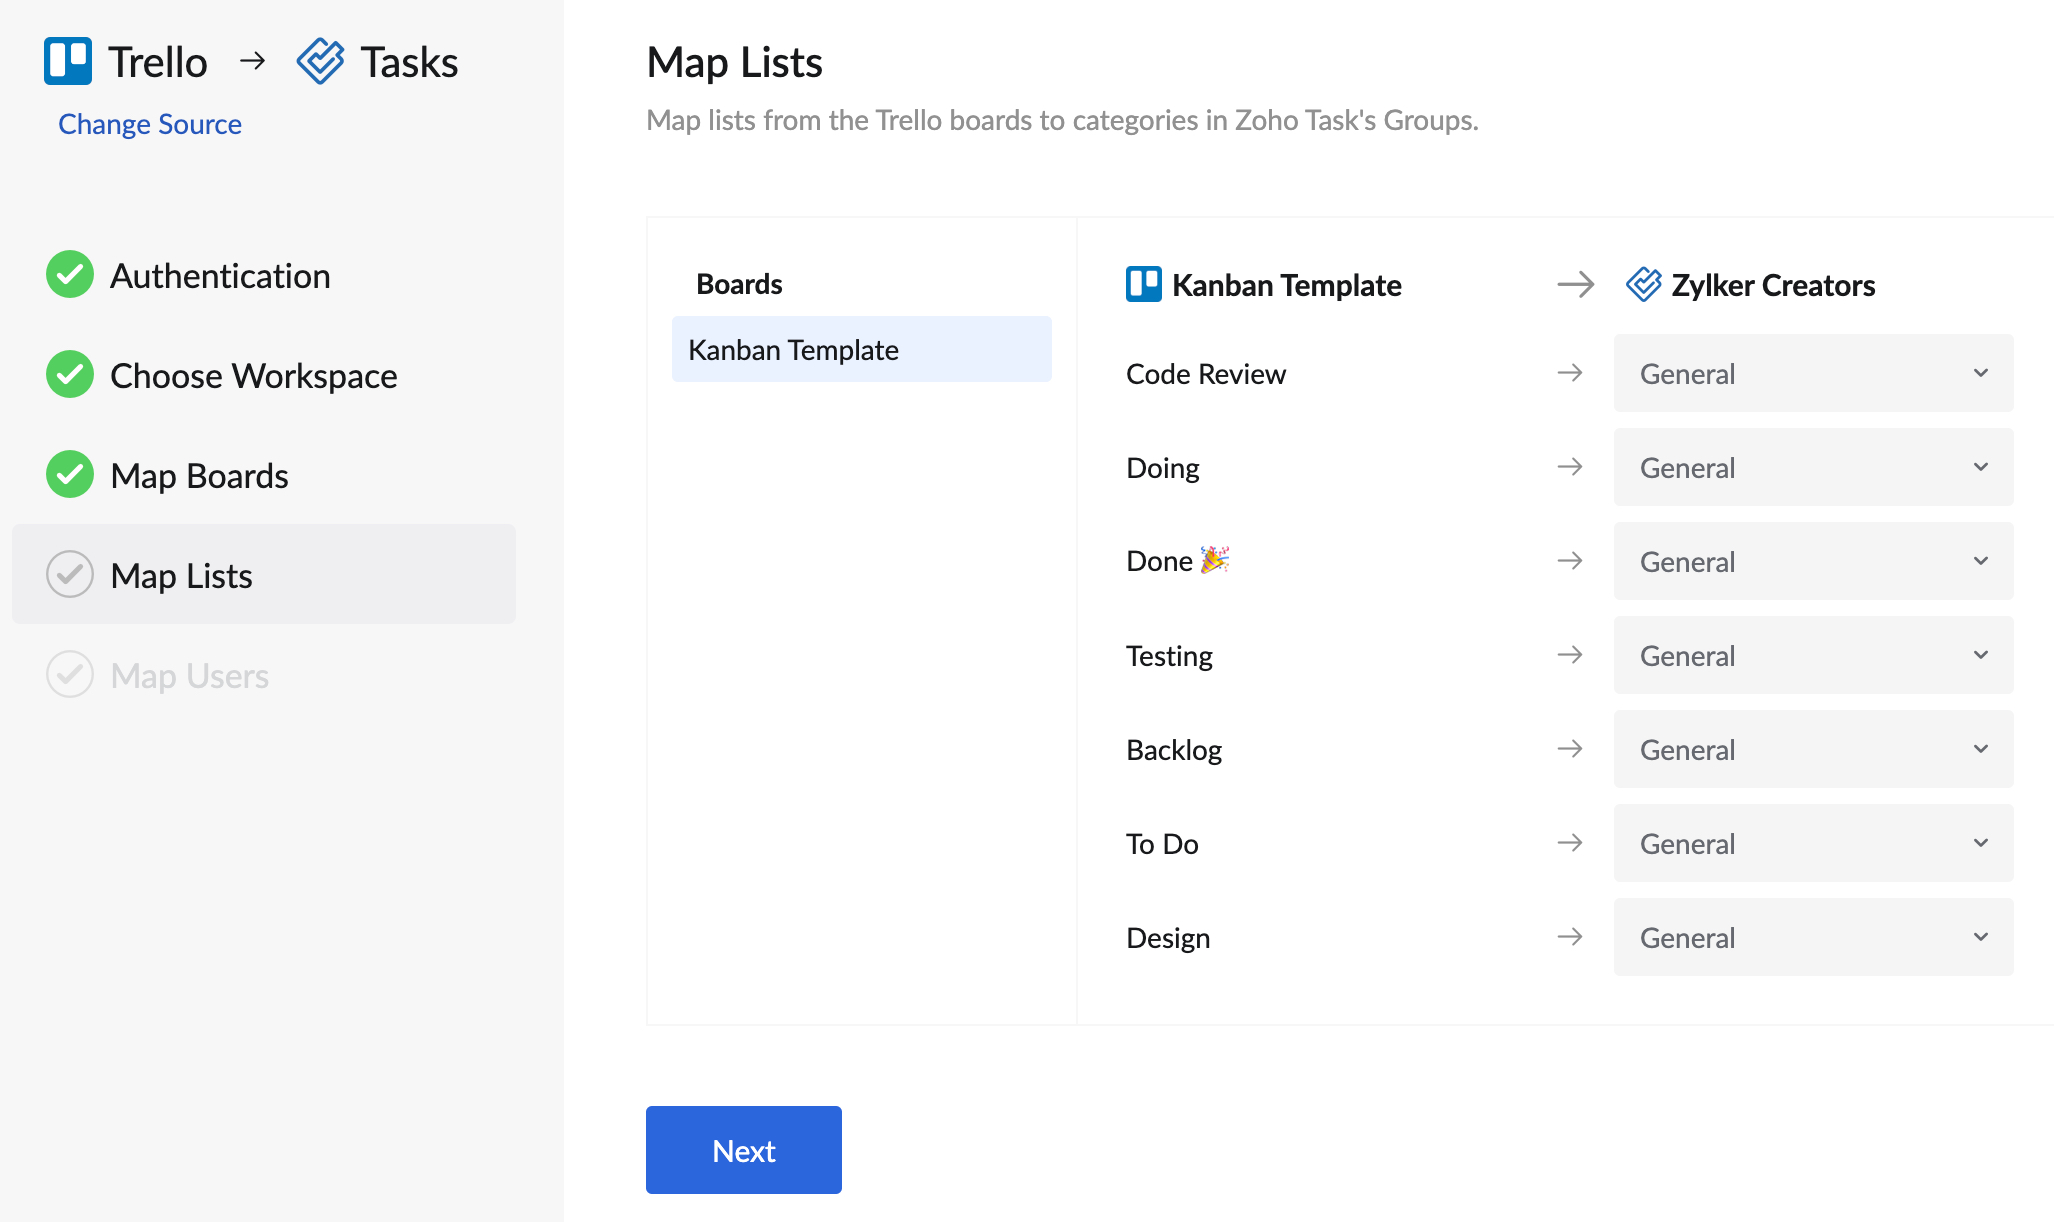
- Click Next.
- Choose the Assignees and click Complete.
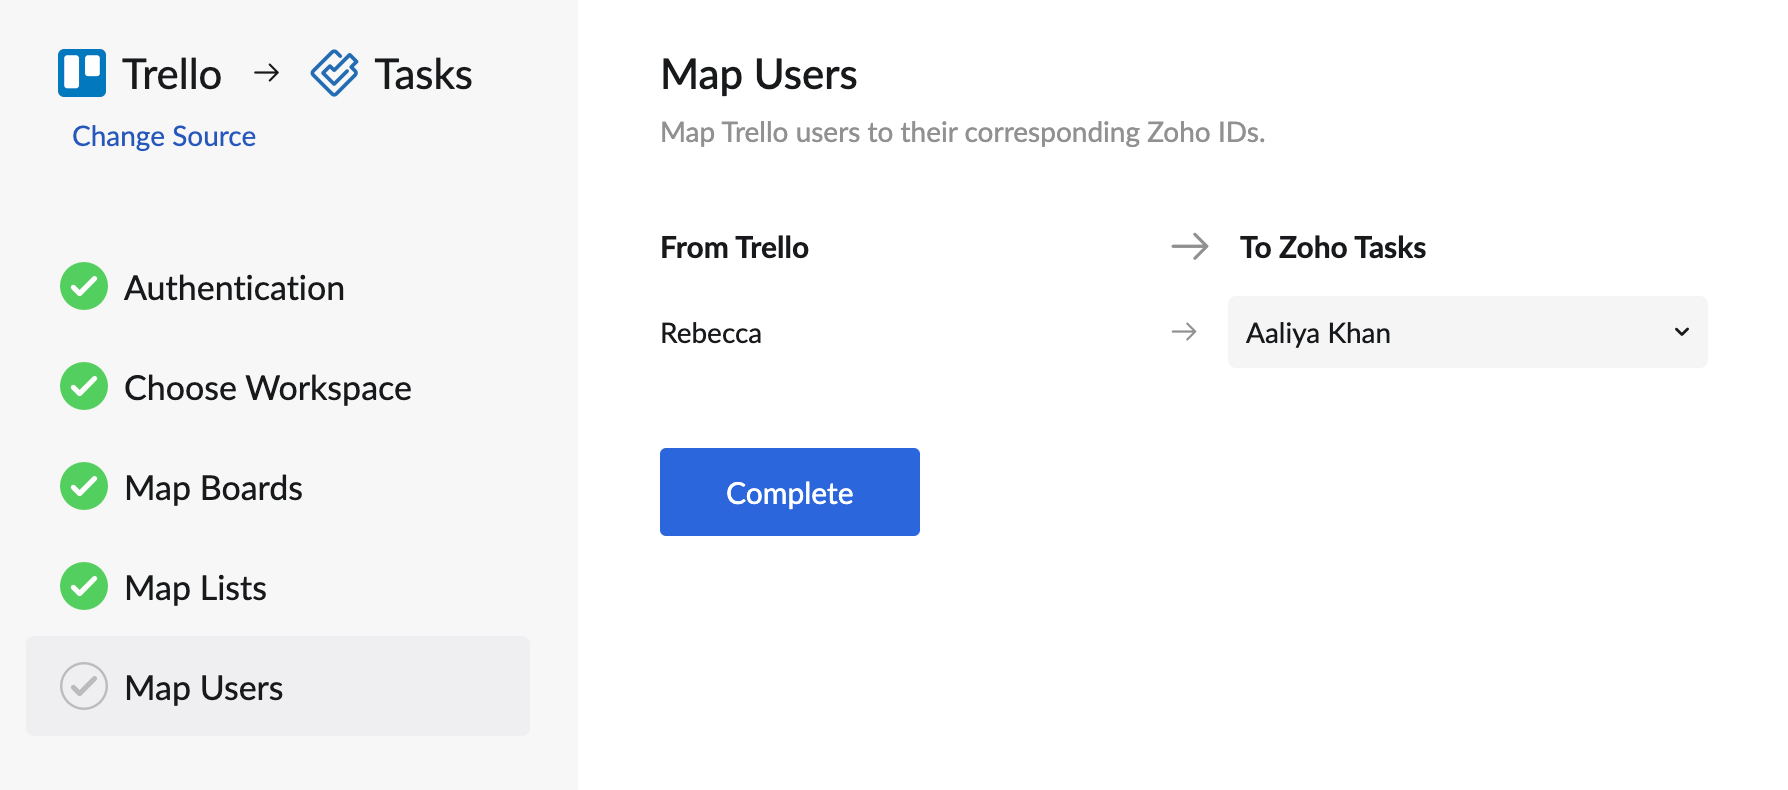
Your import will be scheduled and you'll be notified via email once completed.
Import tasks from Google Tasks
You have the option of importing your tasks from Google to Tasks and managing them here. Only the tasks in the My tasks section of Google Tasks can be imported to the Personal tasks section of the Tasks application.
To import tasks from Google:
- Login to Zoho Mail and navigate to Tasks or log in to Zoho ToDo
- Navigate to a group to which you want to upload your tasks to. You can always move the task to a different group or edit them later.
- If you don't choose a group the tasks will be imported to Personal Tasks by default.
- Click the More options icon and then choose Import.

- Choose Google Task from the Task import pop-up.
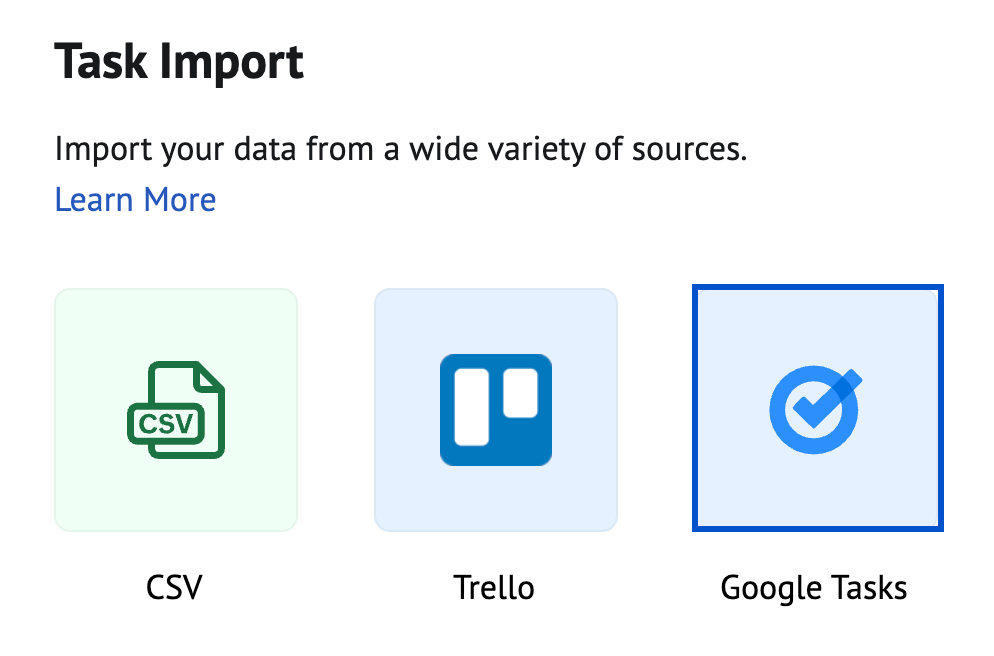
- Click Authenticate if you haven't linked your Google account to Zoho. (or) Click Next if you have already authenticated Zoho Mail to access your Google account and skip the next two steps given below.
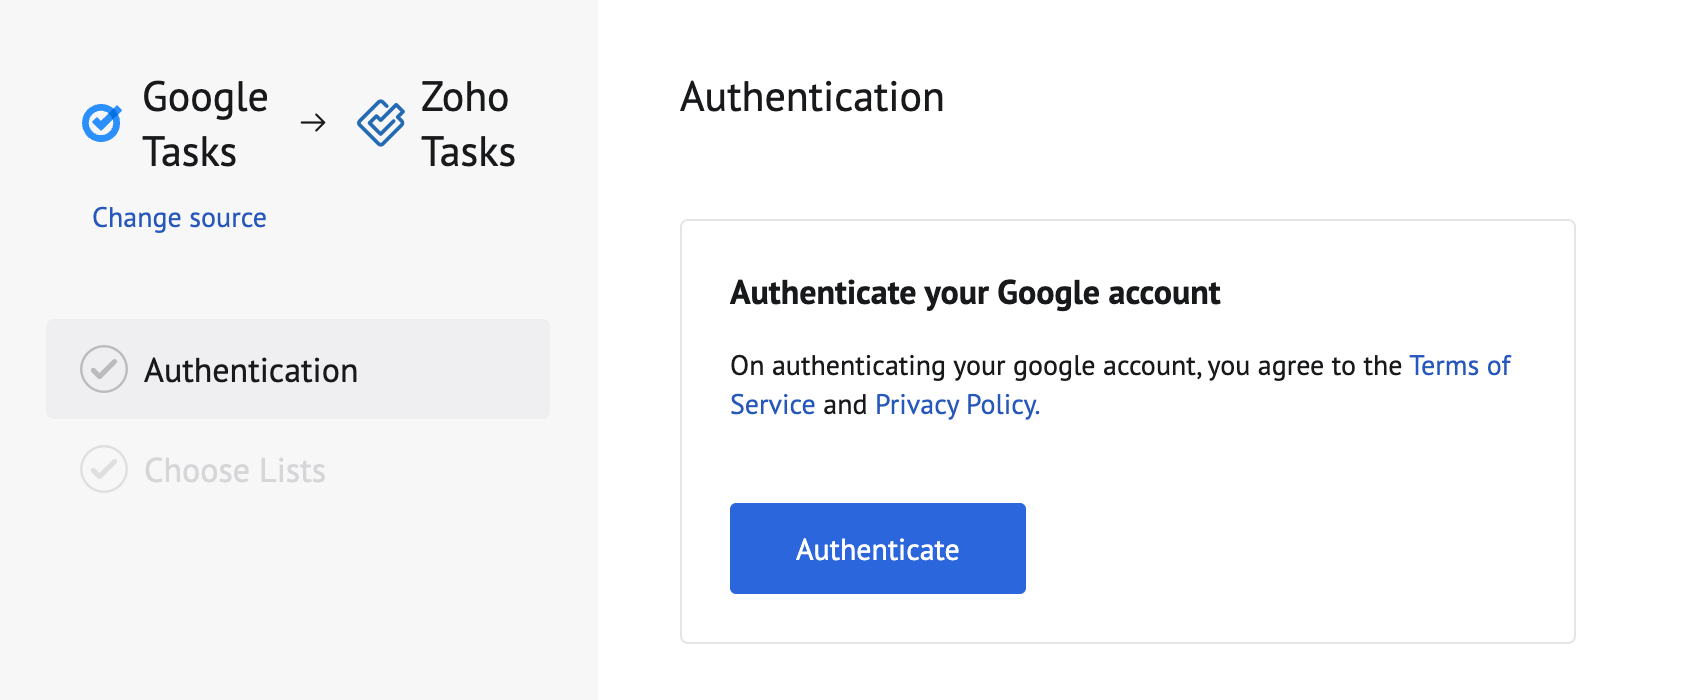
- Provide your Google account credentials and log in to your Google account.
- Click Allow to provide Zoho Mail access to import your tasks.
- Choose the Category in your Personal tasks to which the tasks should be imported to.

- Click Start import.
Your import will be scheduled and you'll receive an email upon successful completion of the import process.


