Zoho Sign Extension
Zoho Mail has integrated Zoho Sign as an extension. Using this extension, you can sign documents yourself, or set up e-sign workflows to collect signatures and obtain approvals on paperwork, to create legally binding business documents directly from eWidget in Zoho Mail.
Table of Contents
Steps to Access Zoho Sign in eWidget
- Login to your Zoho Mail account
- Click on the eWidget icon at the bottom-right corner of your mailbox.
- Locate Zoho Sign from the eWidget app menu and click on it.
- If you are an existing Zoho Sign user, the integration will be enabled by default and you can start using it right away.
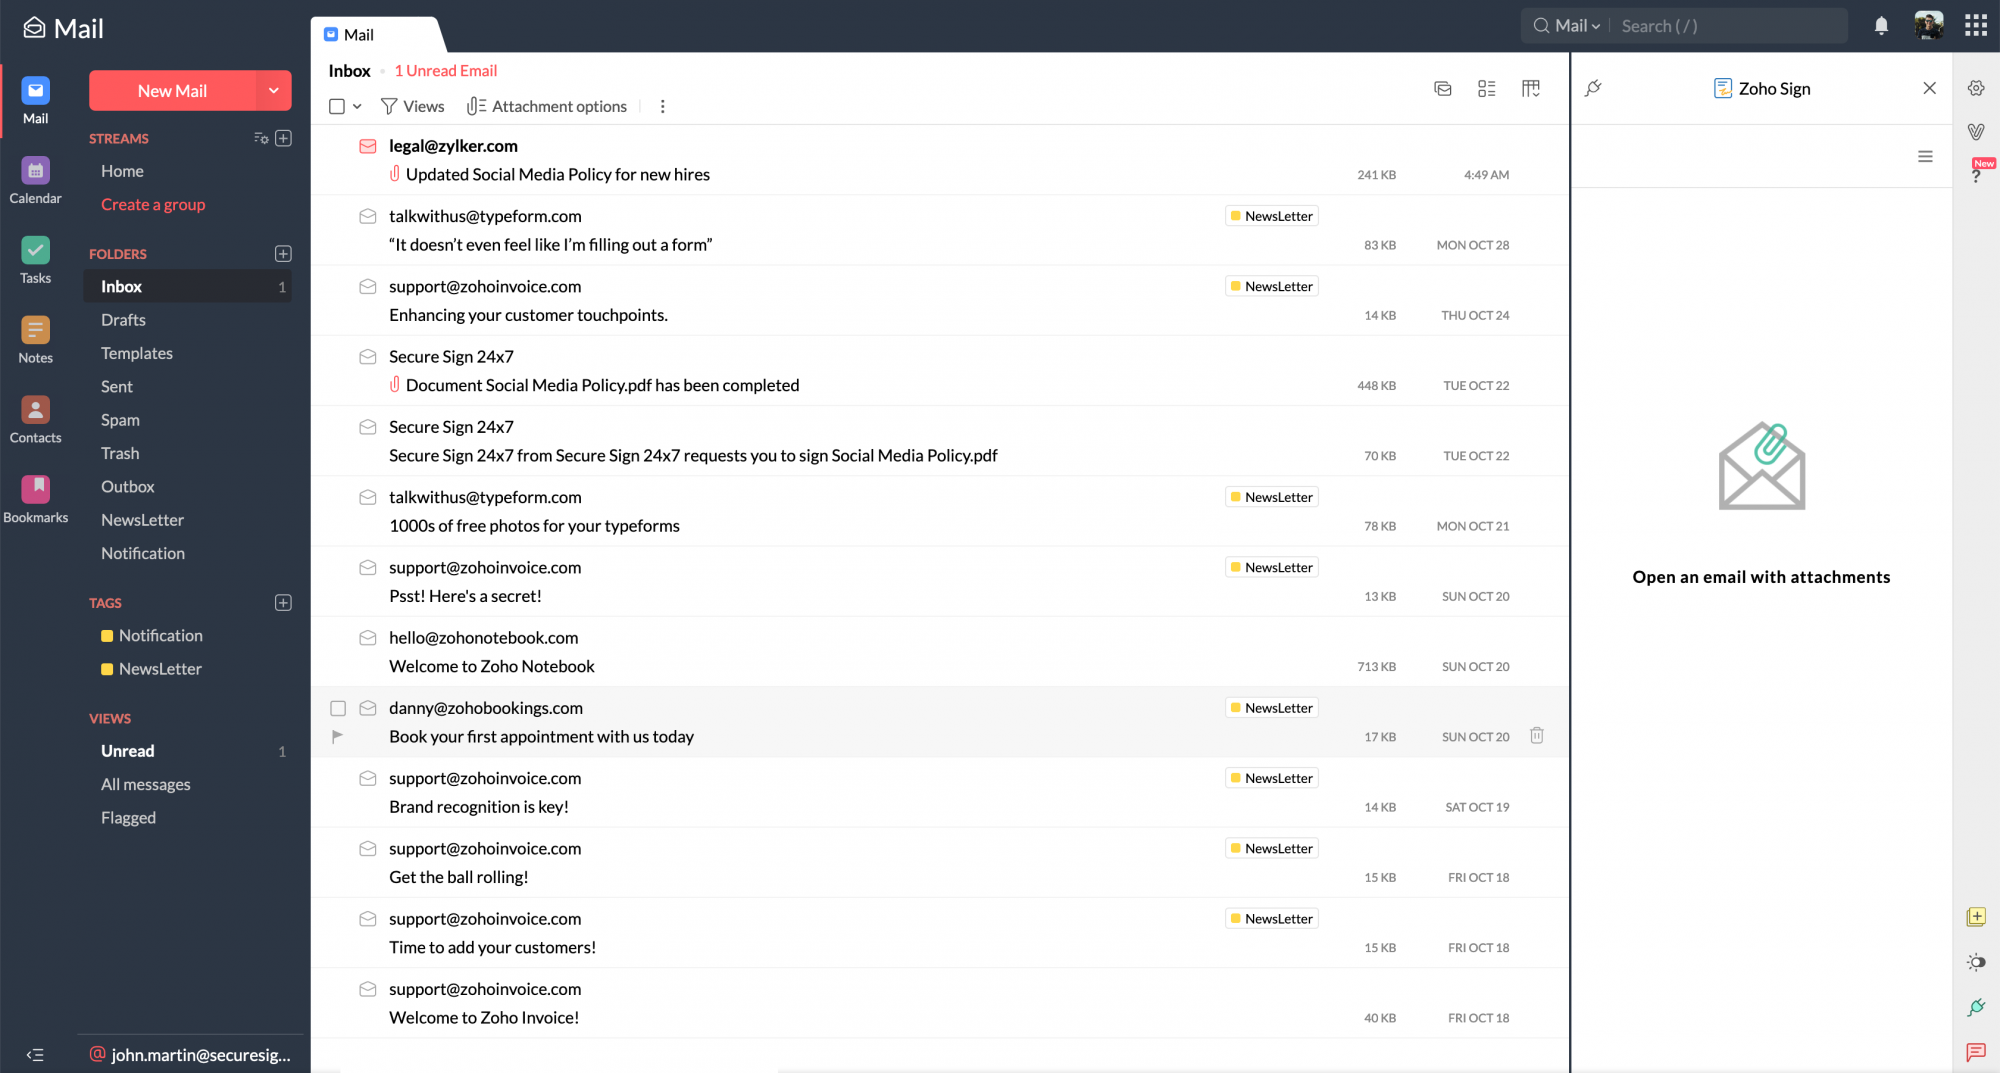
- Open an email with attachments to add documents and sign them or send them for signatures.
Steps to send documents for signatures using the extension
- Open the email containing the documents that need to be sent for signatures as attachments.
- Select the attachments that need to be sent for signatures and click Send for signatures.
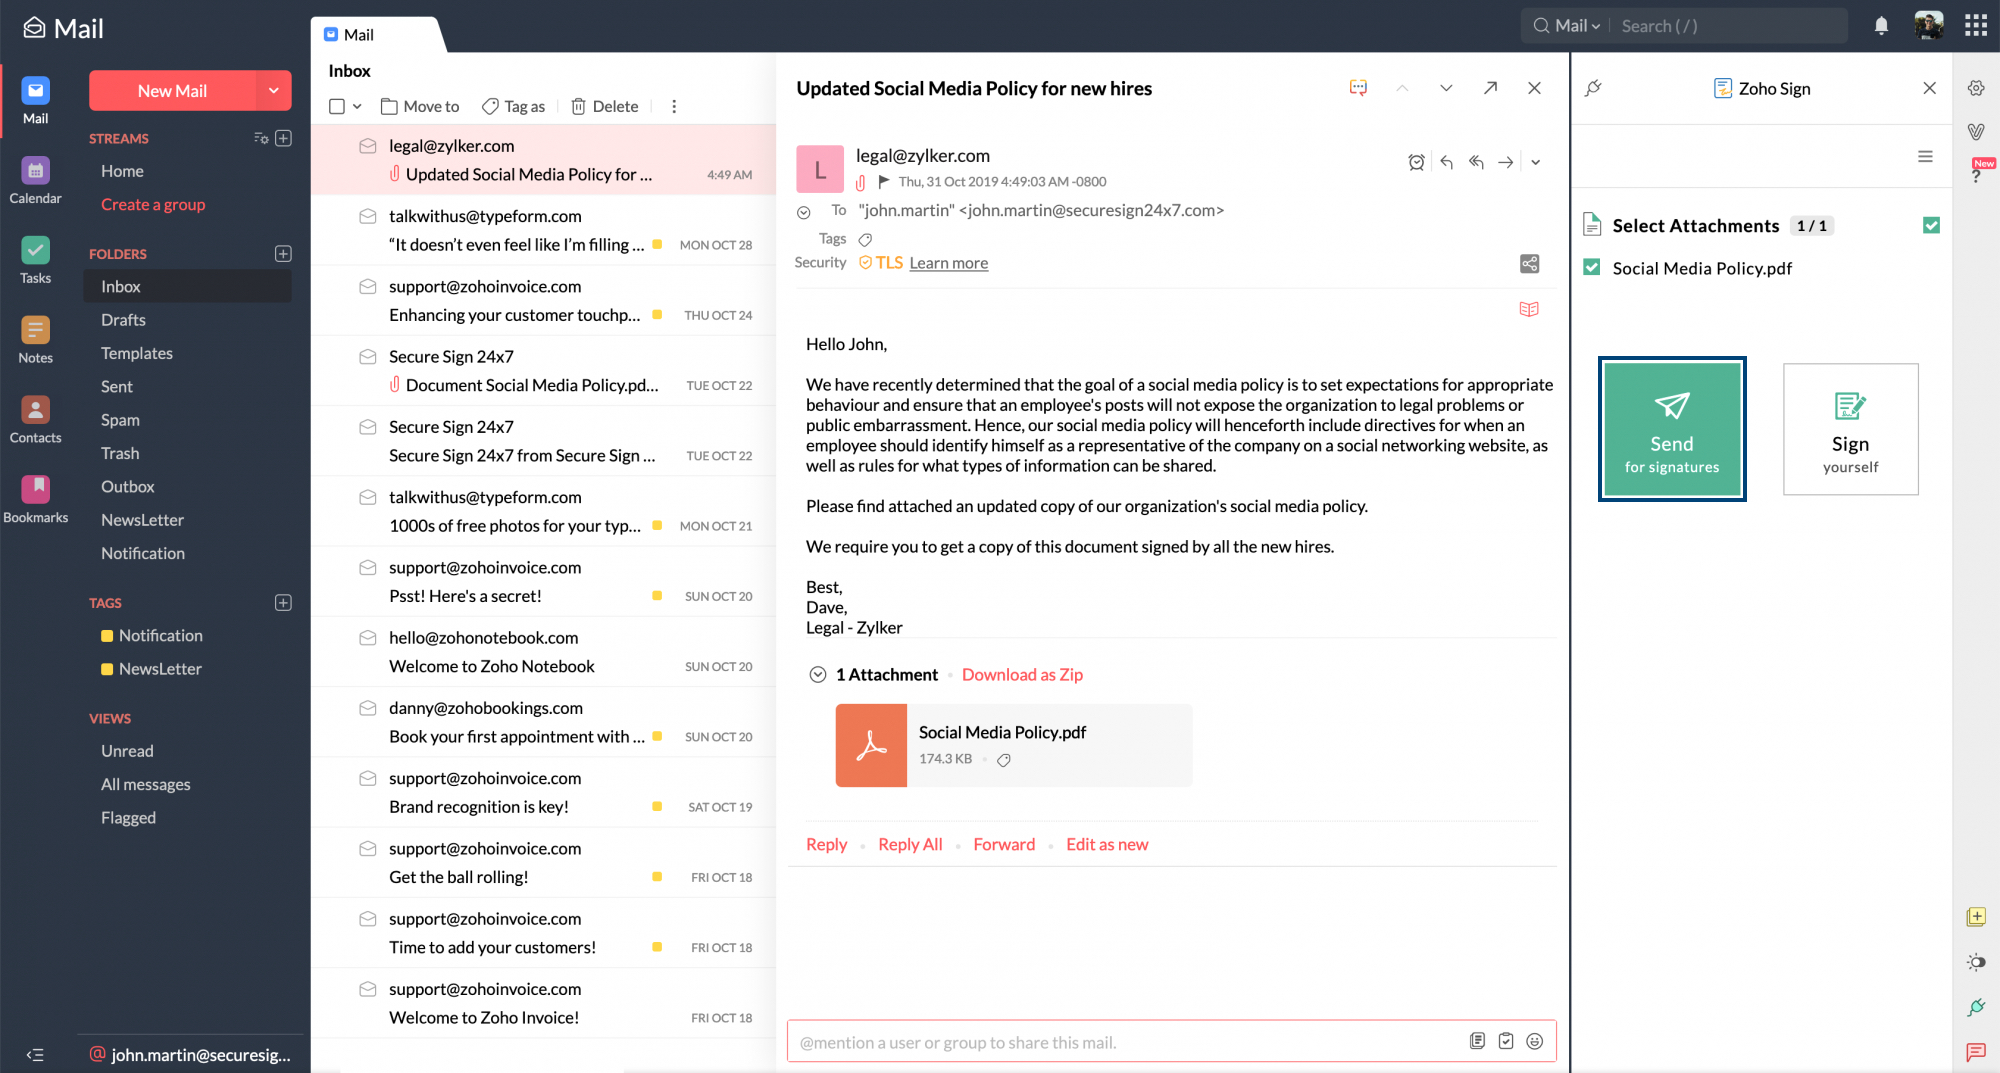
- Click Add Recipients to add recipient details.
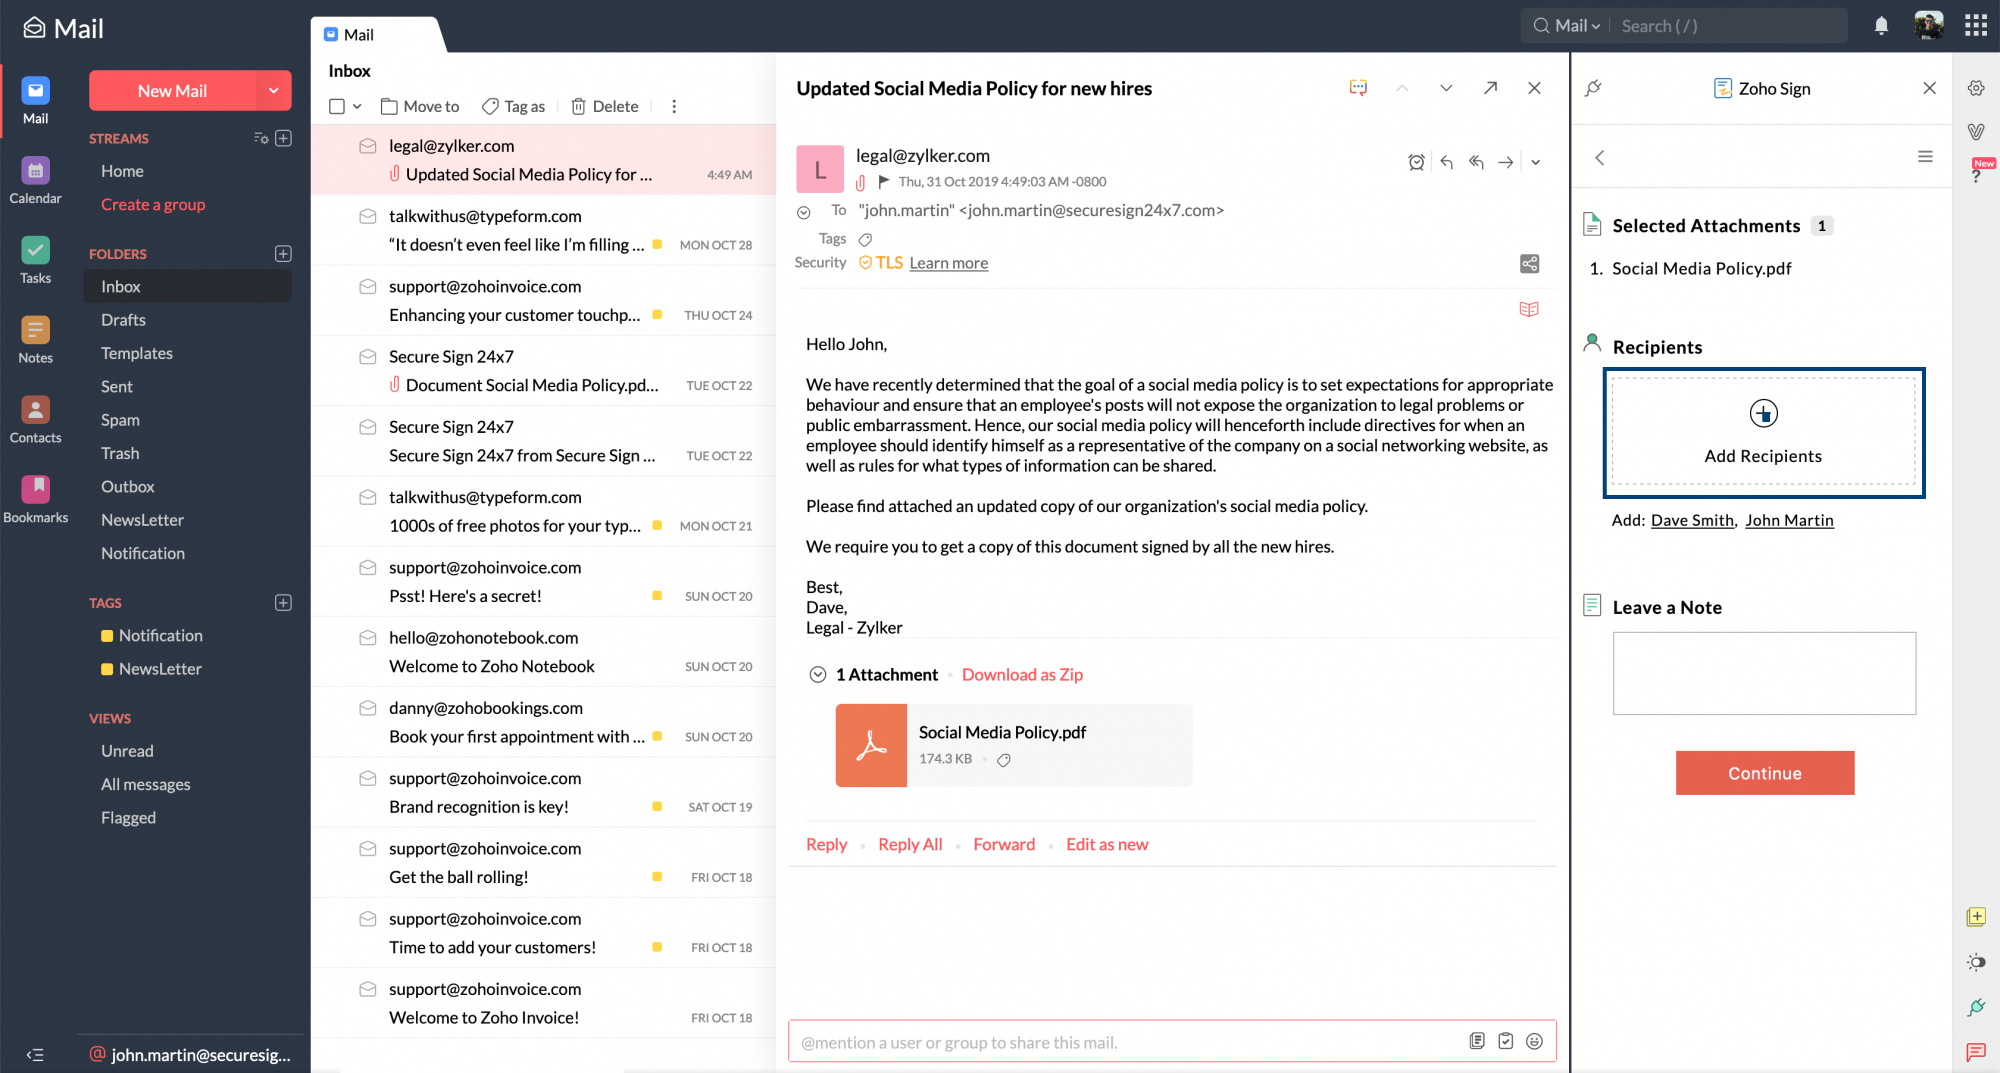
- Choose the necessary recipient action from the Action dropdown. (In case an In-person signer is chosen, enter the host's name and email address below the recipient details.)
- Select the required mode of authentication from the Authentication Mode dropdown.
- Add a private message, if required, and verify all the details associated with the recipient(s) and click Add.
- Once the sign workflow has been completely set up, verify all the details and click Continue.
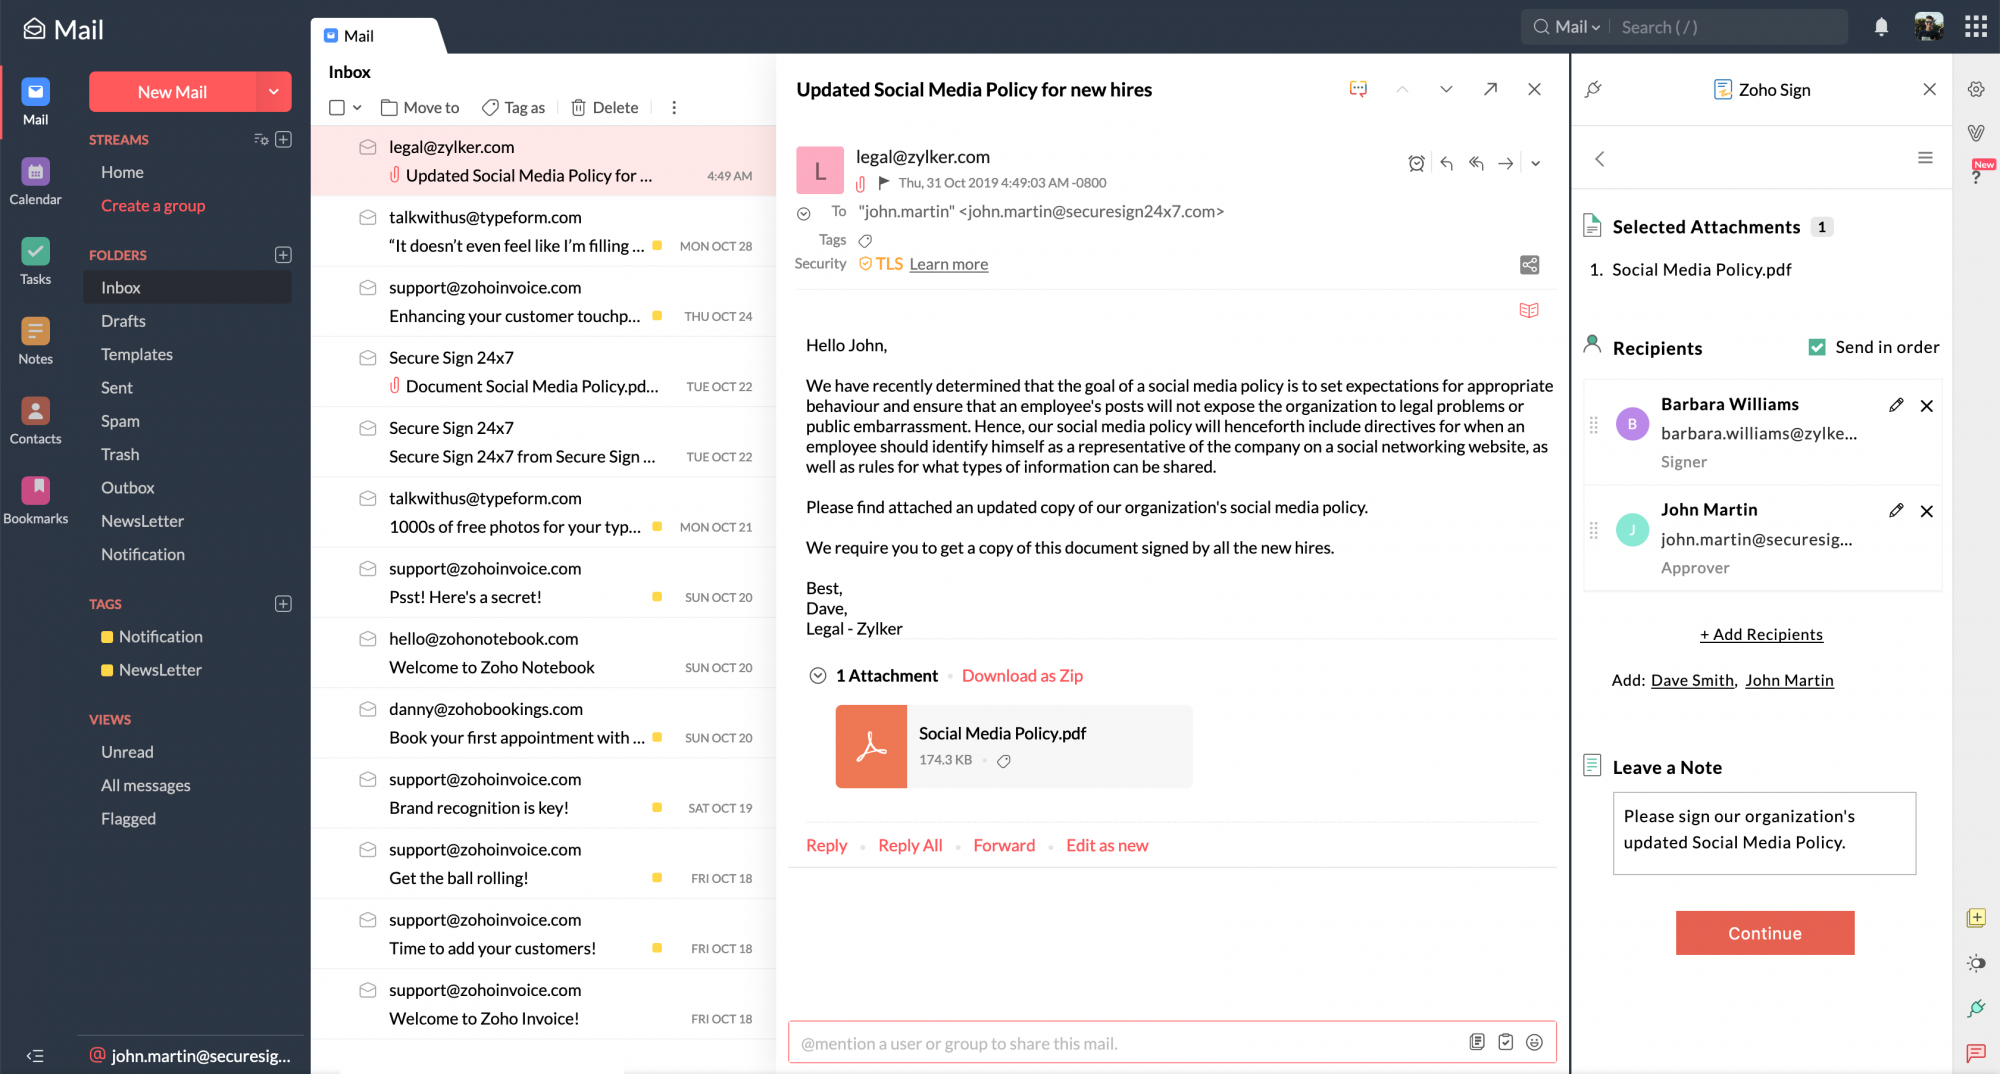
- A pop-up will then redirect you to the Zoho Sign application where you can edit the workflow, add signer fields to the documents, and send it out for signatures.
Steps to sign documents yourself using the extension
- Open the email containing the documents that you need to sign yourself.
- Select the attachments that you need to sign and click Sign yourself.
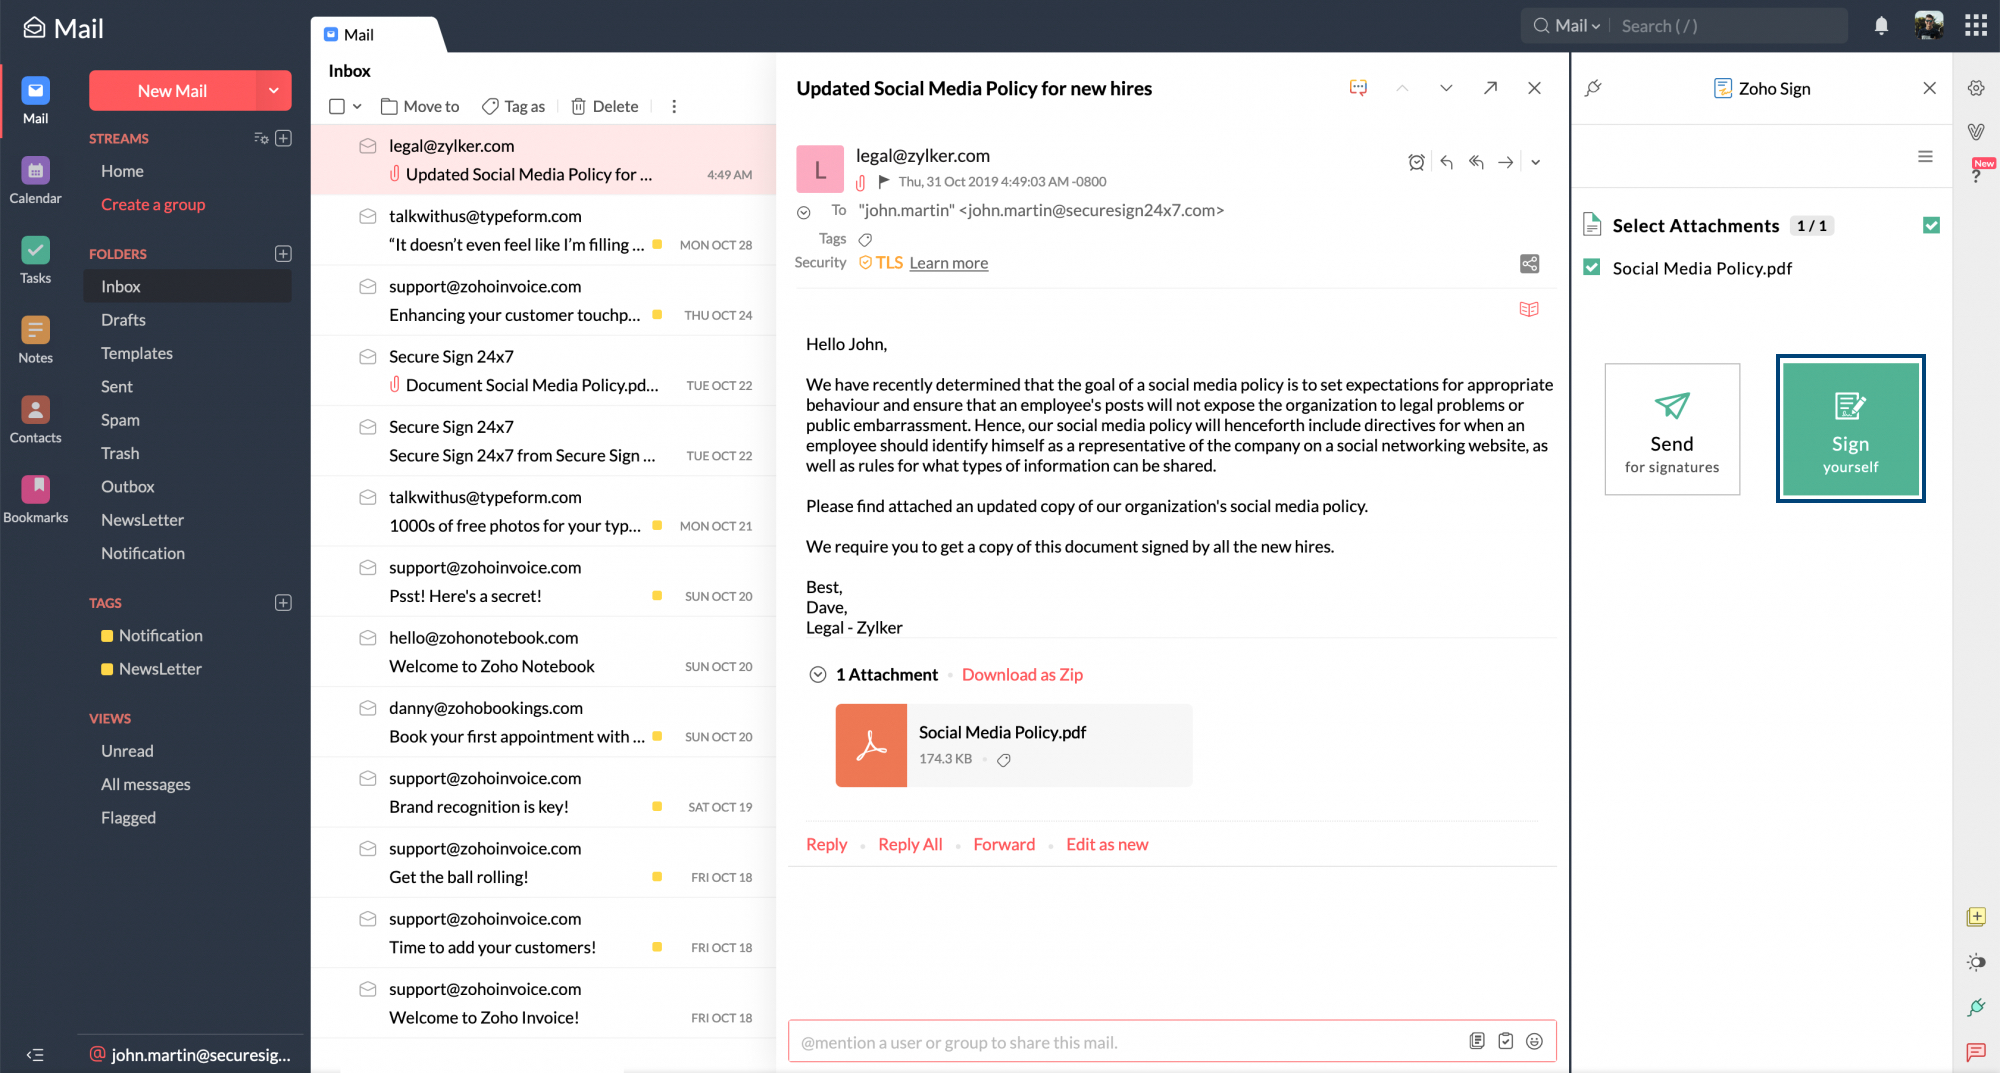
- A pop-up will then redirect you to the Zoho Sign application where you can add your signature and other fields of information to the documents, and finish signing it yourself.


