


DNS Record Configuration for 1 & 1 DNS Manager
Zoho Mail provides multiple options to verify your domain ownership and configure email delivery in 1 & 1 DNS manager.
One-click Verification
Zoho Mail simplifies the domain verification process if your domain is purchased from 1&1. Follow the below steps to verify your 1 & 1 domain using the Domain Connect option:
- Log in to Zoho Mail Admin Console and select Domains on the left pane.
- Select Add, enter your domain name and click the Add button.

- Click Login to my DNS on Zoho Mail's domain verification page. Zoho Mail automatically identifies your domain provider and the 1&1 Sign in page opens.
- Log in with your 1&1 admin credentials and click Connect.

- Click Allow in the next step to provide permission for Zoho Mail to access your domain account.
- Click Continue setup process to return back to Zoho Mail Admin Console.


Once, you've granted access, your domain will be verified in Zoho Mail. Click Proceed to continue with DNS Mapping.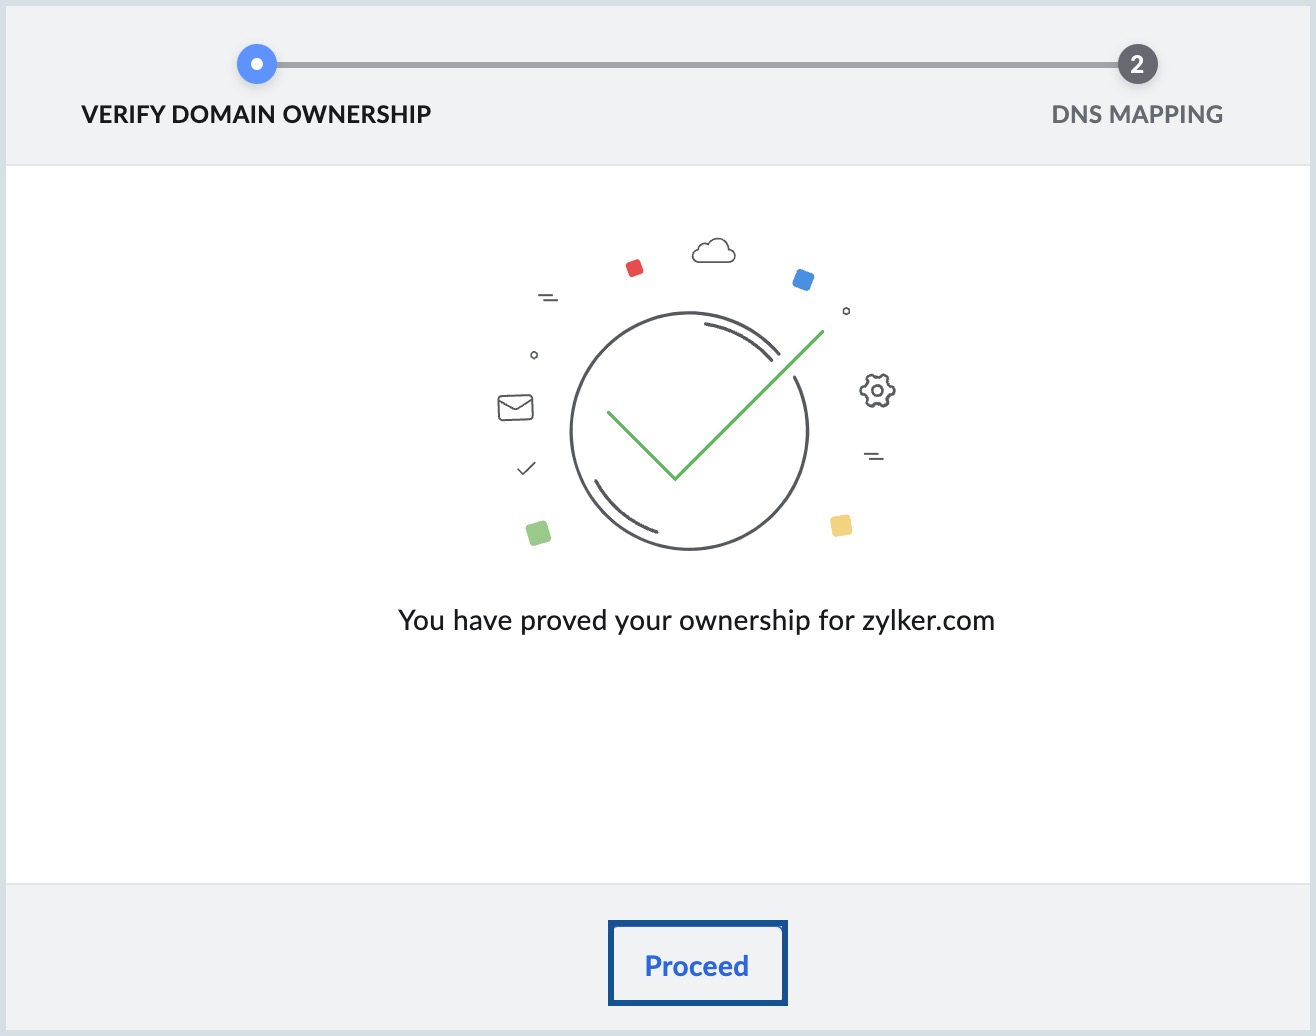
Further, to configure the MX, SPF and DKIM records, once you reach the MX configuration step in the setup process, click Proceed. Since you have already logged into your 1 & 1 domain during the domain verification process, the setup will be complete.
1 & 1 DNS Manager - Add TXT Records for Verification
To manually add a TXT record and verify your 1 & 1 domain, follow these steps:
- Log in to your IONOS or 1 and 1 account and navigate to the Domains and SSL section.
- Select the domain you want to verify with Zoho and click on the Settings icon under Actions.
- Select DNS and click Add record.
- Choose TXT as the Record type.
- Enter the details for your TXT record.
- In the Host Name field, enter @
- In the Value field, enter the TXT value generated in the Zoho Mail Admin Console.
- In the TTL field, choose 1 hour or 3600 seconds.
- Now, click Save.
- Navigate back to the Zoho Mail Admin Console page and click 'Verify by TXT'.
- If the DNS information is correctly propagated, which you can check using the DNS lookup tool, the domain will be verified. You can proceed with the next steps to create user accounts.
1 & 1 DNS Manager - Add CNAME Records for Verification
Follow these instructions to add a CNAME and verify the domain manually:
- Log in to your IONOS or 1 and 1 account and select Domains and SSL.
- Navigate to the domain you want to verify with Zoho and click on the Settings icon under Actions.
- Select DNS and click Add record.
- Select CNAME as Record Type.
- Specify the Host Name as the code (Zb code) generated in your Zoho domain verification page (Example: zb12345678).
- in the Points To field, specify the value from the CNAME Value/ Points To/ Destination field of your Zoho Mail Admin Console.
- After setting the desired TTL, click Save.
Note:
In case you are not able to add the CNAME Record directly. Create a subdomain with the Zb code generated in your Zoho domain verification page. And then, add CNAME with zmverify.zoho.com, in the Point To field by editing it's DNS settings.
You have now added the CNAME successfully. You may have to wait for at least an hour for the changes to take effect in the DNS Servers. After an hour or two, log in to your Zoho Mail Control Panel and click Verify. Once your domain is verified, you can start adding users and creating mail accounts.
Update MX, SPF and DKIM Records - 1 & 1
If required, administrators can configure the DNS records manually in their 1 & 1 DNS manager. Follow the below steps to add/change the MX Records of the domain to start receiving emails, add SPF and DKIM records to prevent spoofing of your domain email address.
- Log in to your IONOS or 1 and 1 account.
- Select Domains and SSL and navigate to the domain you want to configure MX records and click on the Settings icon under Actions.
- Select DNS and click Add record.
- Select MX as Record Type.
- Enter @ as Host Name, specify mx.zoho.com in the Points to field, and set Priority to 10.
- After setting the desired TTL, click Save.
Repeat the same steps to add the second and third MX records and their priorities.
Note:
- Make sure the above three are the only MX records configured and delete others. The MX values given above are based on the generic configuration information. For more specific configurations particular for your domain refer to this section in the Admin Console.
- Ensure that you have deleted all the MX records related to your previous email provider. Any other existing MX record will conflict with Zoho Mail, affect email delivery, and result in a permanent loss of emails delivered.
- The MX records that should be returned when you check in the MX Lookup tool should be
- mx.zoho.com
- mx2.zoho.com
- mx3.zoho.com
- To add the SPF records, Click Add record and select SPF (TXT) as the record type.
- Specify the Host Name as "@".
In the Value field, enter "v=spf1 include:zohomail.com -all" and click Save.
Note:
- The values of the records with respect to Cloudflare will be given in the Zoho Mail Admin Console's DNS Mapping page. You can copy-paste the values into the respective fields in the DNS Manager.
- In case you are using only Zoho Mail to send emails, remove all the other SPF record types from the DNS. Click 'Save Changes' again to save all the changes.
- Having multiple SPF records will interrupt the SPF check and hence the SPF validation may fail and the emails will end up as Spam in the recipient servers. Learn more.
- To add the DKIM records, click Add record and select CNAME as the record type.
- For the Host field, copy the value "zoho._domainkey" (this will be different in the case of a different selector) from Zoho's Domain Setup page and paste it into your domain's DNS page.
For the Points to/ Value field, copy the value "v=DKIM1; k=r**; p=***************....****" from Zoho Mail's Domain Setup page and paste it into your domain's DNS page and click Save.
Note:
It may take anywhere between 4 to 48 hours for your DKIM record to propagate. You can check the validity of your DKIM record here.
After adding all three records, return to your Zoho Mail domain setup page and click Verify All Records. It may take about an hour or two for you to receive emails upon successful verification of your MX records and 4 to 48 hours for the propagation of SPF and DKIM records.