Spam Quarantine
The Spam Quarantine section in the Zoho Mail Admin Console lists all the emails that have been quarantined as a result of the spam processing configured. From the Quarantine section, admins can choose to deliver or deny the emails. Further, notifications can also be configured for the quarantined emails to ensure that they are not missed.
Quarantined Emails
The emails that are considered spam due to any validation errors, organization blocklists, or Zoho blocklists are listed in the Quarantine section. As an administrator, you can optionally move such emails for review based on the spam processing settings. To access and moderate the quarantined emails, follow these steps:
- Login to the Zoho Mail Admin Console.
- Navigate to the Security & Compliance in the left pane and select Quarantine. The Quarantined Emails tab under Incoming section, displays the emails awaiting moderation.
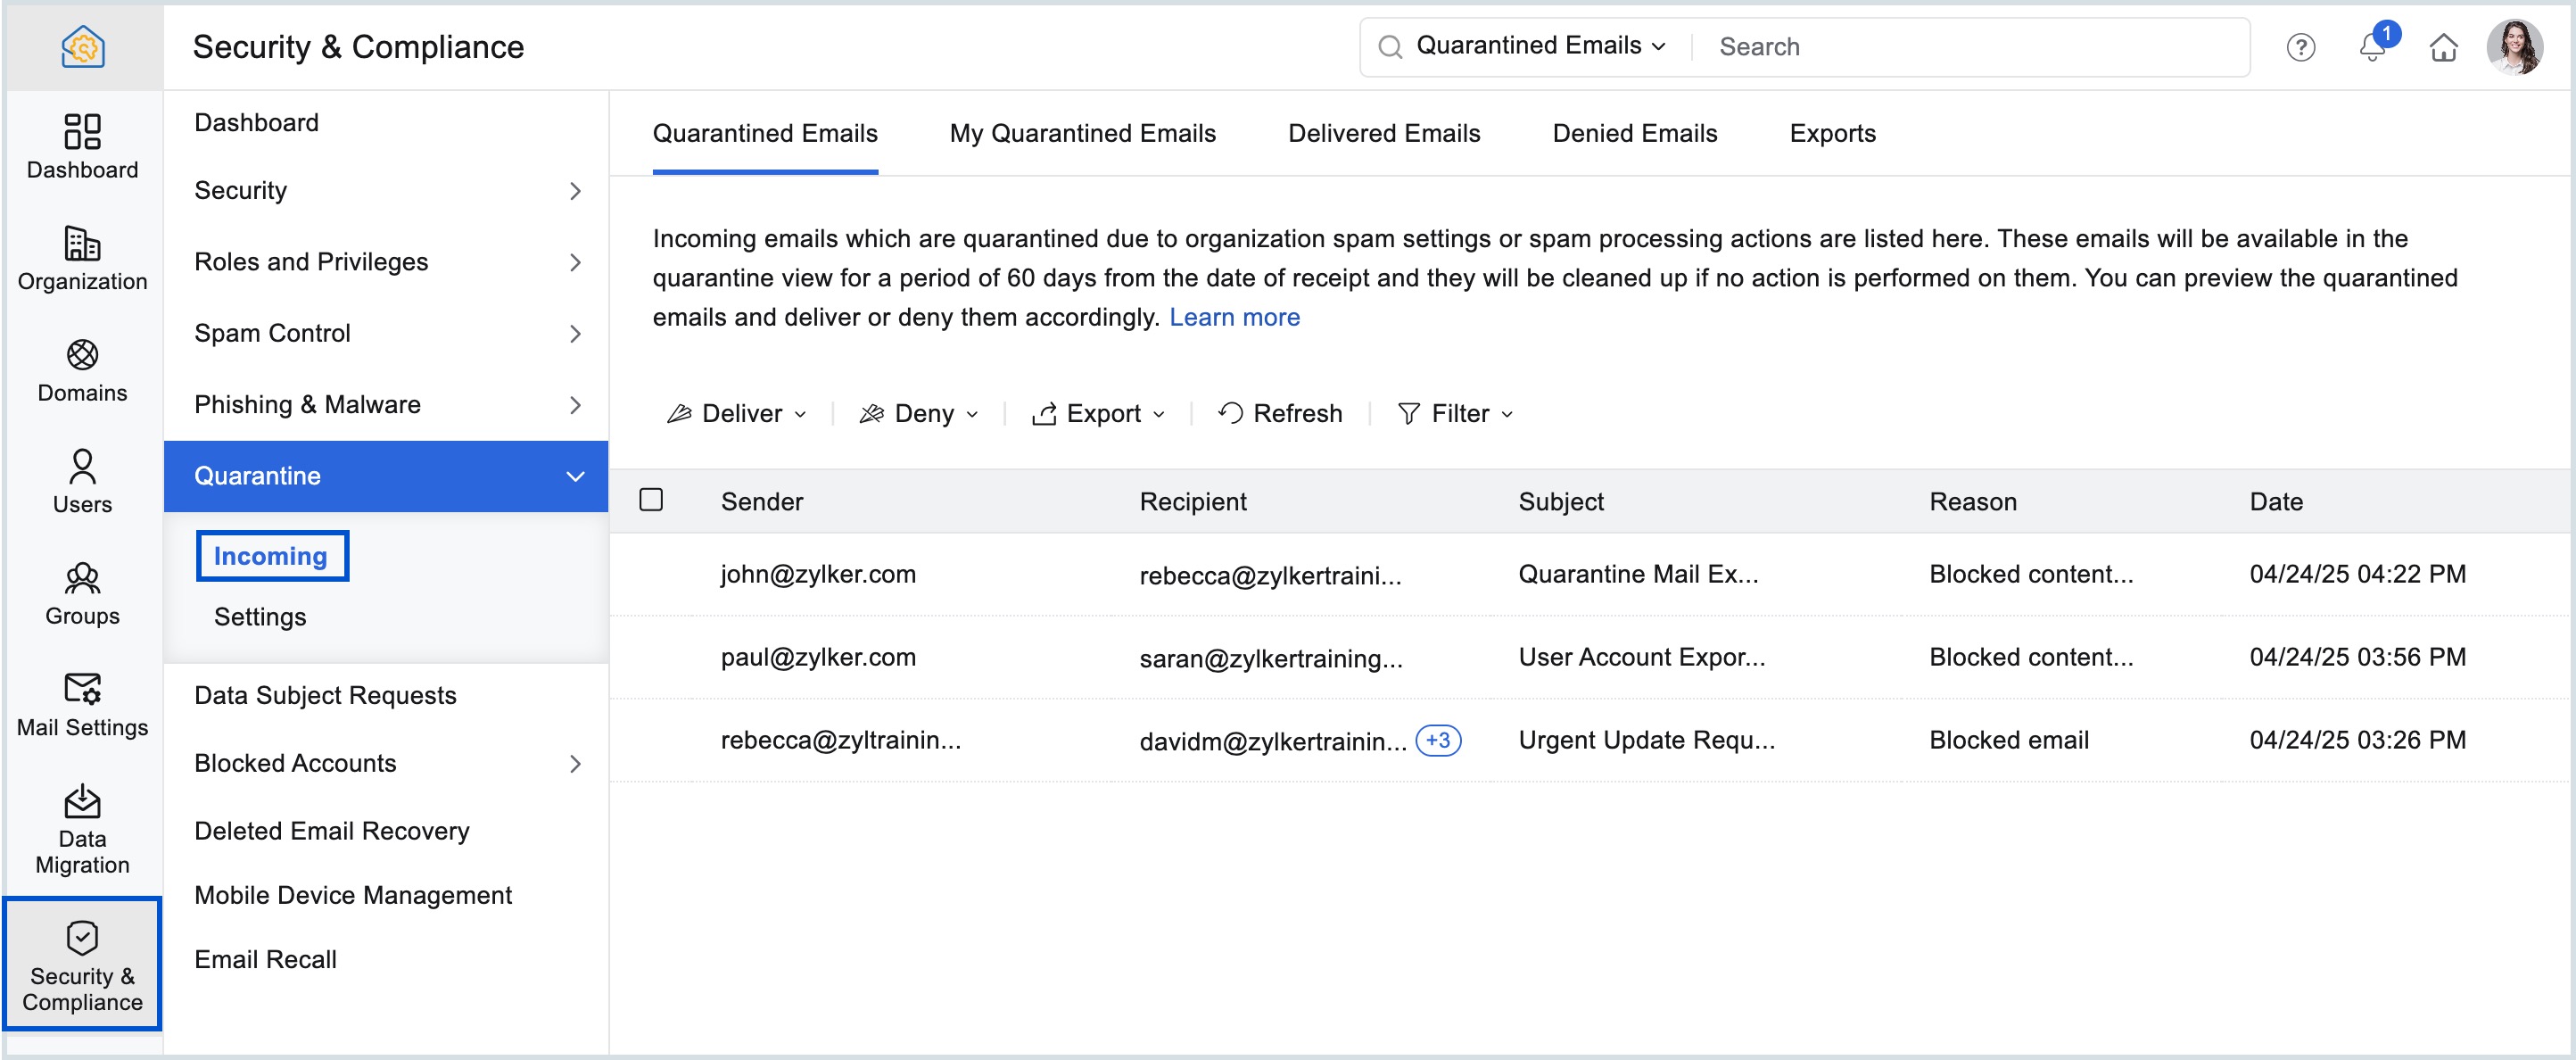
- Click on an email to review its contents and the email headers in detail.
- Select the Deliver or Deny options as per your requirement.
To know more about the options available refer to the Delivering emails and Denying emails sections.
Delivering emails
When you select one or more emails to deliver, you can choose how you want to deliver them.
- Deliver selected - Only those quarantined emails you selected will be delivered.
- Deliver & Add - Select this option if you wish to add an email address/ domain to the Allowed/Trusted list simultaneously while delivering a quarantined email. After the email is delivered, the email address/domain will be added to the Allowed/Trusted list depending on the quarantine reason. A dialog box will be displayed asking you to confirm if you wish to add the email address/domain to the Allowed/Trusted list (Refer to the table below for more details).
- Deliver partially - Emails which has multiple recipients can be sent to specific users using the Deliver partially option. Select an email which has multiple recipients and select Deliver partially from the drop-down. In the Deliver partially dialog, search for recipients and click Add. After you finish the selection, click Proceed. The email will be delivered only to the users you selected, after which it will move to the Denied Emails tab. To view the list of delivered and denied recipients, click here.
- Deliver All - All the quarantined emails will be delivered.

Note:
The Deliver partially option appears only if there are multiple recipients for an email. It does not appear if you select more than one email.
Denying emails
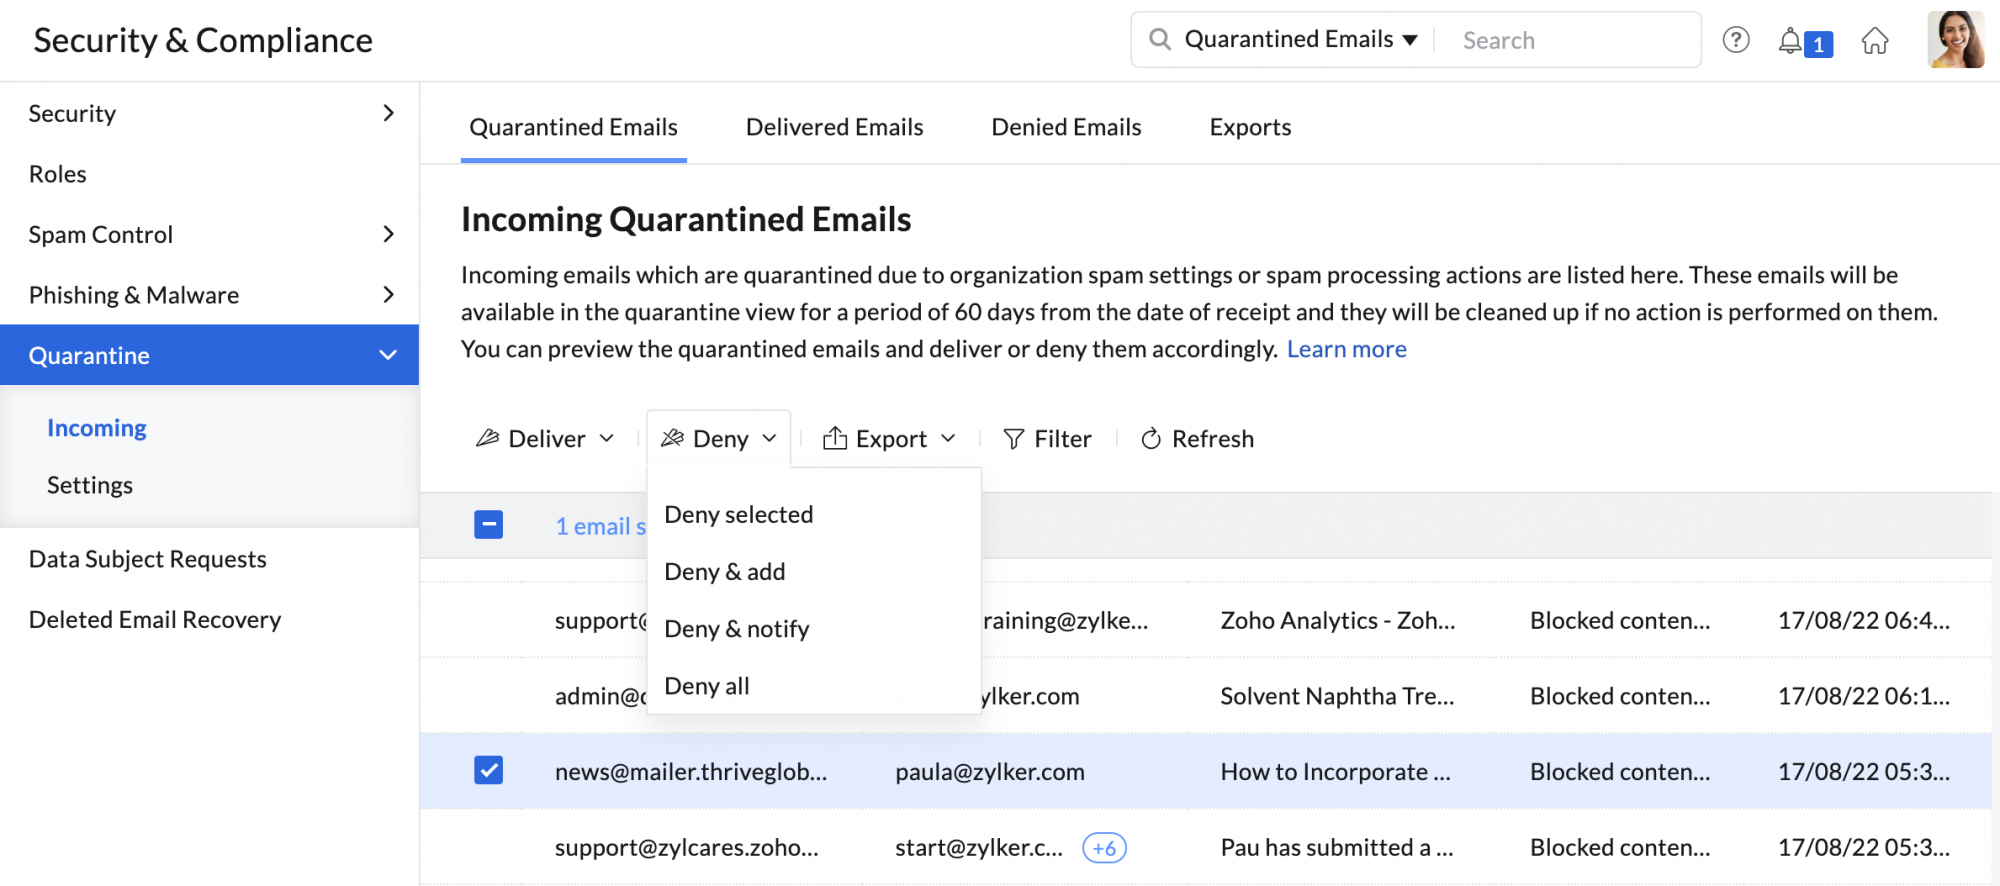
While denying quarantined emails, you can choose from one of the four options.
- Deny selected- Only those quarantined emails you selected will be denied.
- Deny & Add- Select this option if you wish to add an email address/ domain to the blocked list simultaneously while denying a quarantined email. After the email is denied, the email address/domain will be added to the blocked list depending on the quarantine reason. A dialog box will be displayed asking you to confirm if you wish to add the email address/domain to the blocked list (Refer to the table below for more details).
- Deny & Notify- Selecting this option will notify the sender of the email that you have denied their email. A dialog box will be displayed asking you to confirm if you wish to send en email notification to the sender that their emails have been denied.
- Deny All- All the quarantined emails will be denied.
Note:
You should select only one email at a time for the Deny & Notify option to appear. The option won't appear if you select multiple emails.
The table lists the different reasons an email can be quarantined and how the sender email/domain to the allowed/blocked list based on the quarantined reason.
You can also search for specific quarantined emails based on the available criteria. The search can be performed based on criteria such as Subject, Sender, To or Cc, Email Content, Attachment Name or Date. By default, the entire message will be searched.

Further, you can also use the Filter option to select the particular validation failure of quarantined emails and filter out those emails which matches the criteria.

A notification email can be sent to the recipient of the quarantined email and a selected admin each time an email is quarantined.
My Quarantined Emails
My Quarantined Emails section displays emails that are addressed to you and are quarantined due to validation errors or organization blocklists. As an administrator, you can approve quarantined emails addressed to you from this section.
To approve these quarantined emails, follow the below steps:
- Login to the Zoho Mail Admin Console.
- Navigate to Security & Compliance in the left pane and select Quarantine.
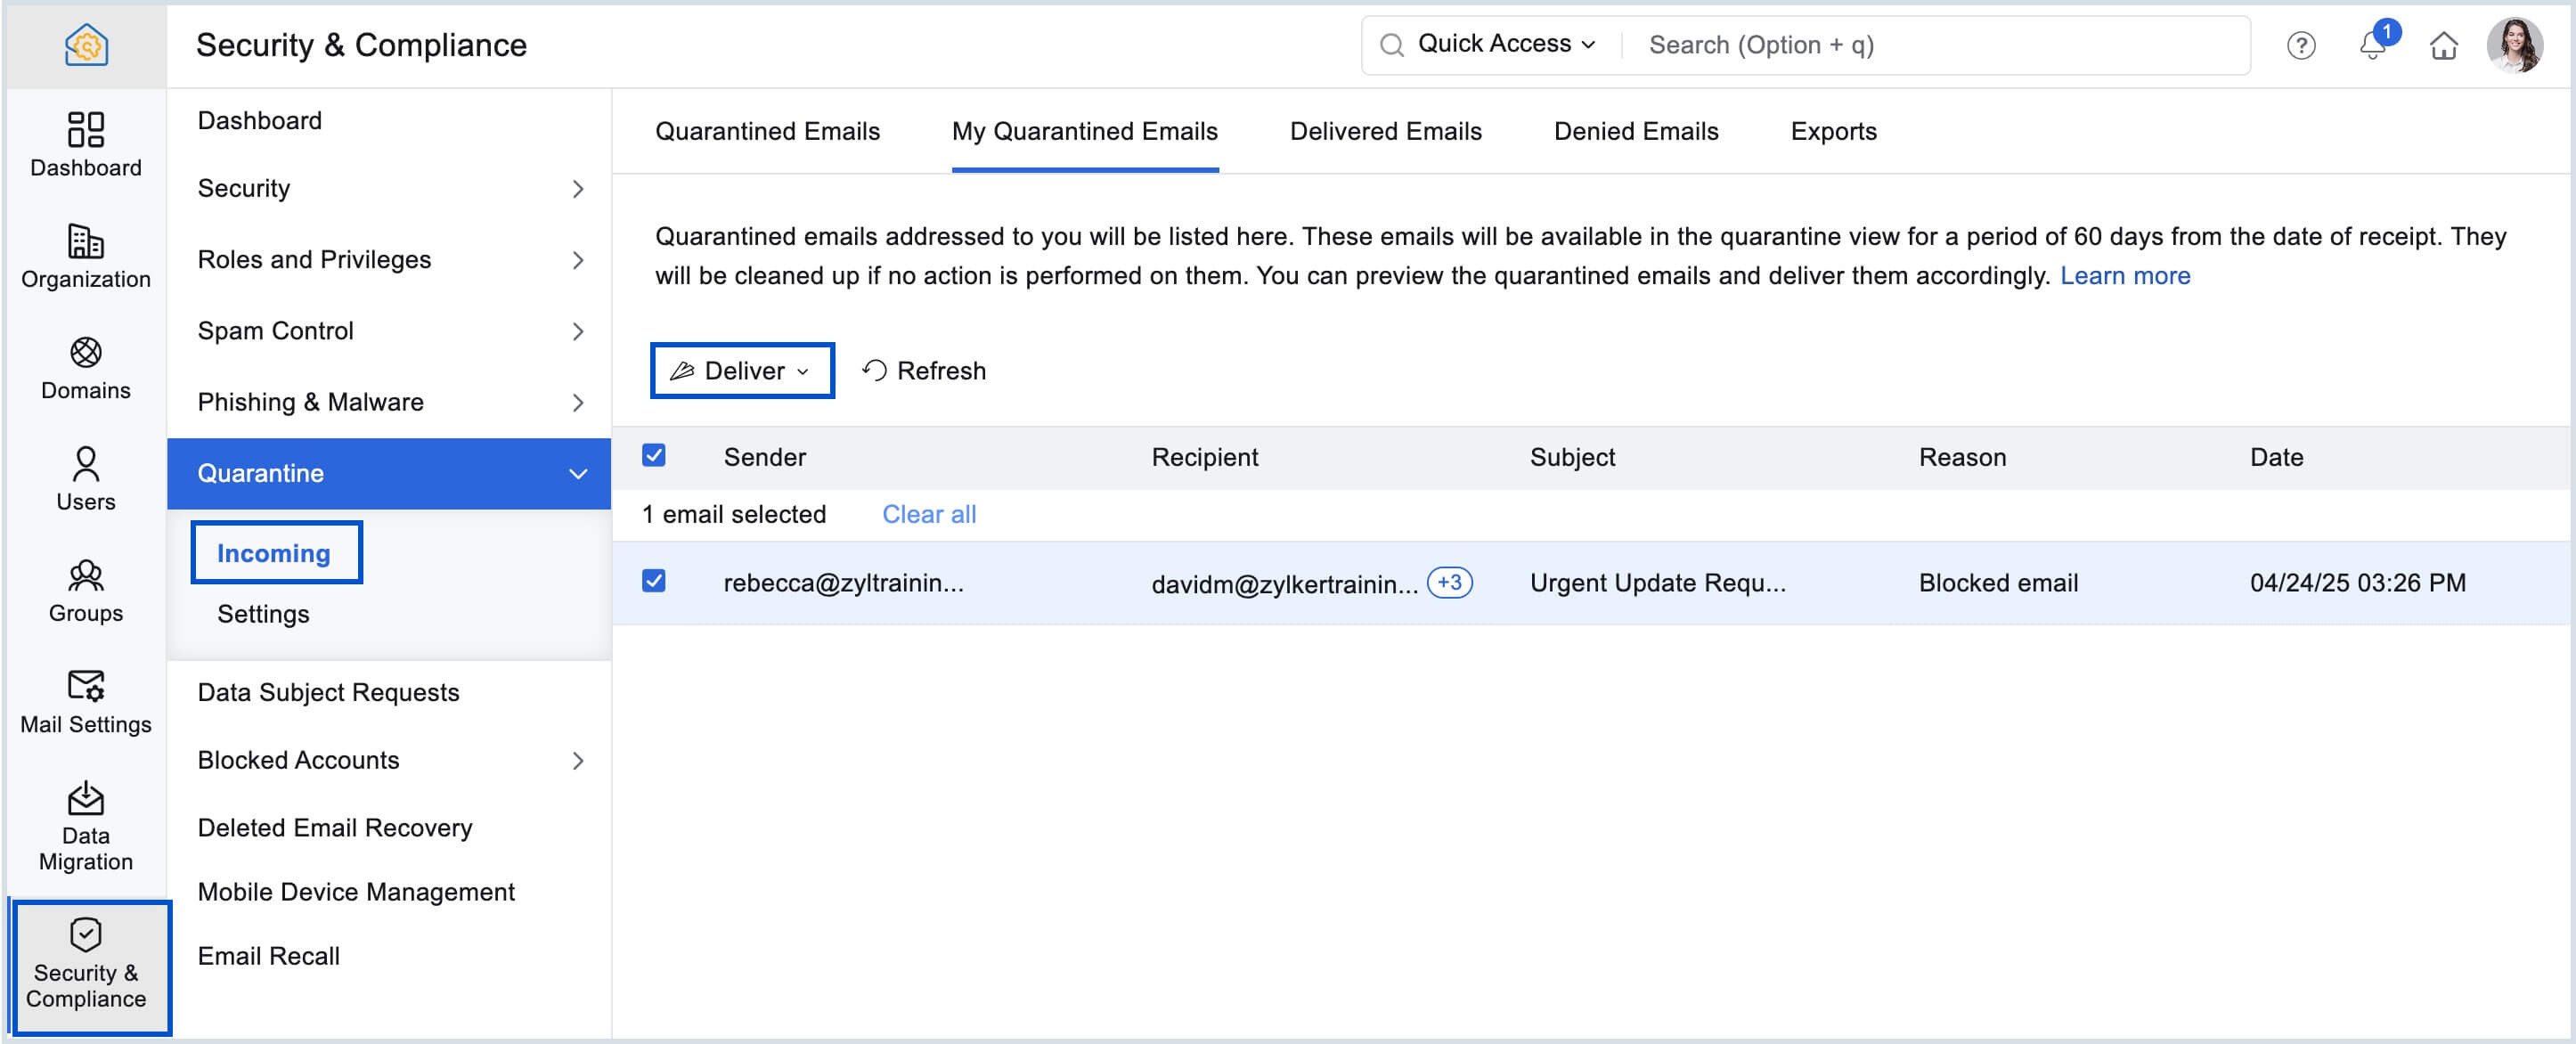
- In the My Quarantined Emails tab under the Incoming section, you can view the emails awaiting moderation that are addressed to you.
- Click on an email to review its contents and the email headers in detail. Evaluate the authenticity of the email before approving it for delivery.
- Select the Deliver button to deliver the email. The approved emails will be delivered to your inbox.
Note:
- Only emails addressed to you will be listed in the My Quarantined Emails section.
- Quarantined emails addressed to you will be available in the My Quarantined Emails view for 60 days from the date of receipt. If no action is performed on them, they will be automatically cleaned up.
- You can only deliver emails from the My Quarantined Emails section.
Delivered and Denied Emails
In the Zoho Mail Admin Console, the quarantined emails that have been approved or rejected can be viewed under Delivered Emails and Denied Emails tabs respectively in the Quarantine section. All the information including the reason for quarantine and the date the emails were quarantined gets listed so that you can always have a complete record of those emails you had quarantined. You can export the list of delivered and denied emails by clicking on the Export icon placed on top of the list.
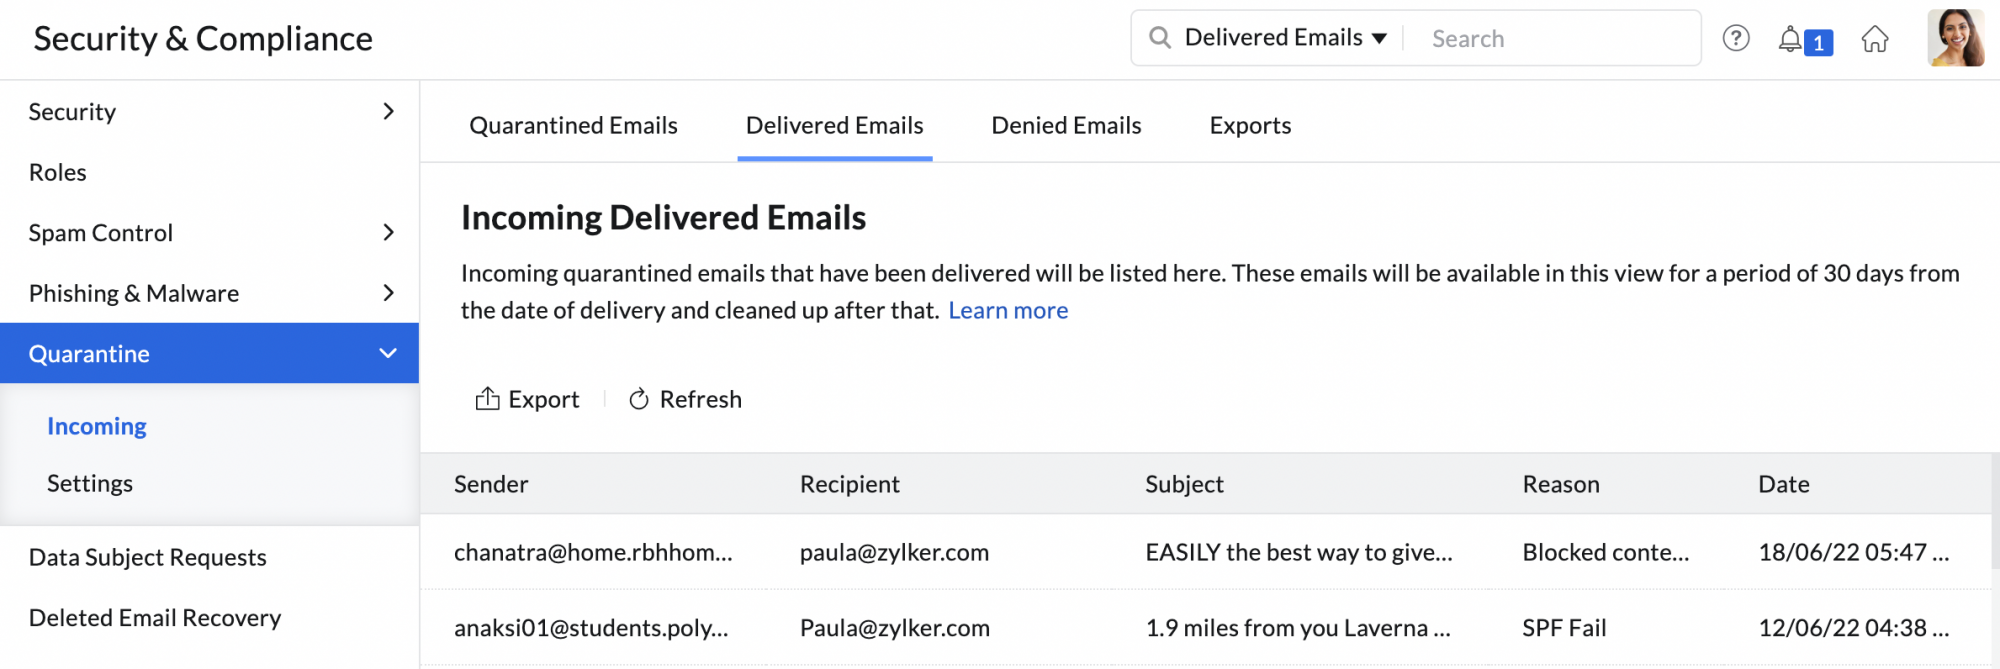
If you wish to deliver any email under Denied Emails, you can do so by selecting that email and clicking the Deliver button placed above the list or the Deliver icon which appears when you hover over any user. To deliver multiple denied emails, select the emails and click on the Deliver button. To deliver all the denied emails, simply select all the emails, click the Deliver drop-down and select the Deliver all option.
Emails that were delivered partially will have an info icon adjacent to the recipients list. When you click the info icon, the Information dialog appears with the details of delivered and denied recipients.

Quarantine Exports
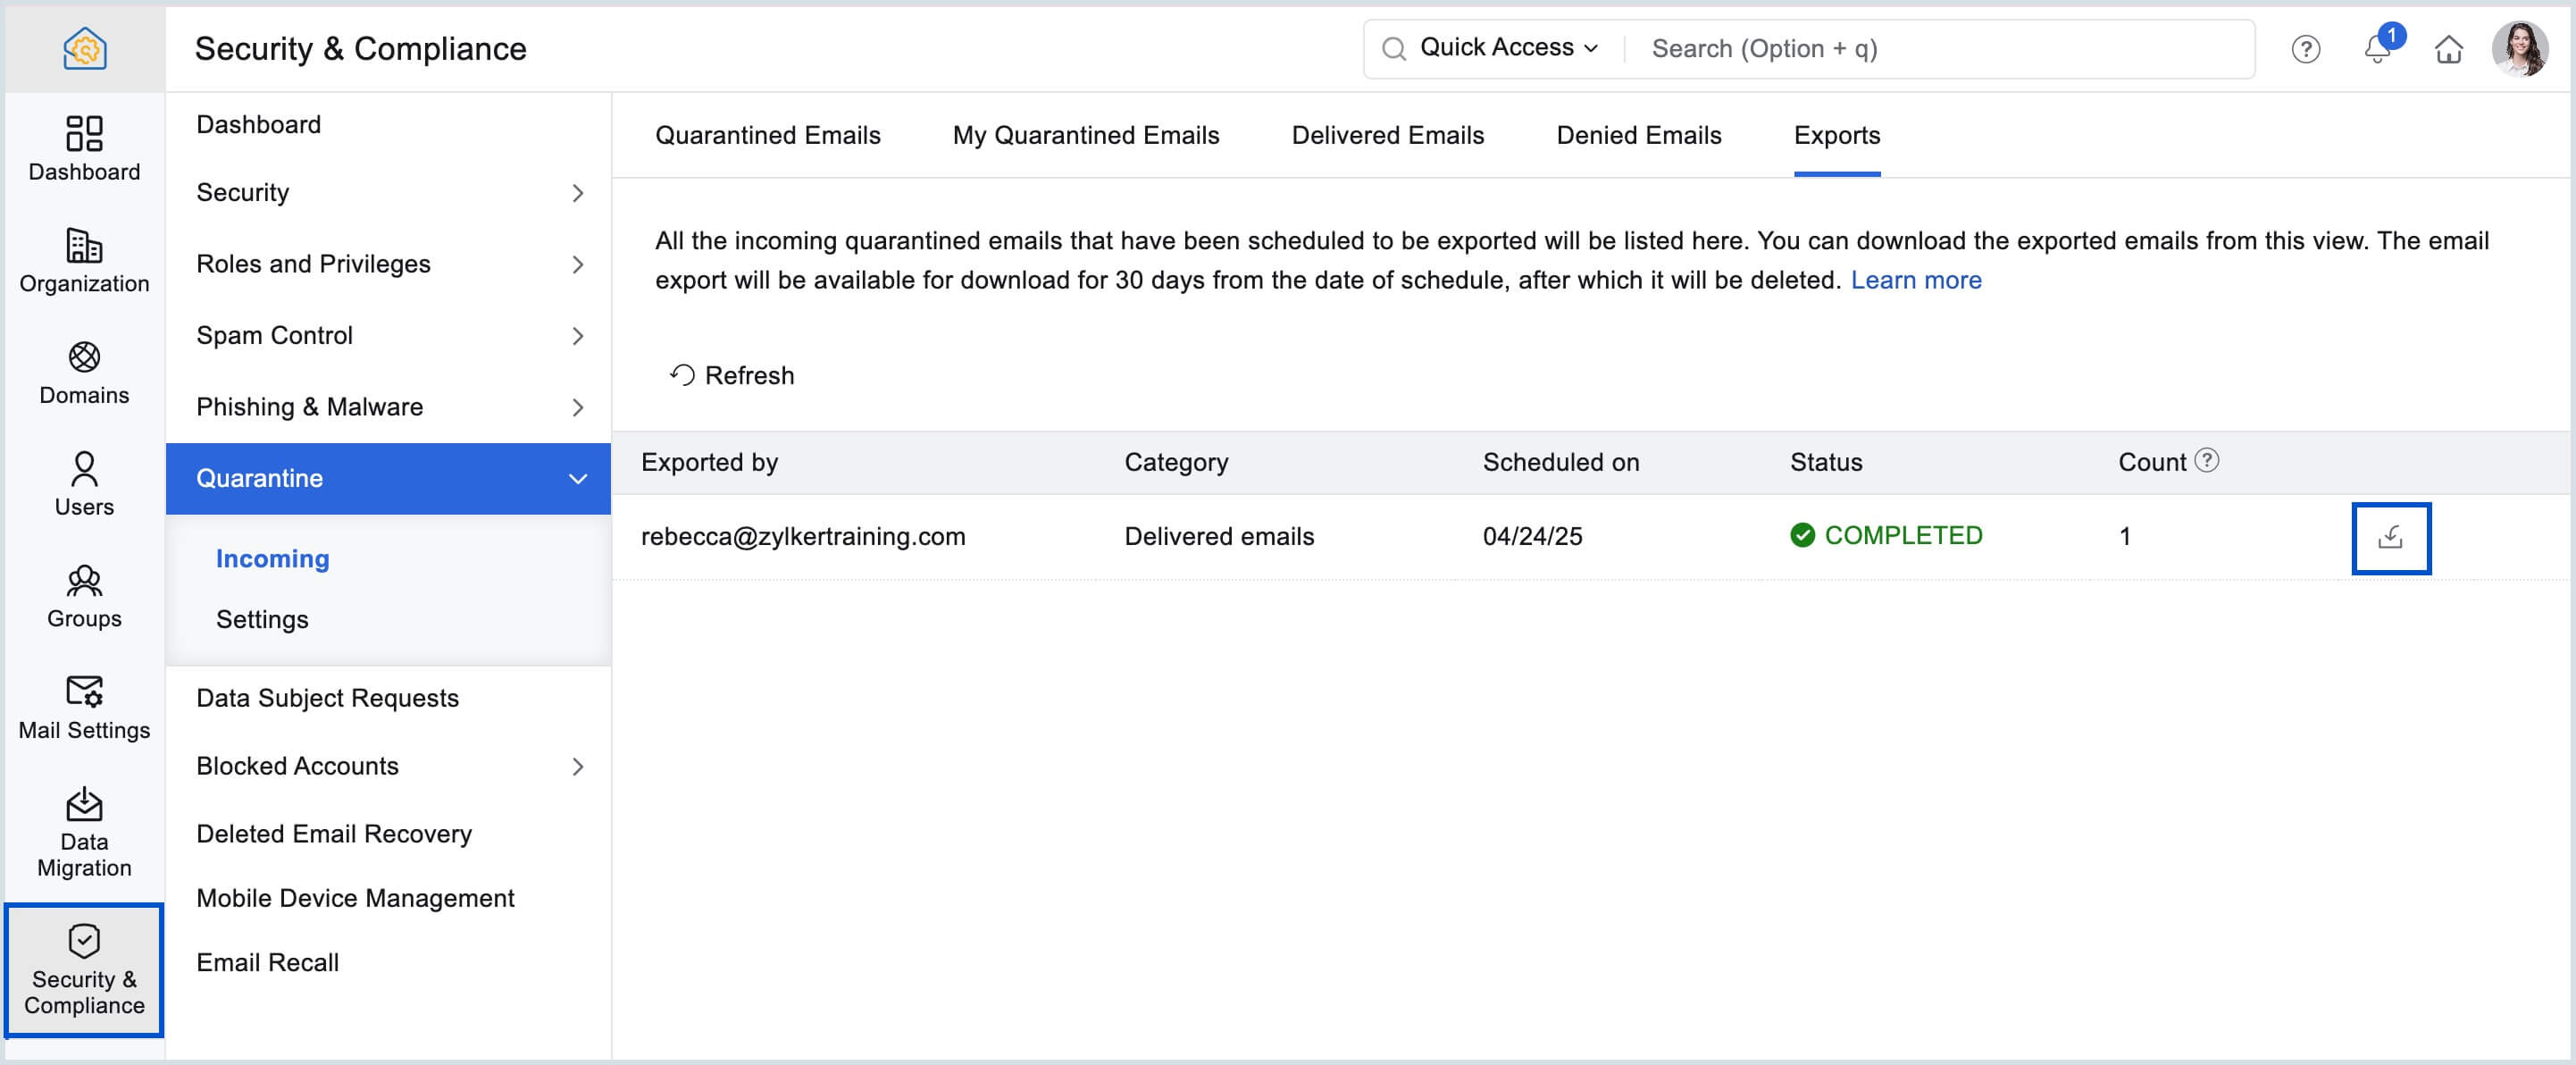
A list of all the quarantined emails that are scheduled to be exported can be viewed in the Admin Console. Here, you can view the Category (Quarantined/Delivered/Denied), the date on which the export was scheduled, the status of the export, the number of emails in the export and the name of the admin who scheduled the export. You can also download the exported emails from this section.
- Log in to the Zoho Mail Admin Console and select Security & Compliance from the left pane.
- Select Quarantine and navigate to the Exports tab. A list of all the scheduled exports can be viewed here.
- You can click the Download icon next to the relevant export to download the ZIP file containing the relevant emails.
Note:
All the exports will be available for download for 30 days from the day on which it was scheduled. You will not be able to download the exported emails after the 30 day period.
Previewing Quarantined Emails
While previewing quarantined emails, you can choose between the original content format or the email content format from the Settings. The administrators who have access to the quarantined emails can change the preview type for the organization.
By default, the emails are displayed in the original format. Once you choose your preferred format, the selected format will be applied across the organization. Follow these steps to change the email preview type:
- Login to the Zoho Mail Admin Console.
- Go to the Security & Compliance menu, and select Quarantine.
- Go to Settings. The General tab appears by default.
- Select between Original, Rich Text, or Plain Text preview type. The chosen preview type is now applied across the organization.

Note:
You can also change views from the email preview but that's temporary and won't be applied across the entire organization.

Quarantine Notifications:
When an email is quarantined due to the failure of any of the spam checks, the admin can choose to trigger a notification email. This email will be sent to all the selected admins. You can control whether you want to send the notification email to the corresponding recipients by enabling/disabling email notification for the recipients.
Similarly, when an email that is sent to a group is quarantined, the notification email will be sent to the group moderator. If the group does not have a moderator, it will be sent to the organization admin.
The notification email will contain details such as the sender of the quarantined email, the email subject, the date and time at which the email was sent and the reason why it was quarantined.
Follow these steps to set up quarantine notifications:
- Login to the Zoho Mail Admin Console and select Security & Compliance from the left pane.
- Navigate to the Quarantine section and select Settings.
- Select the Notifications tab.
- Switch the toggle across Incoming Email Notification to ON.
- Select how often you'd like to receive notifications from the Notification email frequency drop-down.
- If you want to send an email to the corresponding recipients, check the box which says, Send quarantine notification email to recipients. If you wish to send the email only to the selected admins, uncheck the box.

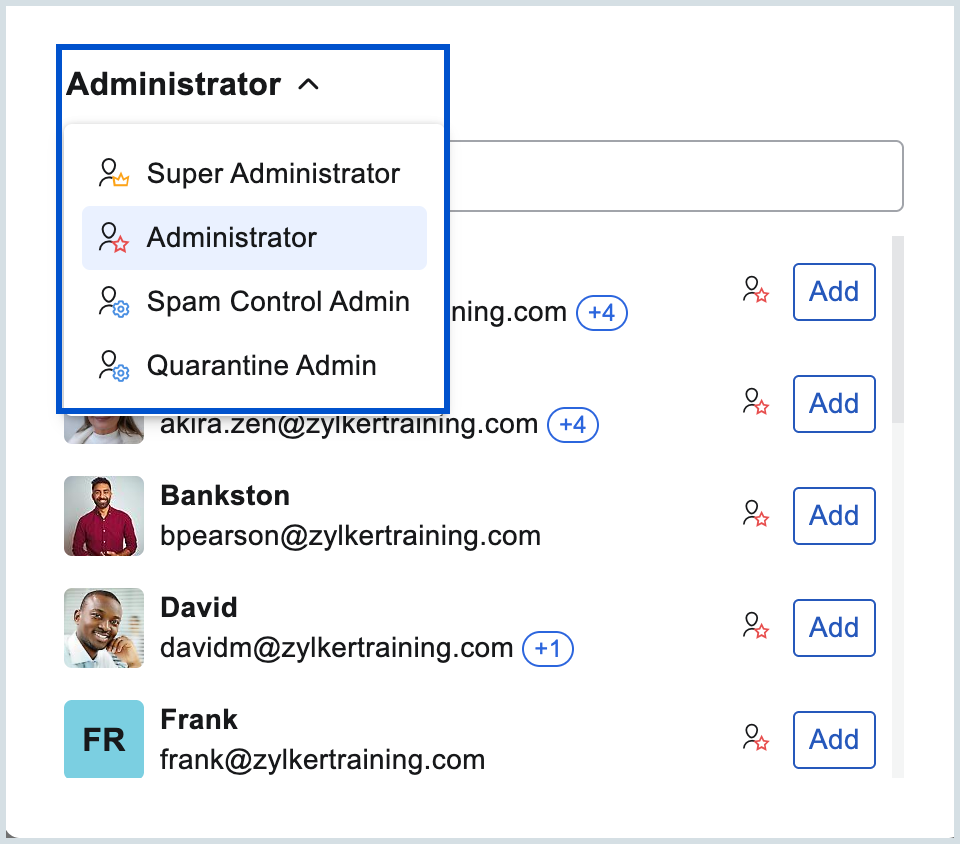
- Click and select the type of admin you'd like to notify about quarantined emails from the drop-down.
- Add preferred admin from the displayed list and click Submit to confirm your action.
Based on the frequency set, an email containing the details of all the quarantined emails in that duration will be sent to the selected admins. If you have enabled email notification for the recipients, the corresponding details will be sent to the recipients to whom the quarantined email is addressed.
Self Moderators
Aside from administrators being able to manage the quarantined emails, you can also assign your organization users as self moderators to approve the quarantined emails. However, the self moderators will only be able to approve those quarantined emails that are addressed to them. If a particular quarantined email contains multiple recipients, the email will be delivered only to the user who approves it.
For example, say there are two users named Rebecca and Paula, and Rebecca has been assigned as a moderator. There's a quarantined email from a sender id name@company1.com addressed to them both. If Rebecca approves the email, the email will be delivered only to her.
To add a self moderator,
- Login to the Zoho Mail Admin Console and select Security & Compliance from the left pane.
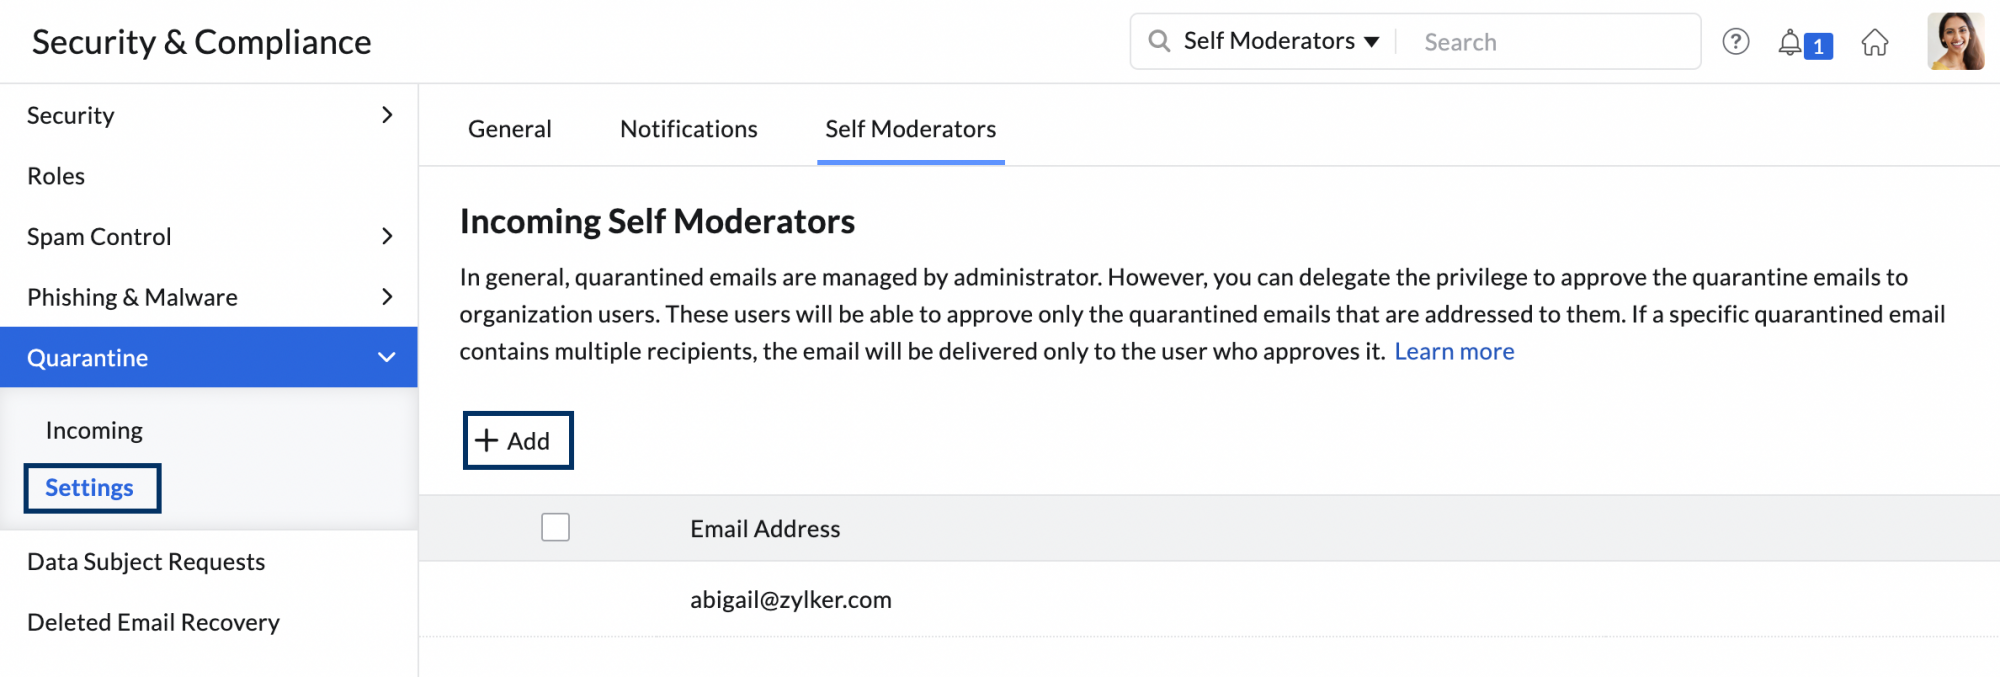
- Navigate to the Quarantine section and select Settings.
- Select Self Moderators tab.
- Click on the Add button (+). The Self Moderators pop-up window opens with a list of all the organization users.
- Click the Add button to add a user to the Selected users portion of the window. You can also search for users using the search bar in the pop-up window.
- After selecting the users, click Submit.
- To quickly remove any user from the window, click on the Delete icon next to the user. To remove all the users you've added from the window, click on Remove All.

You can also delete users from the self-moderators position should you wish. To delete a self-moderator, follow these steps:
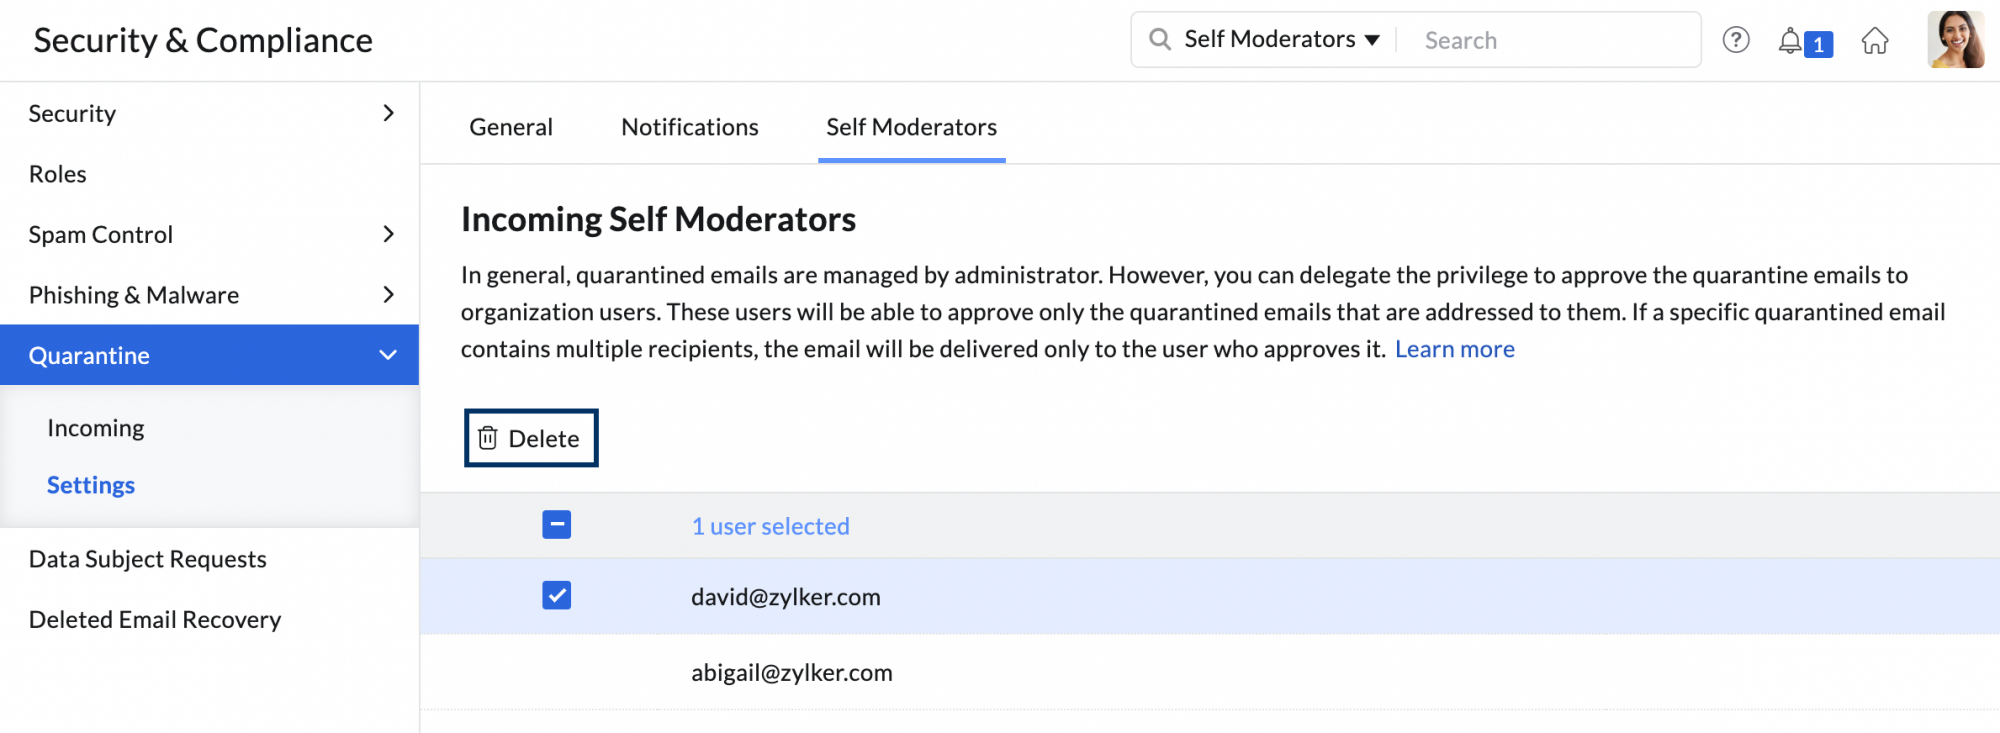
- In the Self moderators tab, click on the user who you wish to remove. To remove multiple users, select them all.
- Click on the Delete button displayed above the list.
- You can also delete individual users by clicking on the Delete icon appearing next to each user when you hover over them.
Note:
If the admin denies an email before the self-moderator could approve and deliver it to their inbox, the self-moderator can't approve the email later.


