Cliq Data Retention
Organizations can retain their users' deleted Cliq conversations by enabling retention and setting up a default retention period in Zoho Mail eDiscovery. Once enabled, administrators can create investigations and retain the desired users' messages by creating multiple holds.
Best practices for investigations
- Before you create a Hold, list down the criteria required for the particular investigation.
- Based on the various criteria, create different search conditions.
- If required, share the saved search and in case you need to get this reviewed by legal or compliance or admin teams, you can get it reviewed before you create a Hold.
Create a new Investigation
Follow the below instructions to create a new investigation:
- Log in to Zoho Mail Admin Console and select eDiscovery on the left pane.
- Navigate to the Investigations section to view or create investigations.
- Click the Create Investigation button.

- Provide the Investigation name and a detailed description.
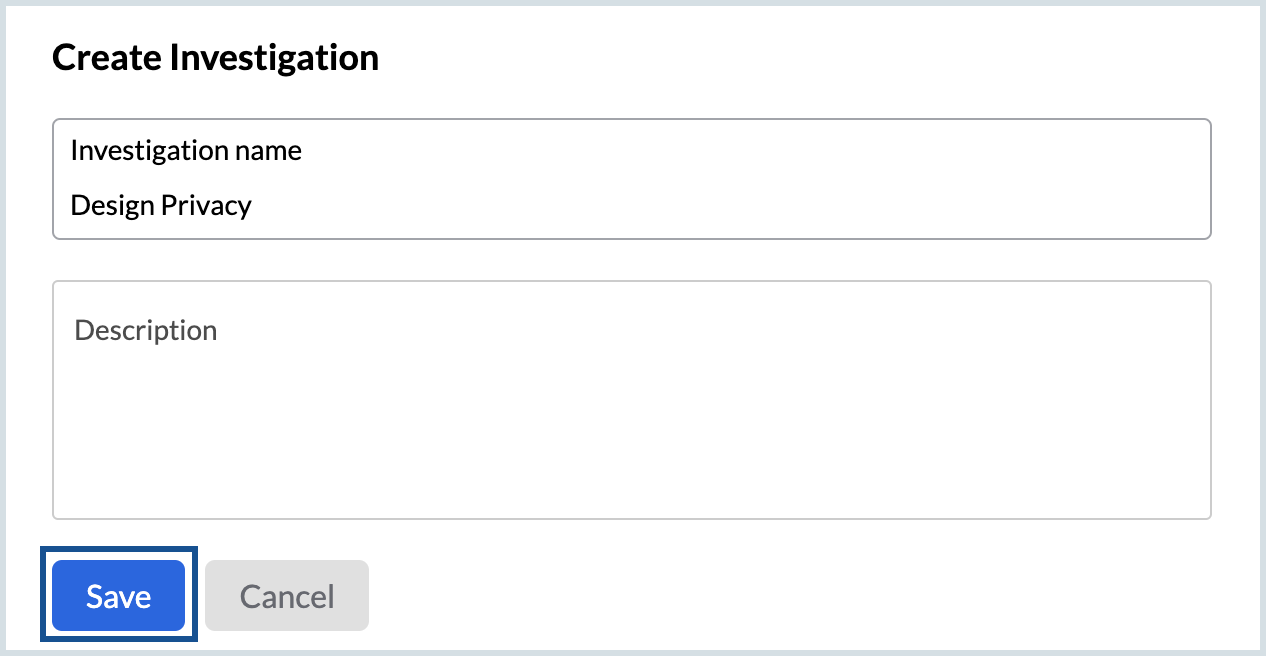
- Click Save. The investigation gets created.


You can now do the following actions in the Investigation you created:
- Search - Search Cliq conversations based on specific criteria. You can save any number of searches before creating Holds.
- Hold - Create one or more holds based on different conditions, as required for the investigation. The deleted messages, groups and channels that are placed on Hold via investigations will not be deleted even after the expiry of the retention period defined by default or custom retention policy.
- Export - Use this tab to export a user's chat data for the specified time period.
- Audit logs - The activities performed by admins in a particular investigation can be viewed under the Audit logs tab of that investigation.
Create a Cliq Search
You can create multiple searches and save the search with the preferred condition queries. Saved search allows you to easily find messages sent by users within your organization. It helps you to try various saved search conditions on the Cliq data, preview results and validate the search before creating the holds. To create a Cliq search, follow these steps:
- Log in to Zoho Mail Admin Console and select eDiscovery on the left pane.
- Navigate to the Investigations section and create a new investigation or select an existing one.
- From the Searches tab, choose Cliq in the All Services drop-down and click New Search.

- Make sure that Cliq is selected in the Service name drop-down.
- Enter a name for the search.
- You can either select a duration from the predefined options or choose Custom range.
- For custom range, select the start and end dates.
- Add users in the From and To fields as per your requirements.
Select the appropriate Condition query and enter the search key respective to the condition. The conditions available are:
- File name - Enter the name of the files required for the investigation/ hold.
- File type - Choose the file type required for the hold (Image, Text, Video, Audio or Application).
- Link - Enter the link text to be searched in the conversations.
- Content - Enter the preferred text to be searched in the conversations.
Note: You can perform a search with multiple conditions, in which case the results returned will match all of the conditions that you have set for the search. In other words, an AND search will be performed. Refer to the tips to search section for more details.
- Select Only messages with files or Only messages with links based on your requirements.
- You can either Preview results or click Save search.


The chat conversations that match the conditions get saved in the investigation.
Tips to search archived conversations
- If you choose the File name condition and enter the search key report, then choose the File type condition and enter the search key pdf, the results returned will be files shared with the name "report" and in the "pdf" format. The conversations that match all the entered conditions will be returned as results of this search.
- To search for an exact phrase, enter the search key in double-quotes. For example, if you choose the condition Content and enter the search key as "media information", only the chat messages that contain the exact words 'media information', in that exact sequence will be returned as results. Messages with the words 'information media' will not be returned in the preview results.
Create a Cliq Hold
A Hold retains those Cliq messages which match the conditions configured by an administrator. Since a single investigation or case may require retaining different sets of messages based on various conditions like file type, name, links shared via chat, and so on, there may be multiple Holds created for each Investigation.
Once a Hold is created, the messages that are part of the hold will be retained until the hold exists. The steps to create a Cliq Hold are as follows:
- Log in to Zoho Mail Admin Console and select eDiscovery on the left pane.
- Select Investigations and open to the desired investigation for which you wish to create a hold.
- Navigate to the Holds tab, choose Cliq in the All Services drop-down, and click New Hold.

- Make sure that Cliq is selected in the Service name drop-down.
- Specify the Hold name and select one or more condition queries from the below list:
- File name - Enter the name of the files required for the investigation/ hold.
- File type - Choose the file type required for the hold (Image, Text, Video, Audio or Application).
- Link - Enter the link text to be searched in the conversations.
- Content - Enter the preferred text to be searched in the conversations.
- Select the preferred Chat type from the available options:
- Direct message - The personal chat conversations within the users of your organization.
- Group chat - Filters group chats within the organization.
- Private channel - Search messages shared in personal channels.
- Organization channel - Conversations in channels used across the organization get saved.
- External channel - Conversations in channels which include external members (users outside the organization).
- Team channel - Conversations within the team channels get saved.
- Chat thread - Filters the inline chat threads in all conversations.
- Bot - Filters only the chat messages initiated by bots.
- Entity chat - Includes chat messages initiated from other Zoho apps.
- If required, select Only messages with files or Only messages with links checkboxes.
- Click Preview results or Save hold.


Note:
Preview does not work with Chart type conditions. However, you can save a hold with the Chat type filter.
Exports
If you wish to save/ download a copy of Cliq conversations to your system, you can use the Export option.
Note:
To export a user's private message, please enable the policy 'Allow admins to export private conversations as part of your company's data export' from the Policies section in the Cliq Admin Panel.
To create a new export, follow these instructions:
- Log in to Zoho Mail Admin Console and select eDiscovery on the left pane.
- Navigate to Investigations and open an existing investigation.
- Select the Exports tab, choose Cliq in the All Services drop-down, and click New Export.

- Make sure that Cliq is selected in the Service name drop-down.
- Enter a name for the export and select All accounts or Specific user accounts.
- Add the user mailboxes if you selected specific user accounts.
- Choose a preset range or select Custom range from the drop-down.
- Select the start and end dates if you chose the custom range option.
- Select the data which you want to export along with the chat history:
- Users (users data will be exported by default)
- Teams
- Roles
- Departments
- Designation
- Encrypt the file with a password to prevent unauthorized access to your data.
- Select Json or Xml and click Export. The export gets scheduled and can be downloaded once it's complete.

- Click the refresh icon to view the export status.
- Select a completed export and navigate to the Files tab.
- Hover over the exported file and click Download file to save it to your computer.


Note: The export process may take some time depending on the overall file size.
Audit logs for an investigation
Once you have created an investigation, you can view all the investigation activities in the Audit logs tab, inside that particular investigation.
Steps to view the audit logs related to a particular investigation
- Log in to Zoho Mail Admin Console and select eDiscovery on the left pane.
- Select Investigations and open the relevant investigation.
- Navigate to the Audit logs tab and choose Cliq under the Service name.
- Select the Start date and End date.
- Enter the User accounts for whom you wish to view the audit logs.
- Select the desired actions from the options available:
- Select all actions
- Saved Search
- Search
- Holds
- Exports
- Audits
- Select the Preview audit option to view the activity.

- Click the Download audit button.
- If required, encrypt the file with a password to prevent unauthorized access to your data.
- Click Download audit to save the audit logs to your machine.


Note:
The Audit logs displayed here, pertain only to the activities performed with respect to the selected investigation. There is a separate Audit logs section to view or download the entire eDiscovery activities.