Leave approvals and notifications
Notifying team regarding leave cancellation
Email alerts can be configured to notify the team when an employee cancels leave. Follow the steps given below to do this.
- From your home page, go to Settings (gear icon) > Automation > Workflows > Add Workflow.
- Select the Leave form under form name.
- Give a name for the workflow.
- Keep the status as Active.
- Under Trigger Process, check Cancel.

- Under Action, select the + icon to configure a new mail alert
- Give a name for the email alert
- Under From, select Person performing this action
- Under To, type the team email id in the contact email
- Give a Subject for the email
- Select Create new template

- Type the message using the available merge fields
For eg. "Dear Team, employee (insert first name and last name from the available merge fields), has canceled leave."
- Click Save.
- Go back to the workflow page and select the email alert that you have created.
Now the email alert is linked to the workflow
- Click Save.
Once this workflow is configured, the team members will receive an email notification if a cancellation of leave is done by any of the members of the team. This will help the team know the exact leave status of their peers.
Configuring approvals for leave
Configuring approvals for leave is an easy process with Zoho People's leave.
To add approvals,
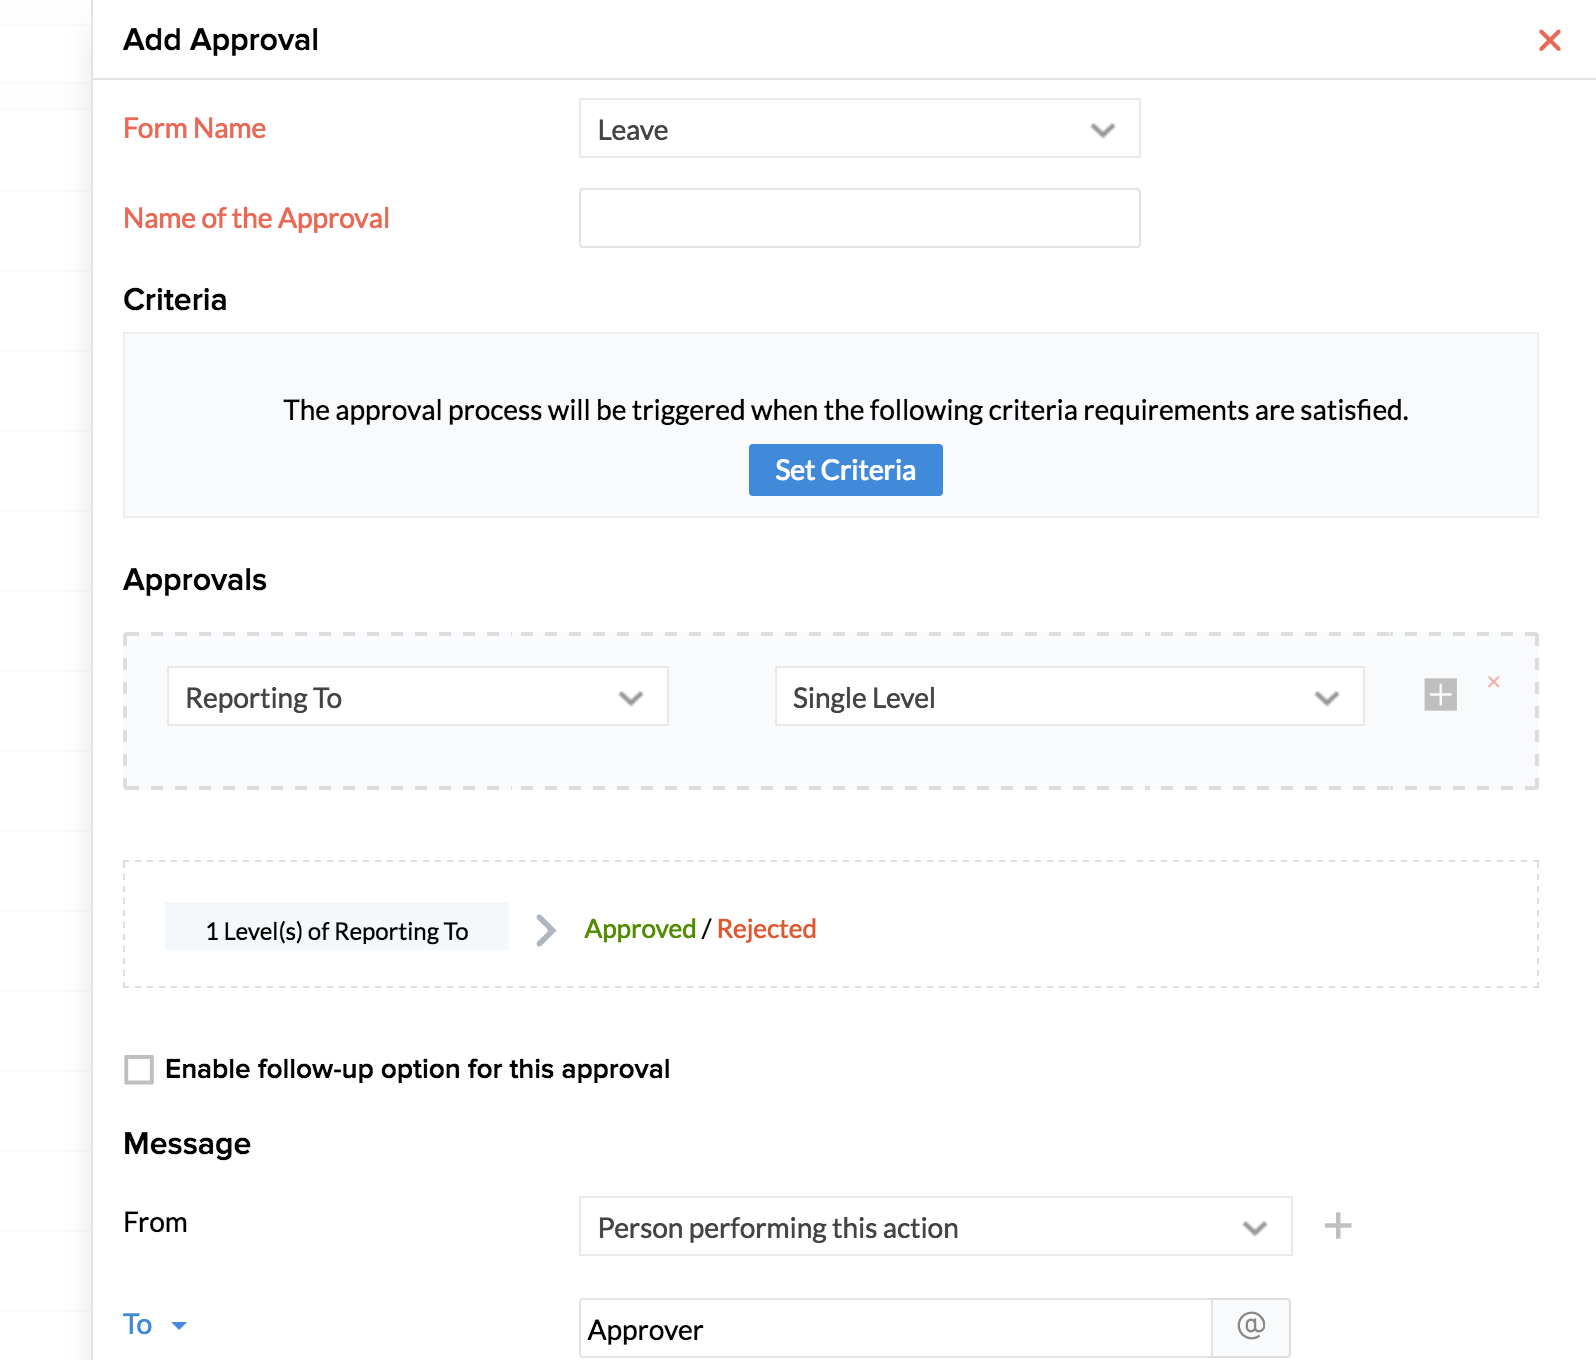
- From your home page, go to Settings (gear icon) > Approval.
- Click Add Approval.
- Give the name of the form for which you need to add approval.

- Enter Name of the Approval.
You can set a Criteria if needed. You can also set more than one criteria by using the Add new icon (add icon).
Under Approvals, You can either configure approver or allow the system to auto approve or auto reject the record based on the criteria requirements.
Follow the steps given below to configure an approver:
- Click Configure Approver.
- In the first tab, there are various options given out of which, you can select one:
Reporting To - Approval goes to the Reporting To of the employee.
Department Lead of the Login User - Approval goes to the Department Lead of the user who is sending the approval request.
Approver based on Role - Approval goes to the people who are in the role that is selected.
Department Head - Approval goes to the head of the chosen department.
Department Members - Approval goes to the members of the Department of the user.
Employee - When this option is chosen, then the user can choose the name of a particular employee for the approval to be sent to.
Project Managers - Approval goes to all Project managers.
Allow Employees to Choose the Approver when adding a record - In this option, the employee has the option to select who the approver is, while the record is being added.
Note: Approvals can be set up to ten levels of Reporting To
- Check the 'Enable follow-up option for this approval' if you would like to do a follow-up for the approval.
When you click on this, you can define if the follow-up has to be a one-time or a repeat follow up and define the number of days after which the follow-up needs to be done.
This option is for sending automatic notifications for a follow-up to the approver. There is also an option in the request screen, to manually follow up while sending a request for approval.
- Under Message template details, you can define the follow-up email template
- In From, you can either select Person performing this action or give an email id
- In To, you have the options listed below:
System options:
Approver - If you select this option, the email will go to the Approver who is configured.
Team mail ID of the person performing this action - If you select this option, the approval email will be sent to the Team mail address of the person who submitted the approval request.
The person performing this action - Person performing this action refers to the user who is actually triggering the action like requestor(create/ edit actions), approver(approve/reject actions).
Reporting Manager of login user - If you select this option, the email will be sent to the Reporting manager of the person who submitted the approval request.
User list - This option pulls out the list of all users. You can select the person who needs to receive the approval email.
Role List- This option pulls out the list of all roles. You can select the role to which the email needs to be sent to.
Department List - This option pulls out the list of all departments. You can either select a department or do a search.
You can also check the Notify All box to send a mail to everyone in the Organization.
Note: Under CC, you can select 'Team email id' from system options for the team to get notified when a member of the team applies for leave.
- Once you are done with the 'From' and 'To', you can proceed to enter a Cc, Bcc, and Reply-To if there is a need
- Give a subject for the email
- Create a message using the Available merge fields as shown in the image below
- Click Save.


