WebApps Integration
How Can I...
Internet is a great platform which brings all aspects of the world together. Previously, it was setting up stalls in the market and now it's setting up apps in the internet. WebApps are applications that are hosted on cloud. When it comes to web applications, the best ones are the ones you create on your own. Or atleast, personalize one.
WebApps in Zoho allows for Admins to upload the customized web application, and share it with the concerned specific users/profiles of the organization.
Creating a Client
To integrate a web application with Zoho CRM, you need to first create a corresponding client.
To create a client
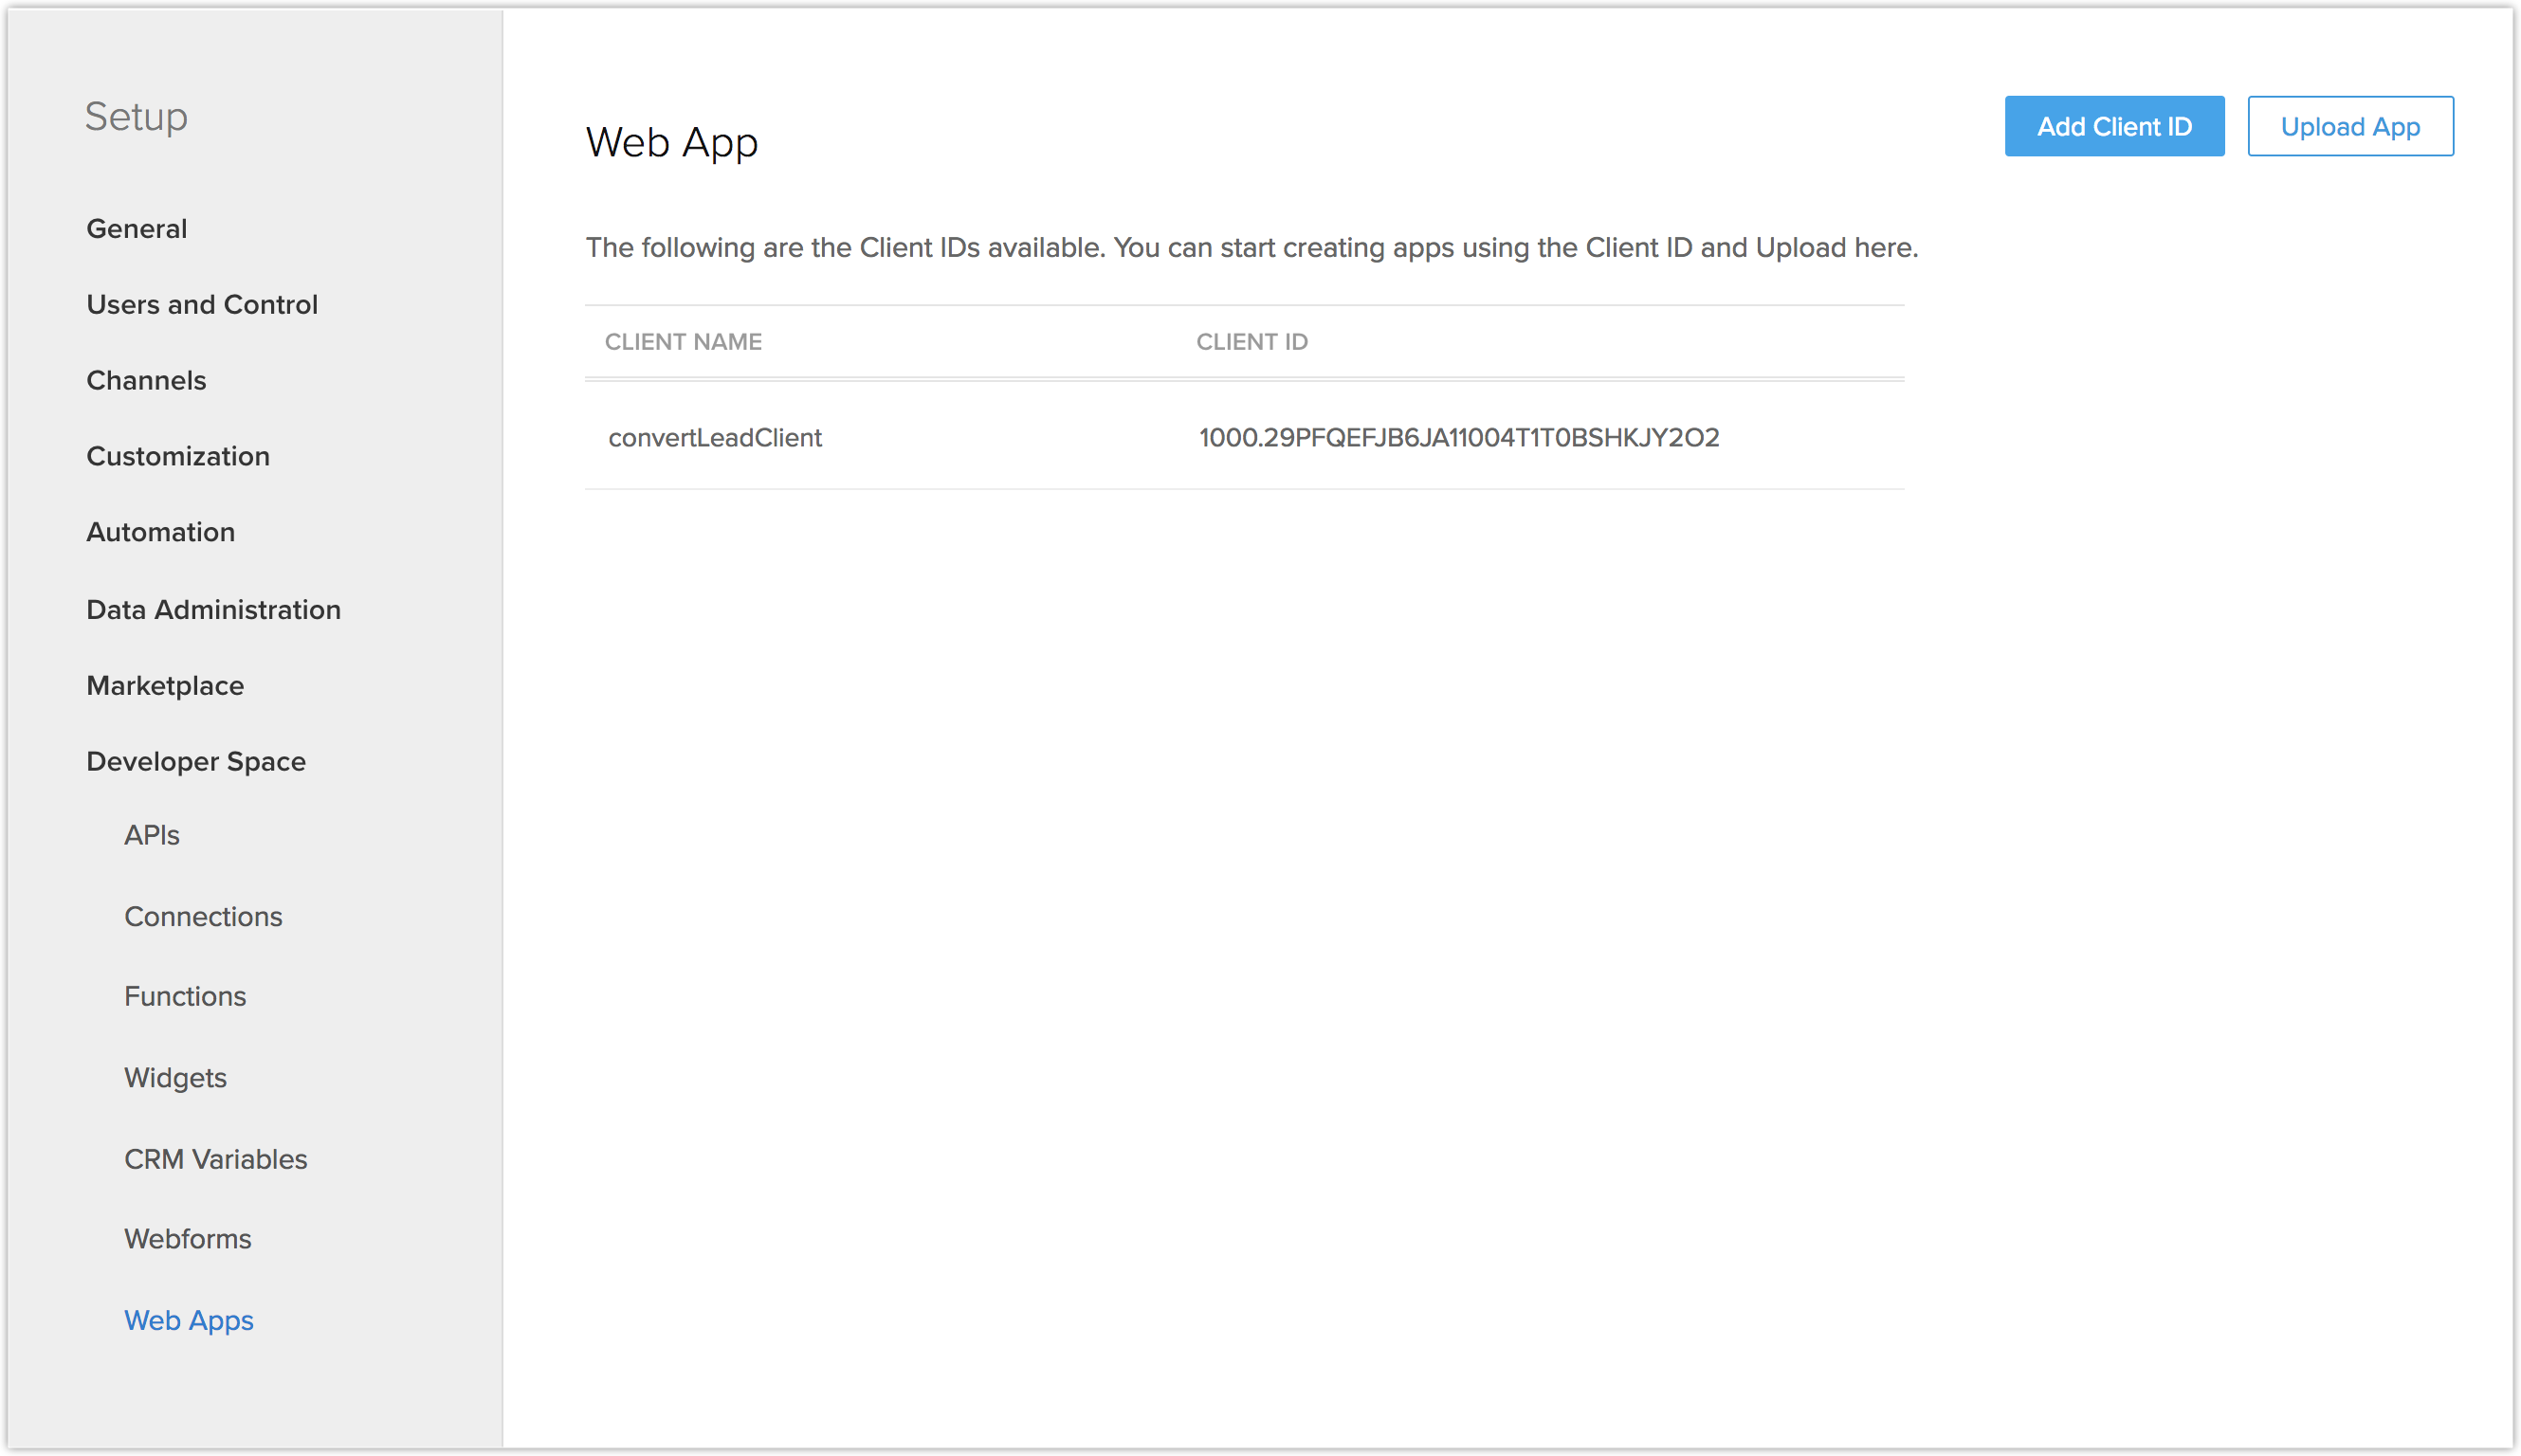
- Go to Settings > Setup > Developer Space > WebApps.
- Click Add Client ID.
- Enter the following information about the app in the following pop-up:
- Choose a Client Name.
- Enter the Client Domain.
- Enter Authorized redirect URIs.
- Enter the JavaScript Domain.
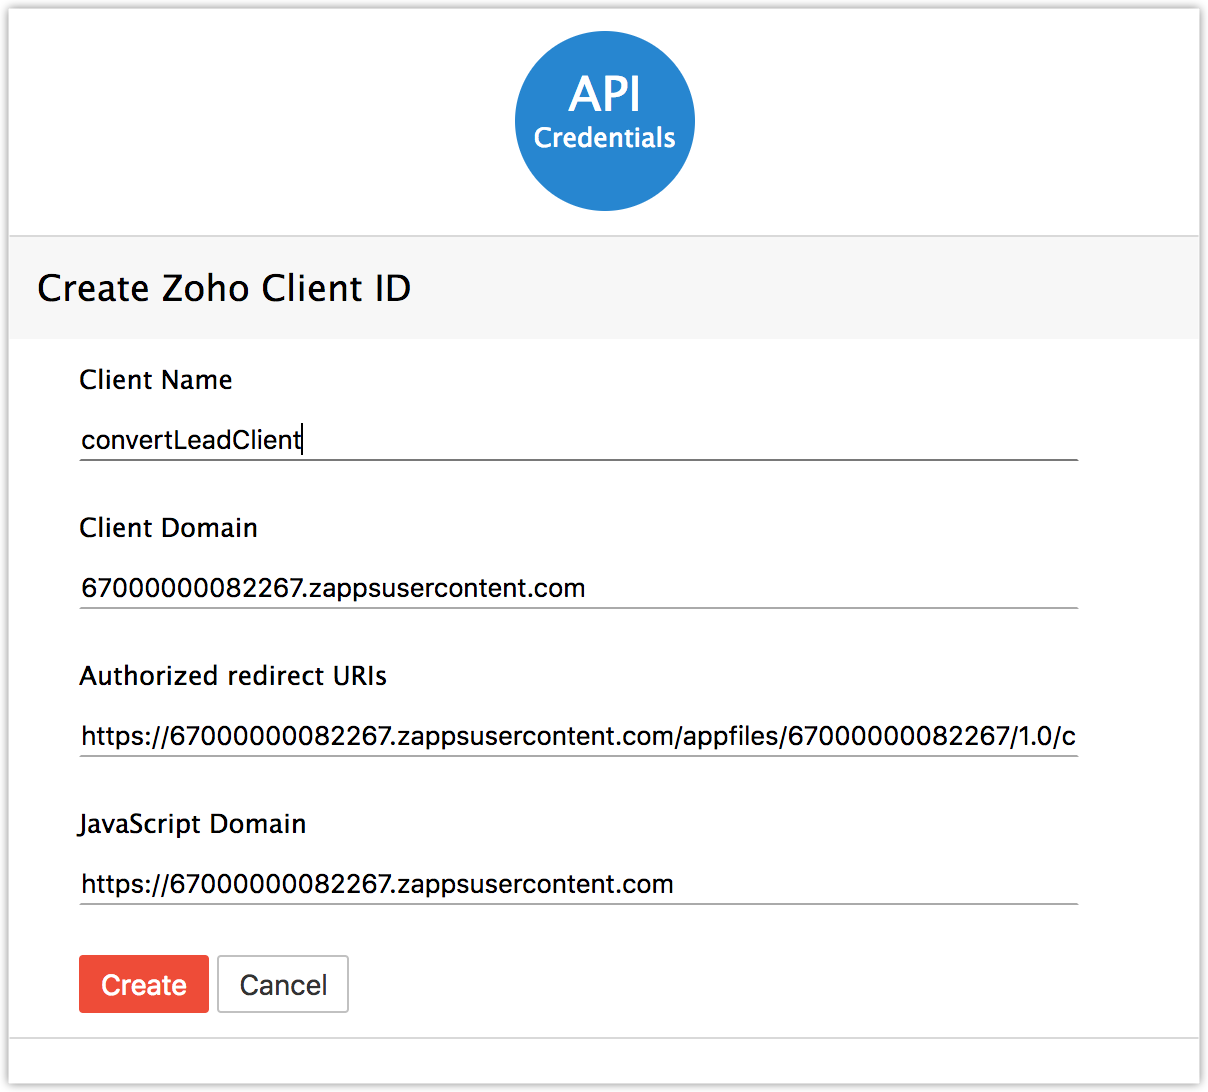
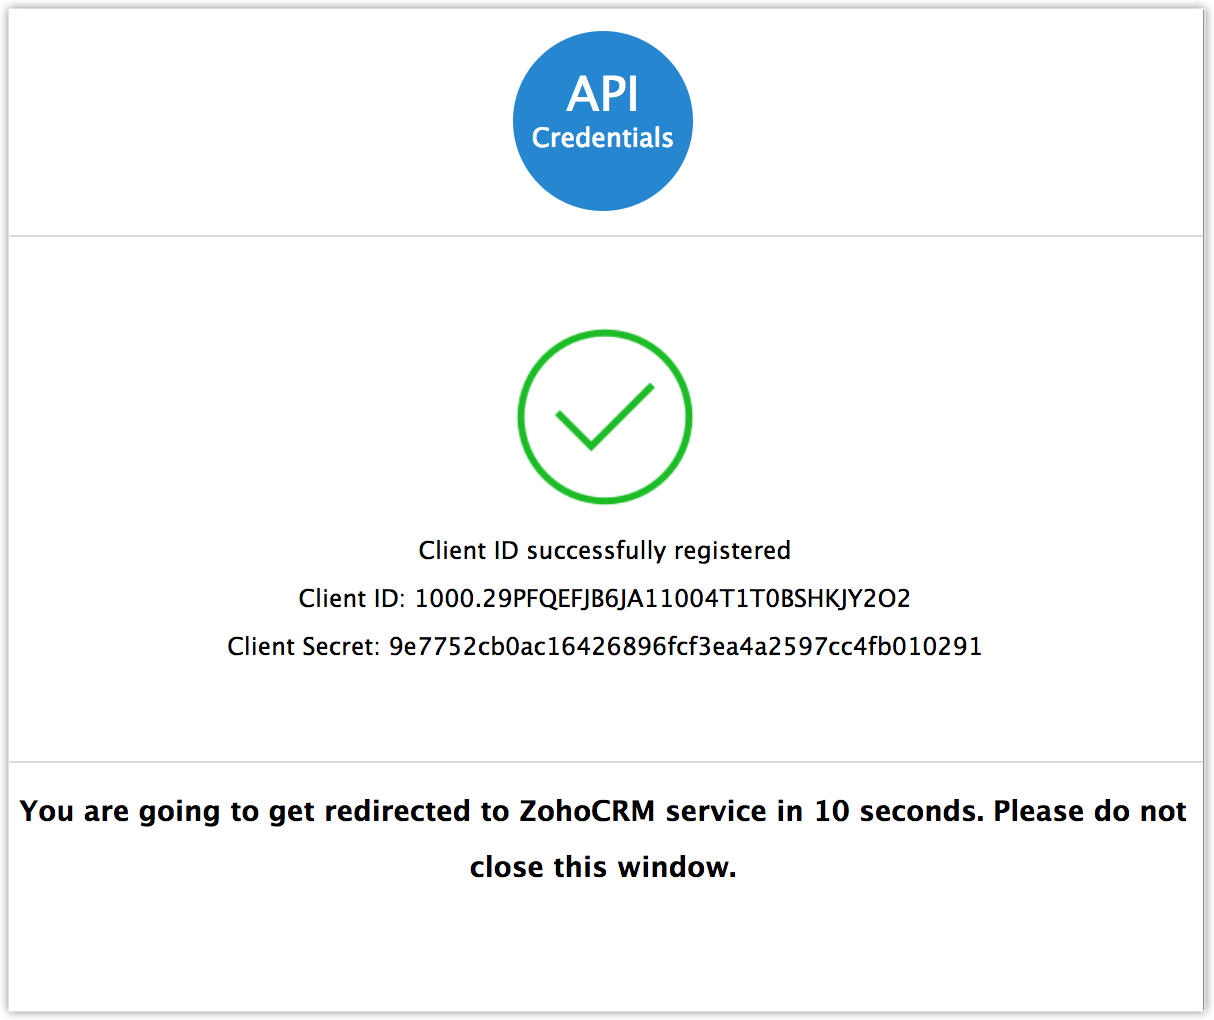
- Click Create.

Once the Client is created, you will be redirected to the CRM, where you can proceed to upload the app.
Build your App
Once the Client ID is created, you can proceed to create your web application.
After the application is created, you can proceed with uploading and sharing it.
Upload an App
To upload web app
- Click Settings > Setup > Developer Space > MobileApps.
- Click Upload App.
- Enter the following information about the app:
- Choose a Name for the app.
- Click Choose File to upload the app files.

- Click Upload.


Sharing the App
After uploading the app, you can share the app with your users.
To share the app
- Right after the app is uploaded, you can share the app to your users.
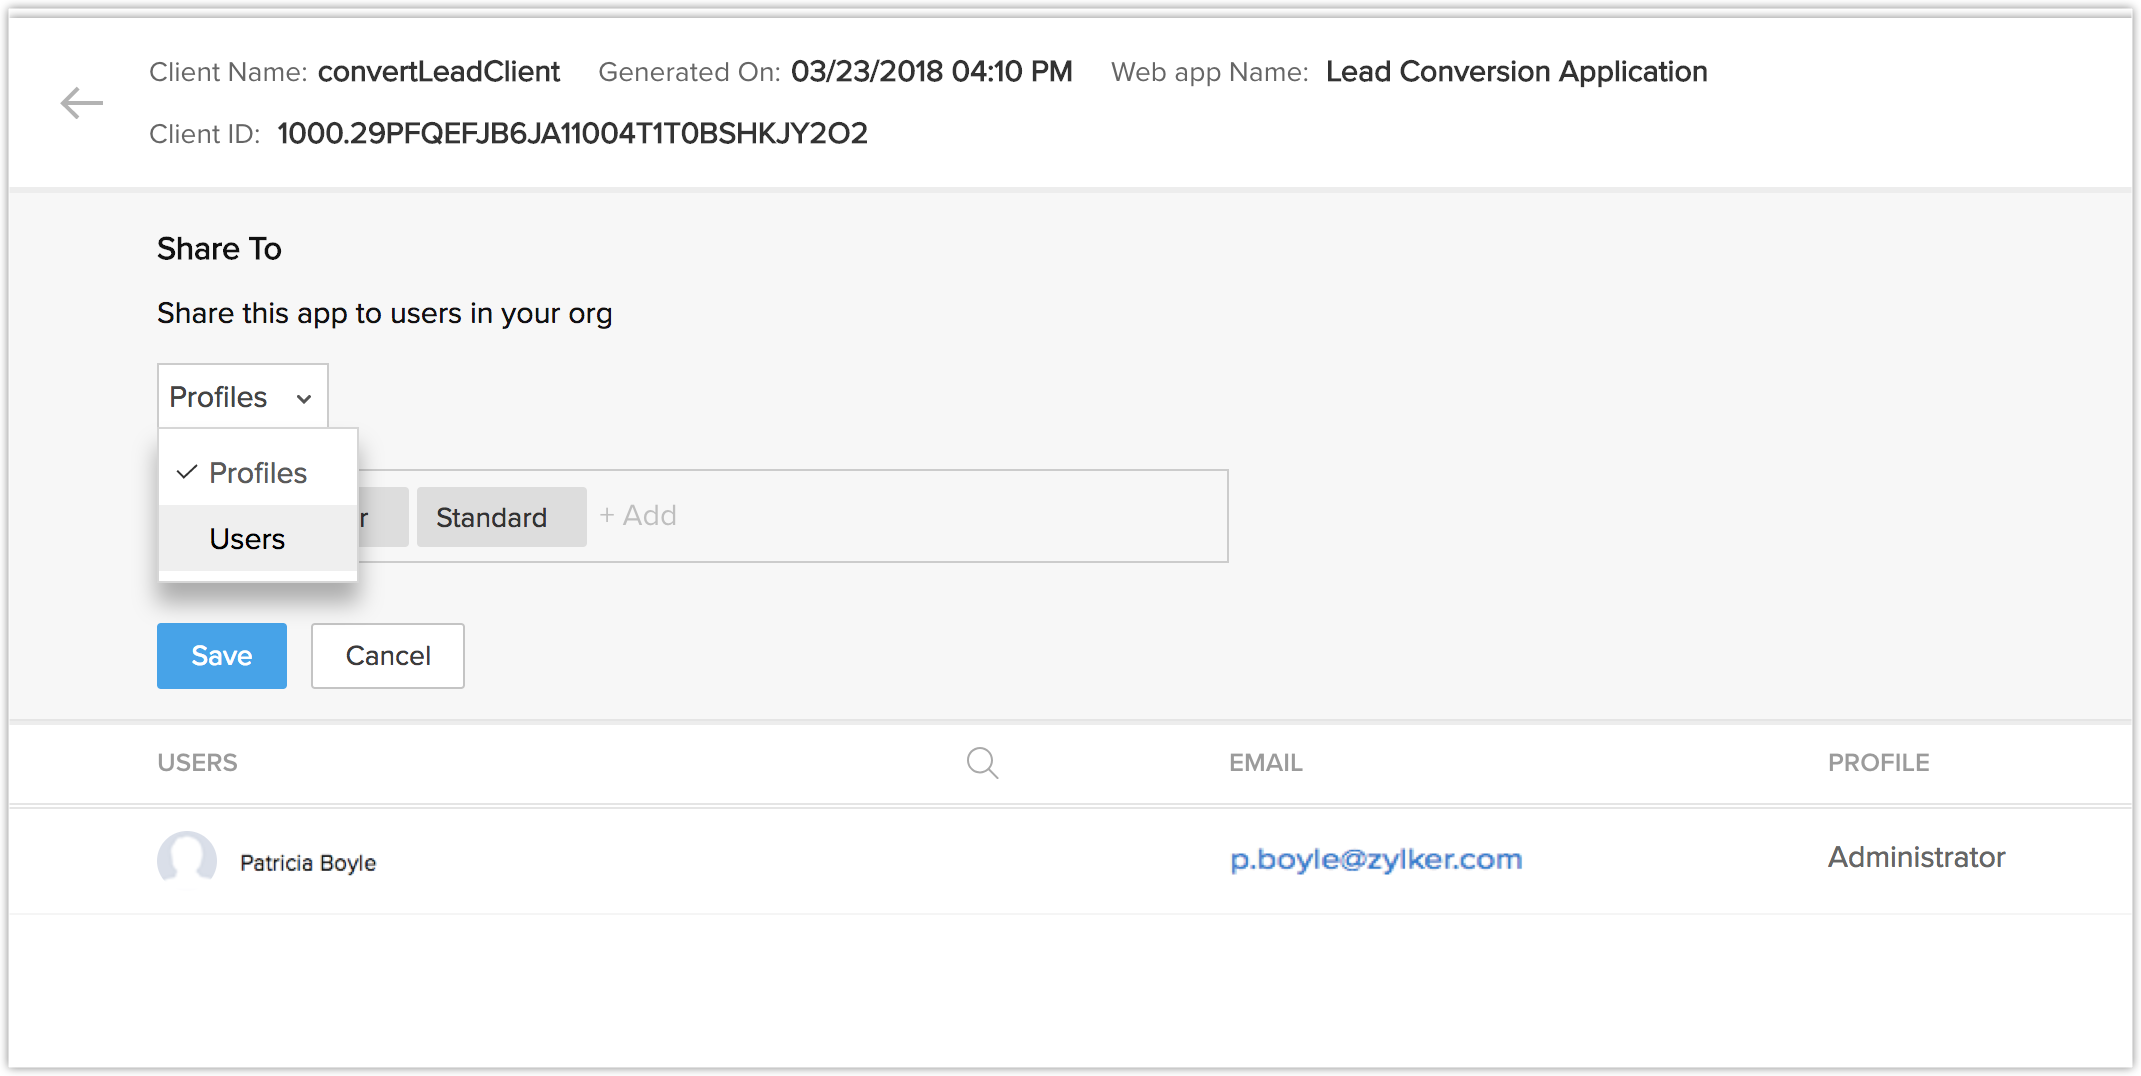
- In the Share To page, select Users based on Profiles, or individual users.
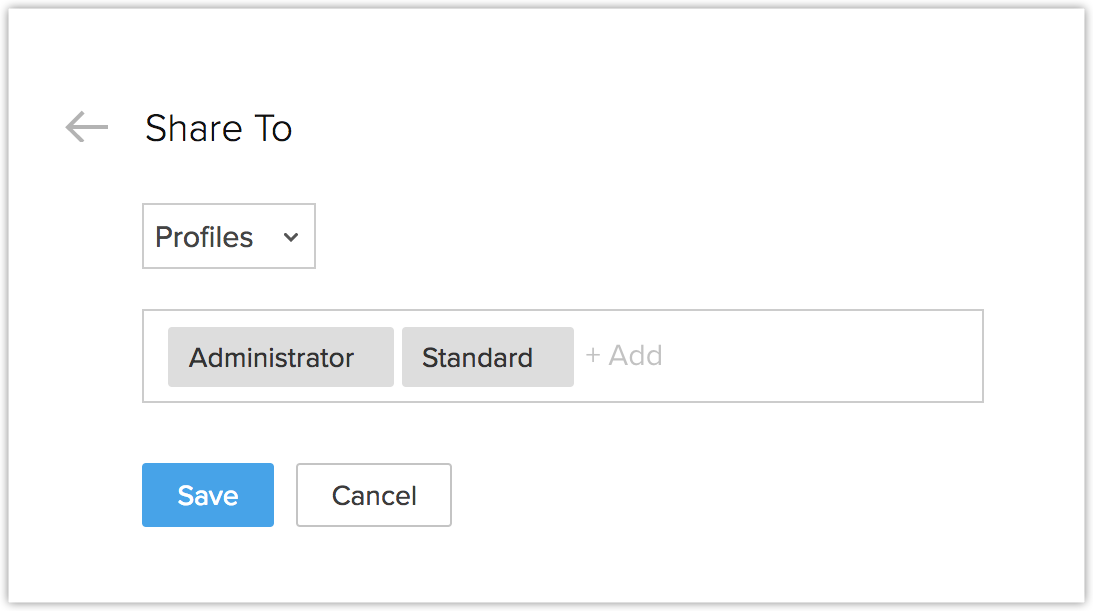
- Click Save.

You can view the list of applications for your organization in the WebApps section under Developer Space.
Edit Sharing options
You can remove an application for a particular user or a particular profile.
To view edit sharing options for an app
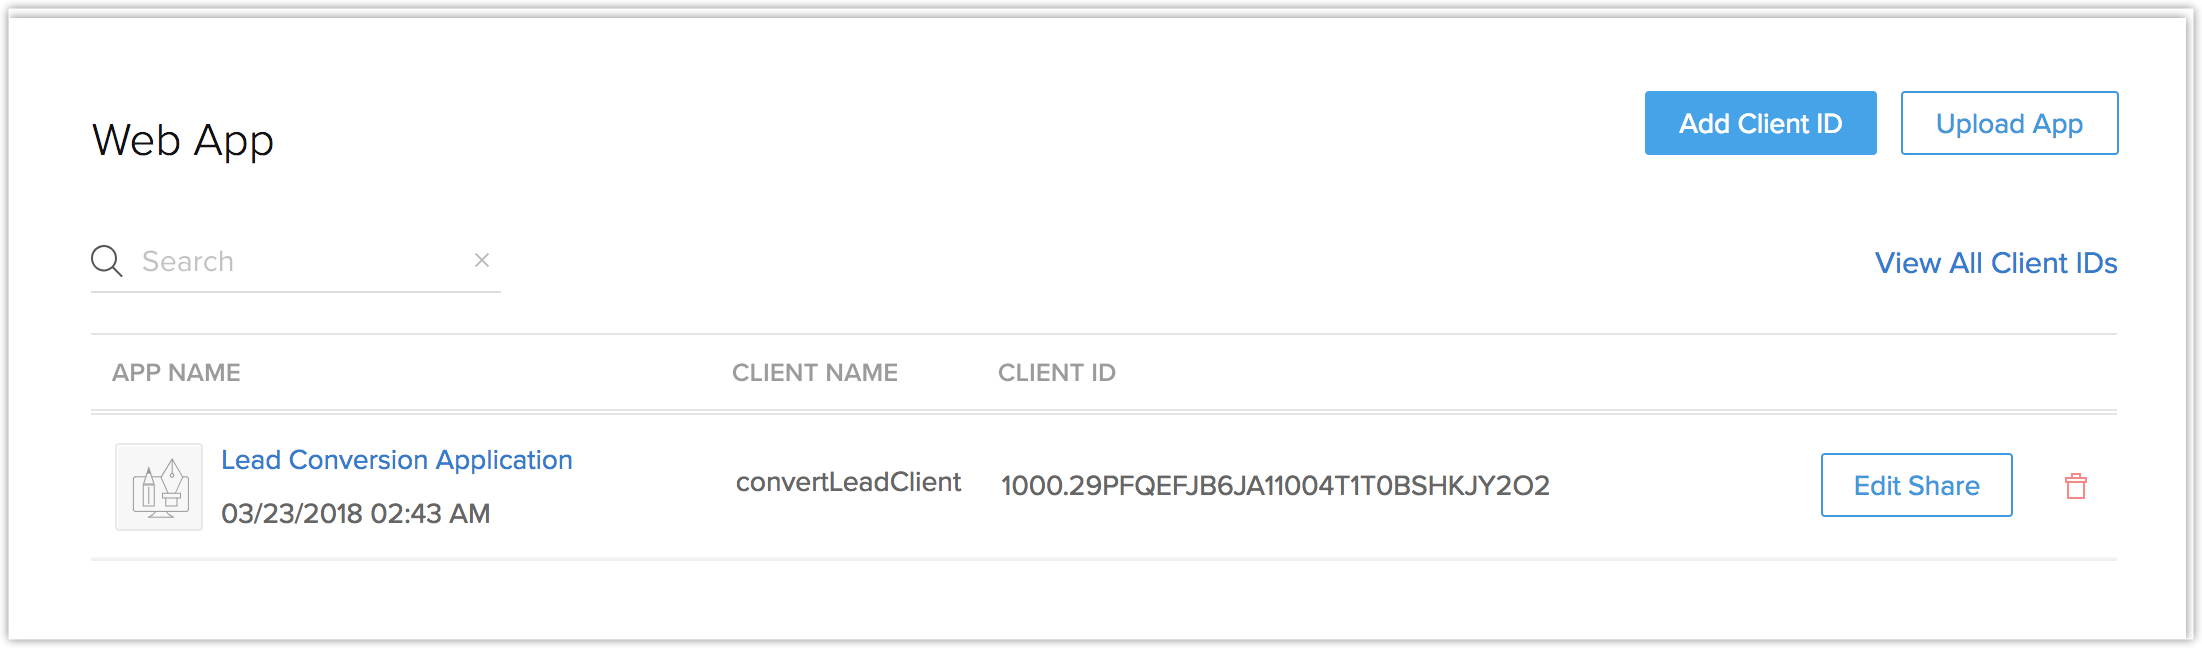
- Click Setup > Developer Space > WebApps.
- In the list, click the Edit Share button of the desired app.
- Under the Share To section in the App Details page, update the sharing options.
- Click Save.
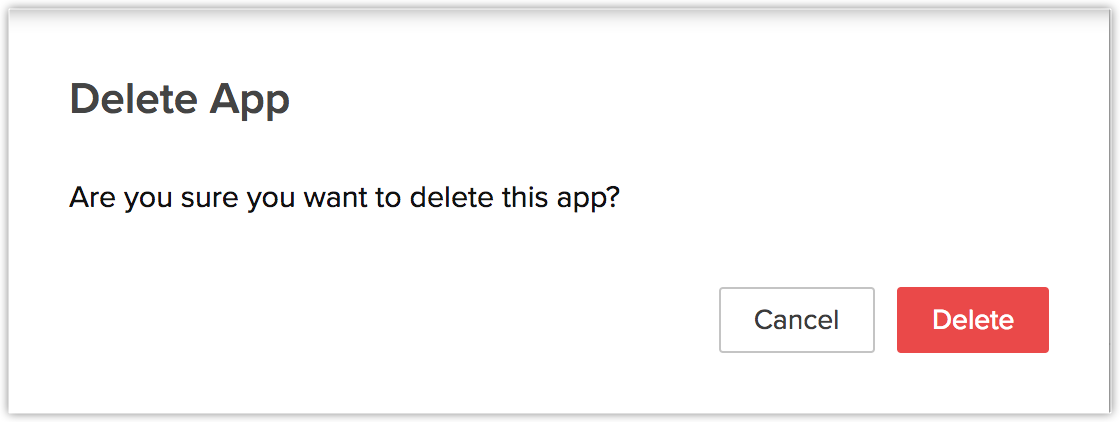
Removing the app
When you remove the application, only the app is deleted from the CRM UI, the Client ID still remains.
To remove the app
- Click Setup > Developer Space > MobileApps.
- Select the delete button of the app(s) to be uninstalled from the list.
- Click Delete.