Creating a Custom Signal
Apart from the default signals, Zoho CRM now allows you to
Create your own signals.
Trigger them using a function or an API from a third-party application.
Display the signal as a widget (the way you want it) or show in the Zoho CRM’s default view.
Follow the below steps to create a new signal in Zoho CRM.
Go to Setup > Channels > Signals.
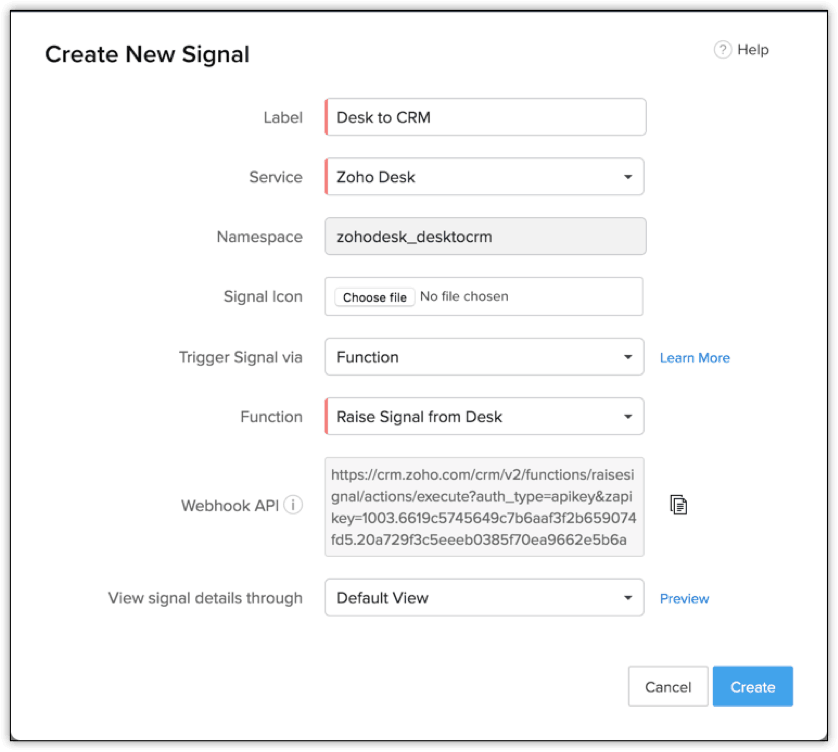
Click Create your Own Signal. The Create New Signal box opens.

Fill in the following details.
Label - Display name of the signal you want to create. This is a mandatory field.
Service - The name of the service you want to receive notifications from. This is the third-party app where the event occurs that you want to be notified of. You can choose from the list of previously created services, or create a new one.
Namespace - Unique value for the custom signal. This namespace is used to trigger the signal from custom function or the API. It is treated as the identifier to trigger the signal. This is a system-generated field; you cannot modify it.
Signal icon - An icon for your custom signal.
Trigger Signal via - The method to invoke the signal. Possible methods are triggering the signal via an API or through a function.
Function - This option will be displayed when you choose to invoke the signal through a function. This drop-down lists the functions of the type "Signals". If there are no functions of this type, you can create a new function from here.
Webhook URL - The webhook URL for the function which will trigger the signal. Note that you must register this URL with the third-party service from which you want to trigger the signal when an action happens in that service.
View Signal Details through - Choose how you want to view the notification from the signal, either in the default view or through a dedicated widget for the signal.
Widget - This option is displayed when you choose to view the notification from the signal in a widget. This drop-down lists the widgets of the type "Signals". If there are no widgets of this type, you can create a new widget from here. Refer to Displaying Signals in a Widget for more details.
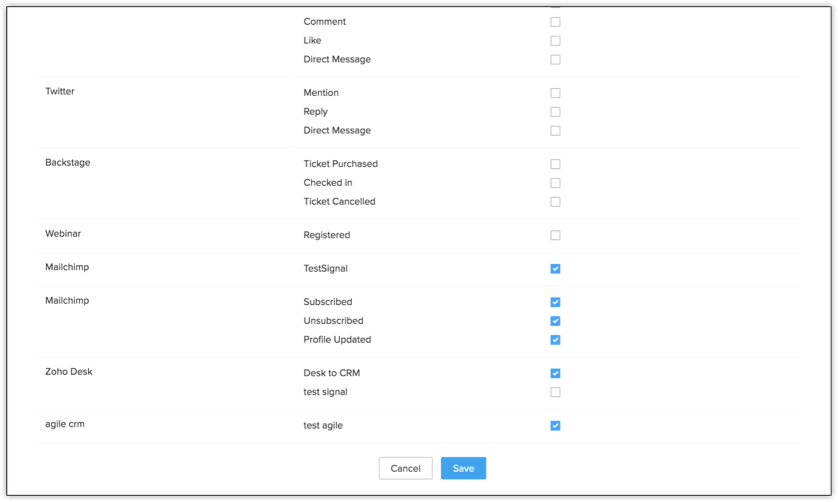
Click Save. You can now see that the signal is added to the list of signals on the Signals Settings page.


