


Generating Code
Once registering as a new client is completed, you can generate and . Now, a grant code has to be generated. Based on the client type the code can be generated in two ways.
- Self Client Method - For Self Client type.
- Redirect Method - For Server-based Applications.
- After registration, click the Self Client method available on the Choose a Client Type list.
- Enter a valid scope. (Refer to Scopes for more details.)
Choose Time Duration.
NOTE:Code value generated in this step will be expired after this period. Refresh Token (Step 3) have to be generated before the code expires.- Enter Scope Description.
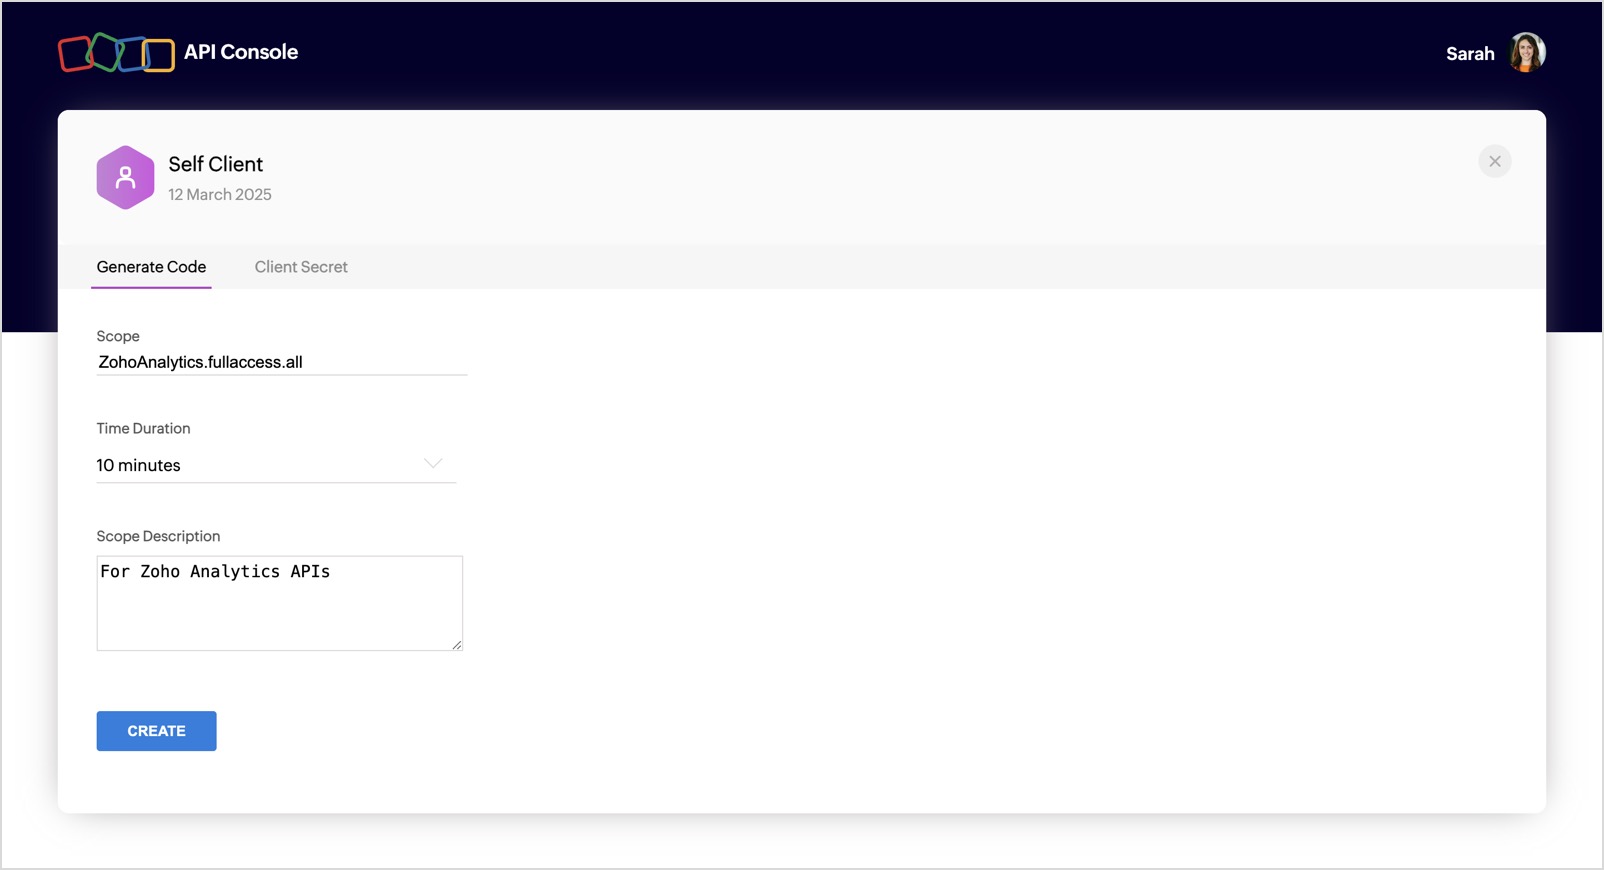
- Click CREATE to generate code.

- Save this code and continue to step 3.


Make a request to the below URI with the given parameters.
https://<ZohoAccounts_Server_URI>/oauth/v2/auth
Get
Parameter Name Description scope * Scope (scope is nothing but a permission to access specific API) for which the token to be generated. Multiple scopes can be given, separated by commas.
Example:
Refer:available scopes client_id * obtained during Client Registration (Step 1). state An opaque string that is round-tripped in the protocol; ie., whatever value given to this will be passed back to you. response_type* code (provide this literal string as the value) redirect_uri * One of the redirect URI given in above step. This param should be same redirect url mentioned while registering the Client (Step 1). access_type The allowed values are and .
The access_type gives your application only the access_token which is valid for one hour. The access_type will give the application an access_token as well as a refresh_token. By default it is taken asprompt (provide this literal string as the value)
Prompts for user consent each time your app tries to access user credentials.
If you don't specify this parameter, the user will be prompted only the first time your app requests access.Note: Fields with * are mandatory.- On invoking this request,
- If you have already signed in with Zoho, a user consent page will be shown.
- If you do not have a login session with Zoho, you will be redirected to the Zoho login page. You need to enter your Zoho credentials to login. After authentication the user consent page will be shown.

- Upon clicking Accept, the application gets authorized. The grant code is sent as a parameter in the redirect_uri.
- A back-end script from your end needs to store the following details from the above URL.
- code={grant_token} - This is used to generate access and refresh tokens.
- location={domain} - This tells you the domain of the user from which you have to make API calls.
- accounts-server={accounts_URL} - This is your accounts URL which you have to use to generate refresh and access tokens.


Note: This code is valid for only 60 seconds. Next Step have to be done within this time.
When the user clicks Reject, the browser redirects to the redirect URI with the parameter , and your application is denied access to the user's data in Zoho Analytics.