
Transaction Approval Workflow
Once Approvals is configured for a module, users of your organization can submit transactions created in that module for approval. Approvers can either accept or reject transactions submitted for approval. In this help document, you’ll learn how to perform these actions in Zoho Books.
Submit a Transaction for Approval
You can create a transaction and submit it for approval. Here’s how:
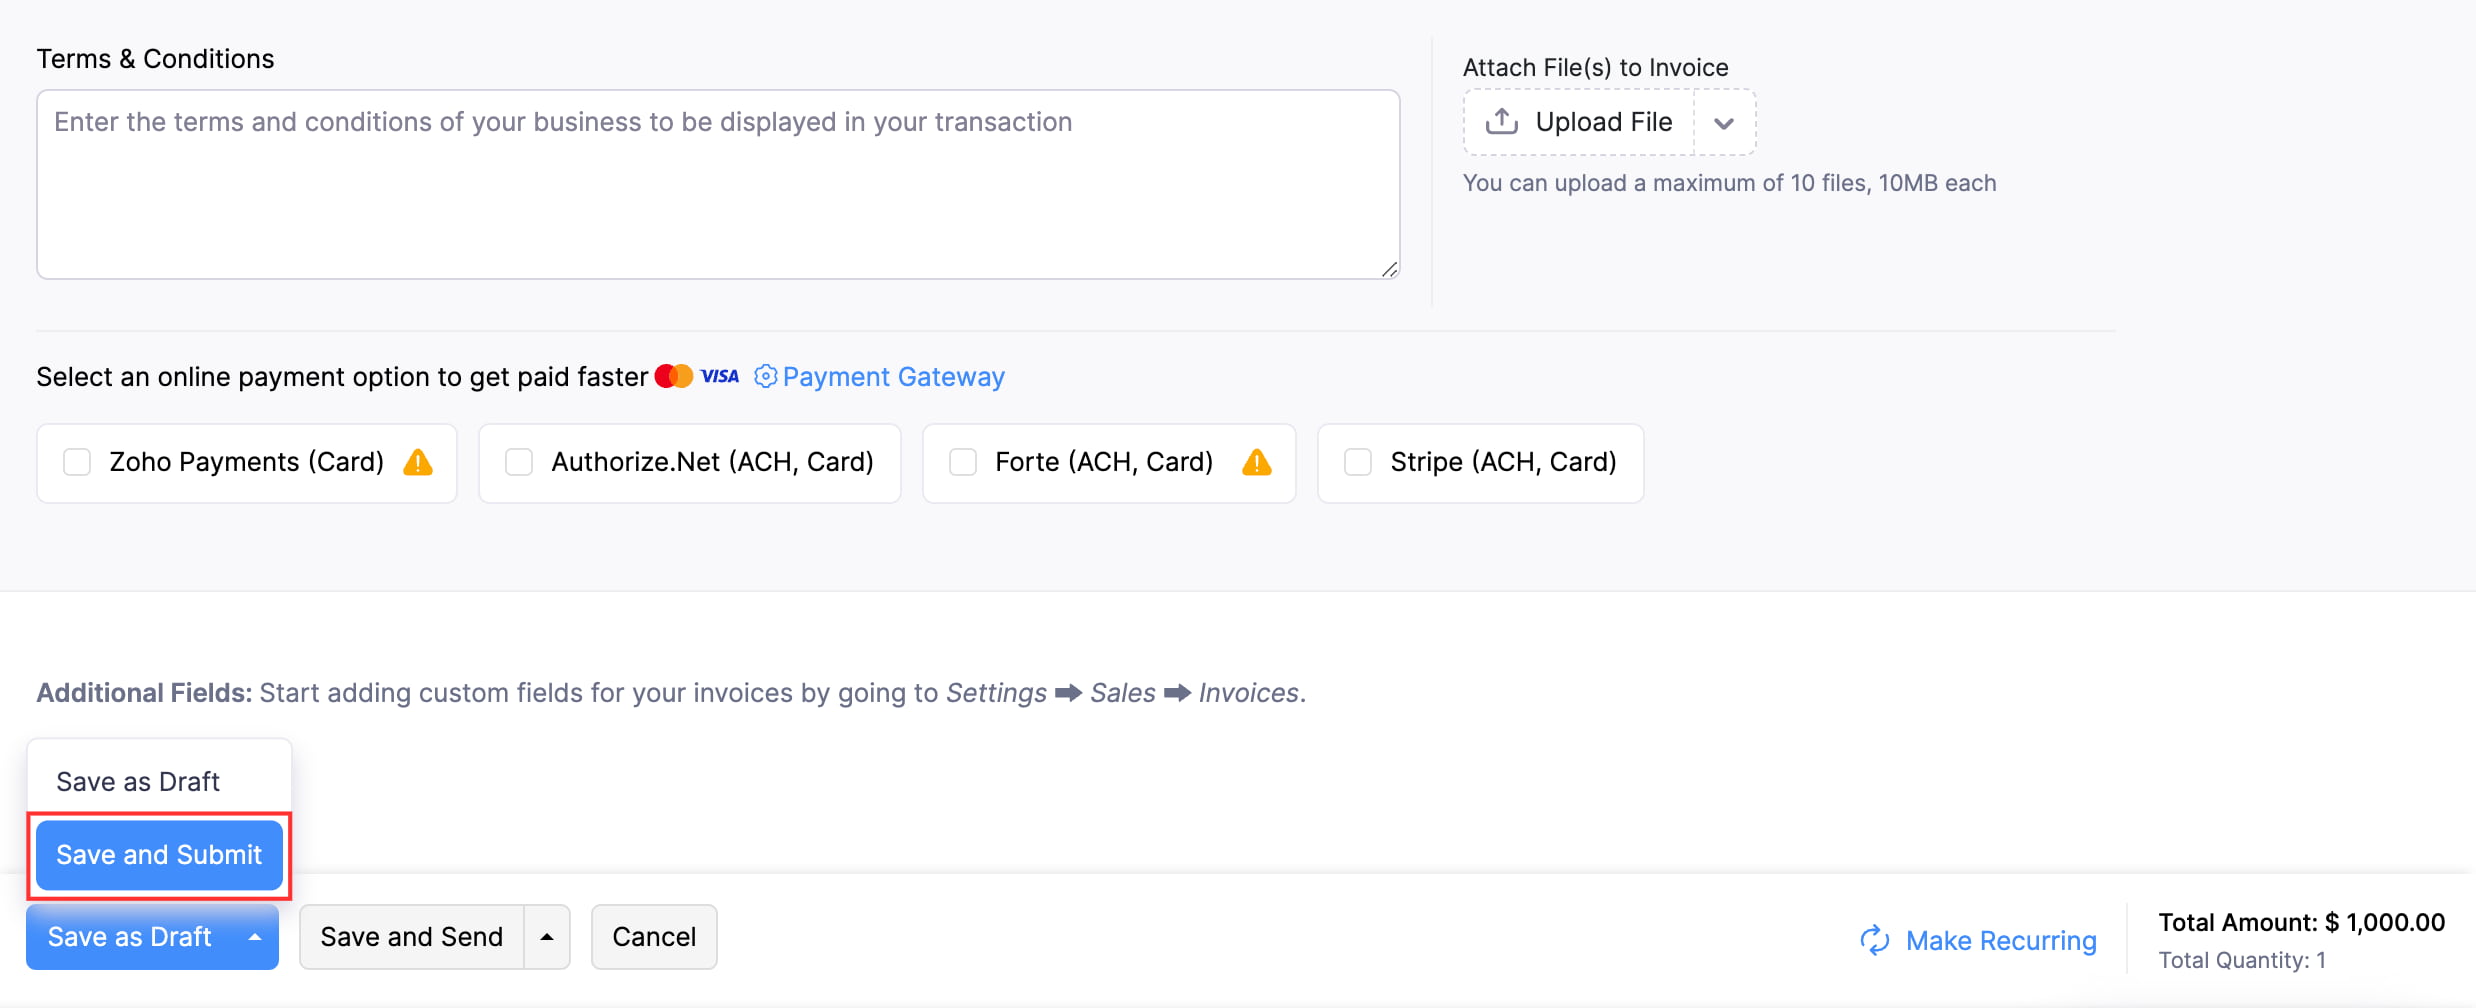
- Create a transaction and fill in the required details.
- Click the dropdown next to Save and Send and select Save and Submit.
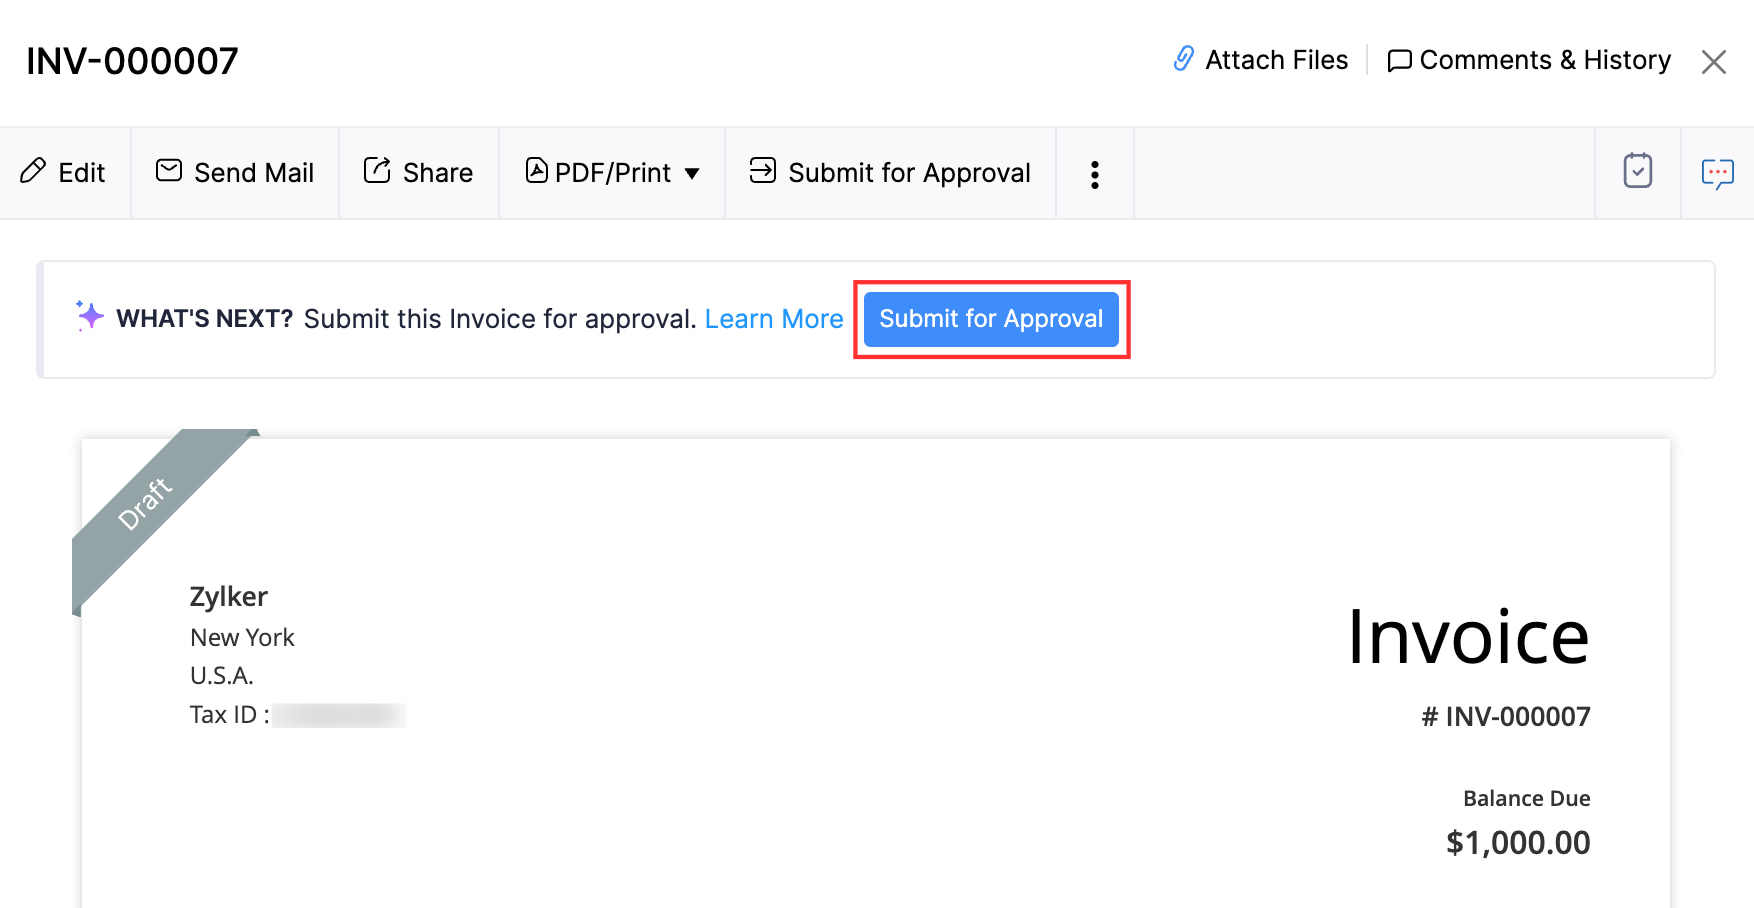
You can also submit an existing transaction for approval, provided it is in the Draft status. Here’s how:
- Go to the module in which you created the transaction.
- Click the transaction that has to be submitted for approval.
- Click Submit for Approval on the transaction’s Details page.
The transaction will be sent to the approvers for approval. If the option to notify approvers when transactions are submitted for approval is enabled for the module, the approver will receive both an in-app and email notification. Similarly, if the option to notify submitters when a transaction is approved is enabled, the submitter will receive a notification.
Approve a Transaction
When transactions are submitted for approval, users of your organization with permission to approve records of the module can approve them based on the approval type configured.
Simple Approval
If the approval type for a module is set to Simple Approval, any one admin or approver can approve the transactions created in that module.
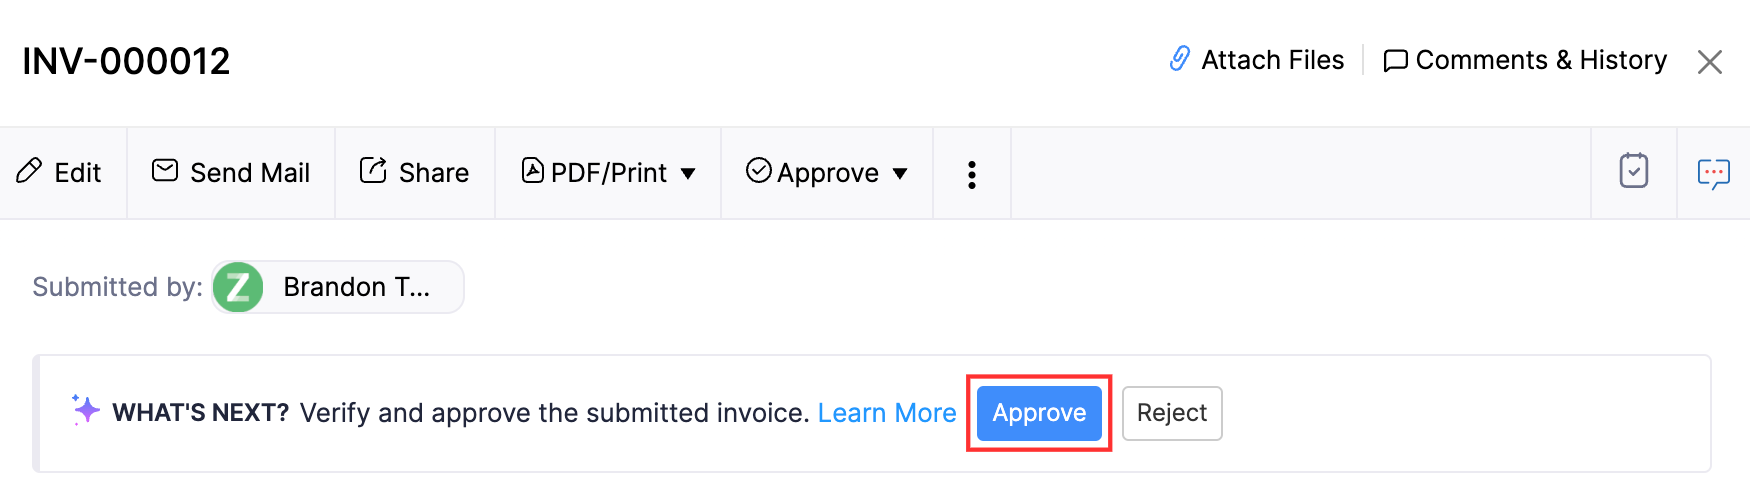
To approve the transactions the approver or admin should:
- Open a transaction that has to be approved.
- Click Approve.
The transaction will now be approved, and users can perform subsequent actions.
Pro Tip:
- Check the Send email and in-app notifications when transactions are submitted for approval option on the Approvals page of the module so that approvers get notified when they have to approve transactions.
- Admins or approvers can quickly view the transactions they have to approve by selecting the Pending Approval view at the top of the page.
Multi-Level Approval
If the approval type for a module is set to Multi-Level Approval, when transactions are submitted for approval, they will be sent to the first-level approver. After the first-level approver approves them, they will be sent to the second-level approver, and so on, until the last approver approves the transaction.
To approve the transactions the approver or admin should:
- Open a transaction that has to be approved.
- Click Approve.

The transactions will be approved, and it will be submitted to the next approver for approval.
Final Approve a Transaction
If the approval type for a module is set to Multi-Level approval, when transactions created in that module are submitted for approval, the admins of the organization can override the multiple levels of approval and approve the transaction once and for all. This option is called Final Approve.
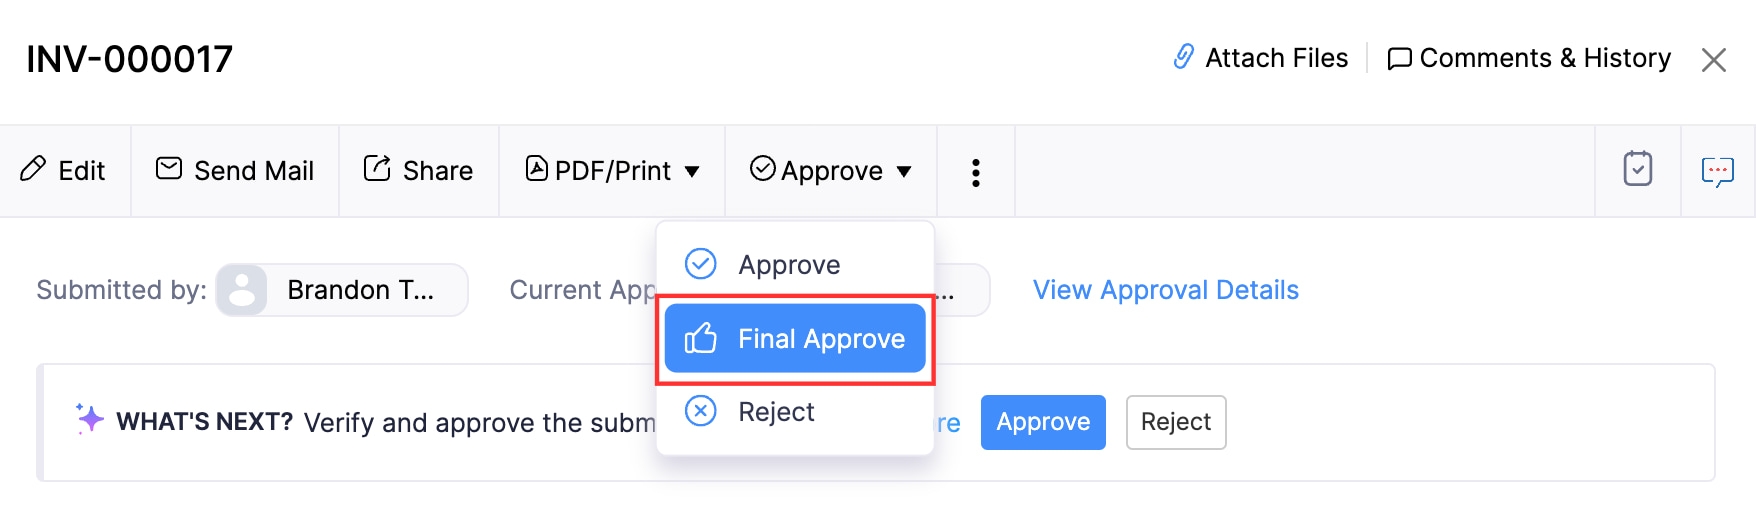
To Final Approve a transaction, admins should:
- Select the transaction that has to be approved.
- Click Approve and select Final Approve from the dropdown.
If an admin is not the current approver for a module or not part of the approval flow, they can still final approve transactions of that module submitted for approval. Here’s how:
- Select the transaction that has to be approved.
- Click the More button and select Final Approve from the dropdown.
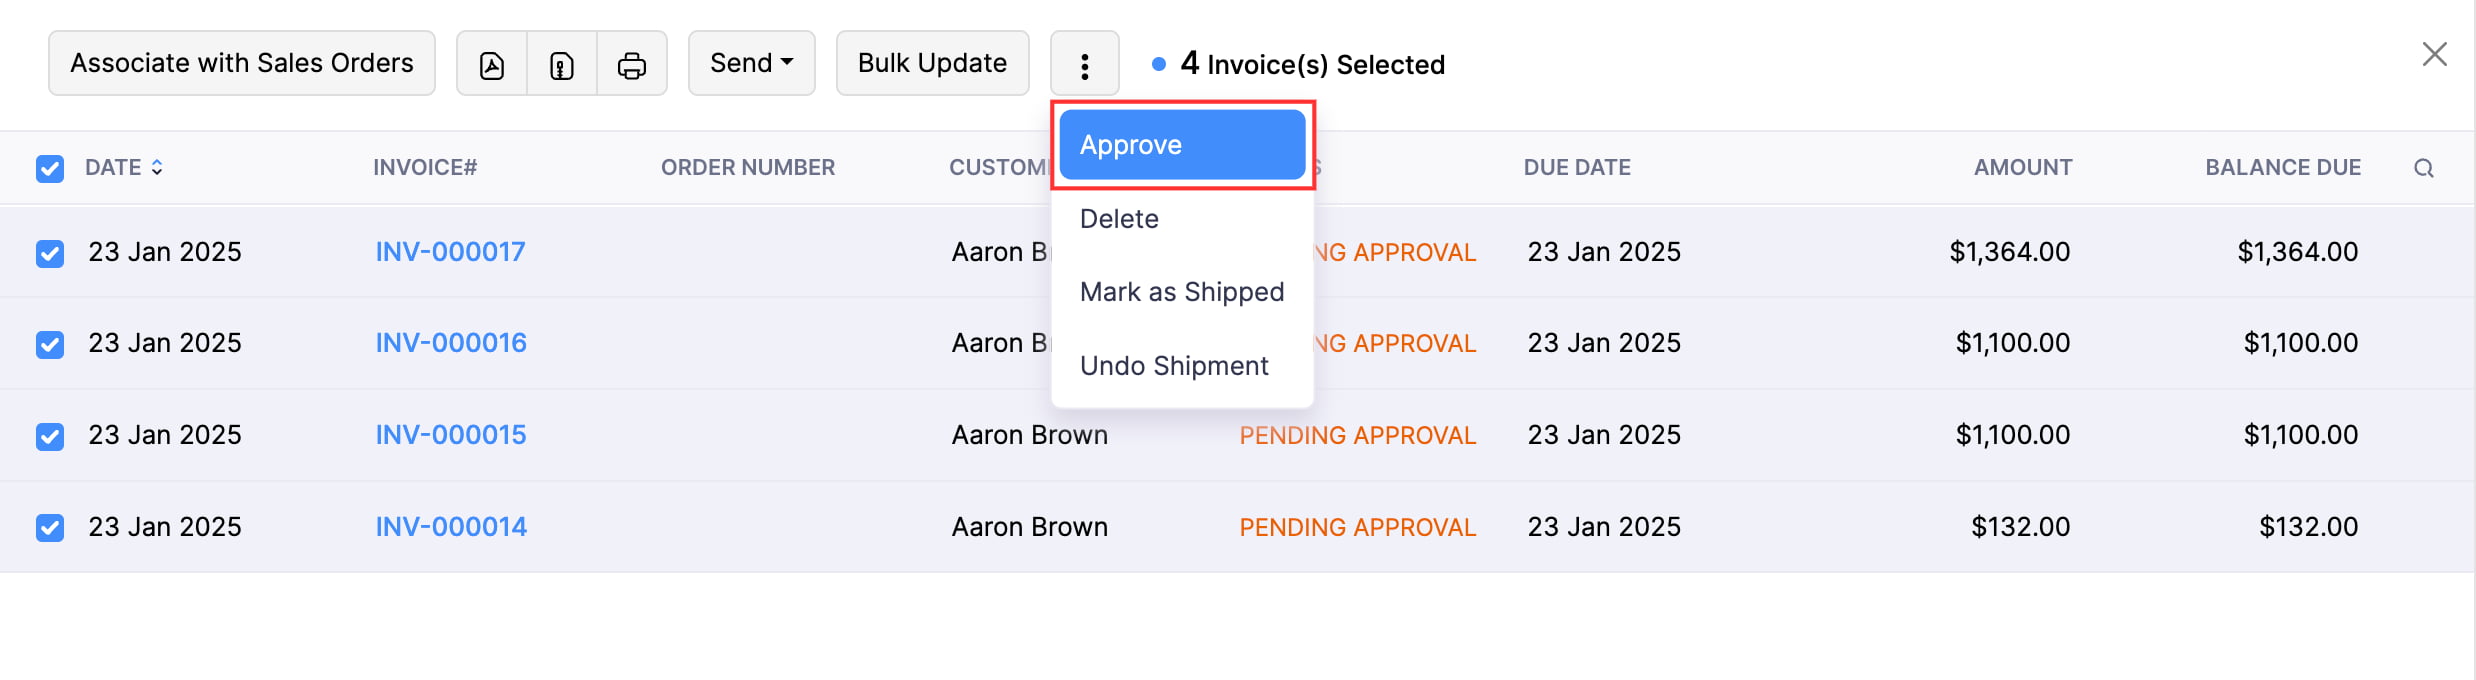
Bulk Approve Transactions
To approve multiple transactions at once:
- Go to the module in which you want to bulk approve transactions.
- If the module’s approval type is Simple Approval, select the transactions you want to approve.
- If the module’s approval type is Multi-Level Approval, click All at the top of the page, select My Approvals, and select the transactions you want to approve.
- Click Approve at the top of the page.
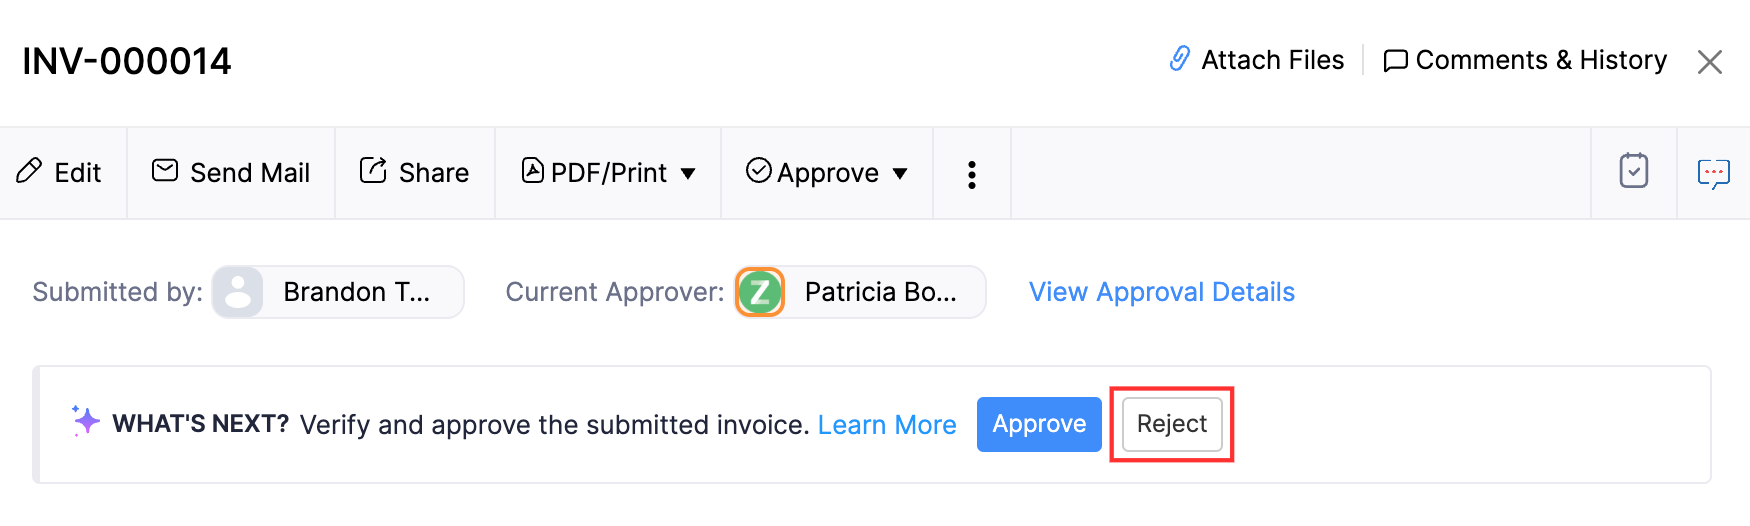
Reject a Transaction
Admins and approvers can reject transactions submitted for approval if they have incorrect details. By doing so, the submitter can make the necessary changes and resubmit the transaction for approval if required.
To reject a transaction, the admins or approvers should:
- Select the transaction.
- Click Reject on the transaction’s Details page.
- Enter a reason for rejecting the transaction.
- Click Reject.
Pro-tip: If you do not want to reject a transaction, you still want the submitter to edit the transaction, you can convert a transaction to a draft by entering a reason.
Note: In Multi-Level Approval, if any of the approvers rejects the transaction, it will be rejected even if previous approvers approved it.
Resubmit a Rejected Transaction for Approval
If your approver rejects a transaction due to missing or incorrect details, you can correct these details and resubmit the transaction for approval. Here’s how:
- Open the transaction that was rejected.
- Click Resubmit at the top of the transaction’s Details page.
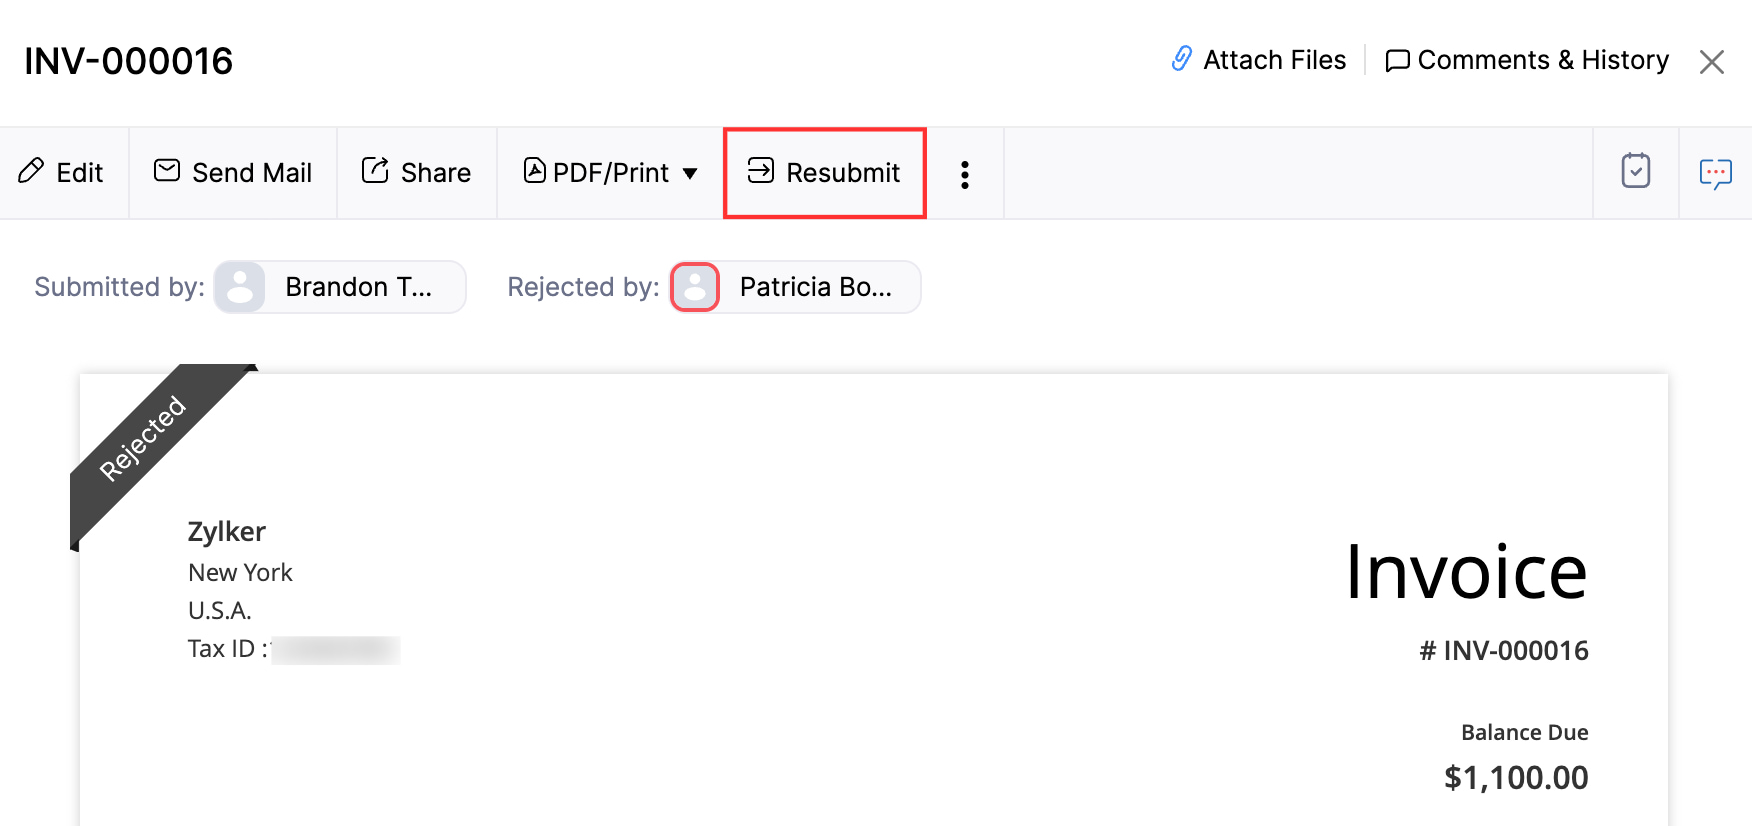
- Click Yes in the pop-up that appears.
Next >
Other Actions in Approvals
Related
 Yes
No
Yes
No
Thank you for your feedback!