


Configuring Allowed IPs
![]()
Profile Permission Required: Users with the Administrator Profile can access this feature
When you are dealing with data, security is a major concern. You need to make sure that your data in Zoho Workerly is not accessed from an insecure network. You may even prefer your team accessing Workerly only from the office. For the same reason, logging in to Zoho Workerly and using it can be restricted to specific IP Addresses only.
With the Allowed IPs feature, an administrator can add the IPs for individual users, users in a role or a group. Users can log in to Zoho Workerly only from these allowed IPs added by the Workerly administrator. This also applies to all the other Zoho products. So if you are not able to access Zoho Workerly from a specific IP, say your home office, then you will not be able to access even the other products like Zoho Mail, Zoho Docs, etc.
Add Allowed IPs
As an Administrator, you can add IPs through which users of your Workerly account can log in to access their account. You can mention only those trusted IPs from which the Zoho account can be accessed. Logging in through any other IP would give the "Access denied from this IP address" alert message to the user. This restriction will be applied while logging in from mobile devices and tablets too. Also, APIs using the user's Authtoken will not work from the IPs that are not allowed.
To add allowed IPs
- Go to Setup > Users & Control > Security Control > Allowed IPs.
- In the Allowed IPs page, click Add Allowed IPs.
- In the Configure Allowed IPs page, select the SourceType.
- All Users - Select this to give all users the access to Zoho Workerly from only the specified IPs.
This could be your office IP that all the users access.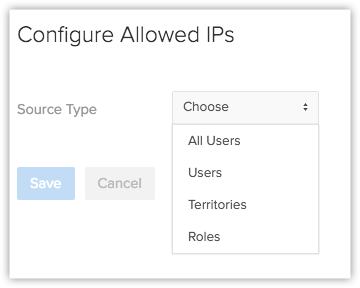
- Users - From the list, click on the users to move them to the Selected group.
Select users for whom you want to allow Workerly access only through certain specified IPs.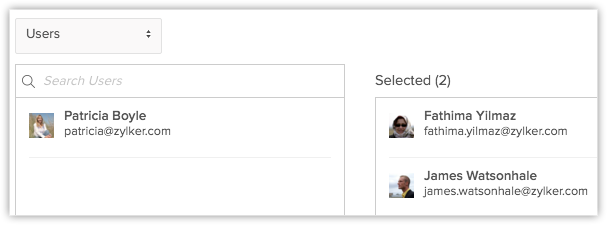
- Groups - From the list, click on the groups to move them to the Selected group.
All the users in the selected group will have access to Workerly only through the specified IPs.
- Roles - From the list, click on the roles to move them to the Selected group.
All the users in the selected role will have access to Workerly only through the specified IPs.


- Click the Add IPs link.
Your current IP address will be added, by default.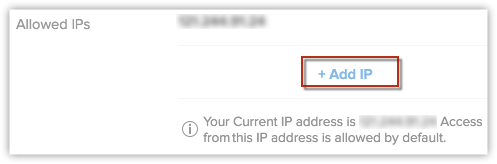
- In the Add IP popup, select the IP Type andenter the IP.
- Static IP - Enter a valid IP.
- IP Range - Enter the NetworkIP and SubnetMask.
You can contact your Internet Service Provider for the Network IP and Subnet Mask. - Already Added IPs - Select already added IPs from the drop-down list.
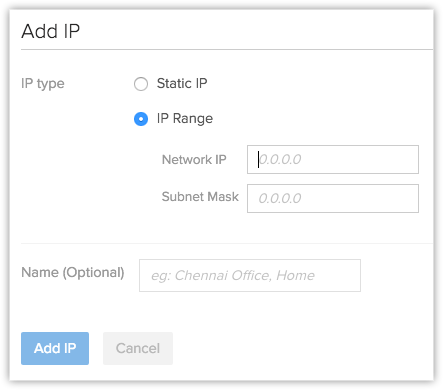
- Enter a Name for the IP configuration, if required.
- Click Add IP.
- Click Save.


Remove Allowed IPs
You can remove the added IPs whenever required. If a user is not part of any IP restriction, then the user will be allowed to access Workerly from any IP. Make sure that you do not delete you own IP from the Allowed IPs list.
To remove allowed IPs
- Go to Setup > Users & Control > Security Control > Allowed IPs.
- In the Allowed IPs page, hover your mouse pointer on an entry and click the Delete link.
To remove a single IPs from the list of allowed IPs
- Go to Setup > Users & Control > AllowedIPs.
- In the Allowed IPs page, hover your mouse pointer on an entry and click the Edit link.
- In the Configure Allowed IPs page, hover your mouse pointer on an allowed IP and click the Remove link.
- Click Save.