ON THIS PAGE
Bitly Invoice Link Extension
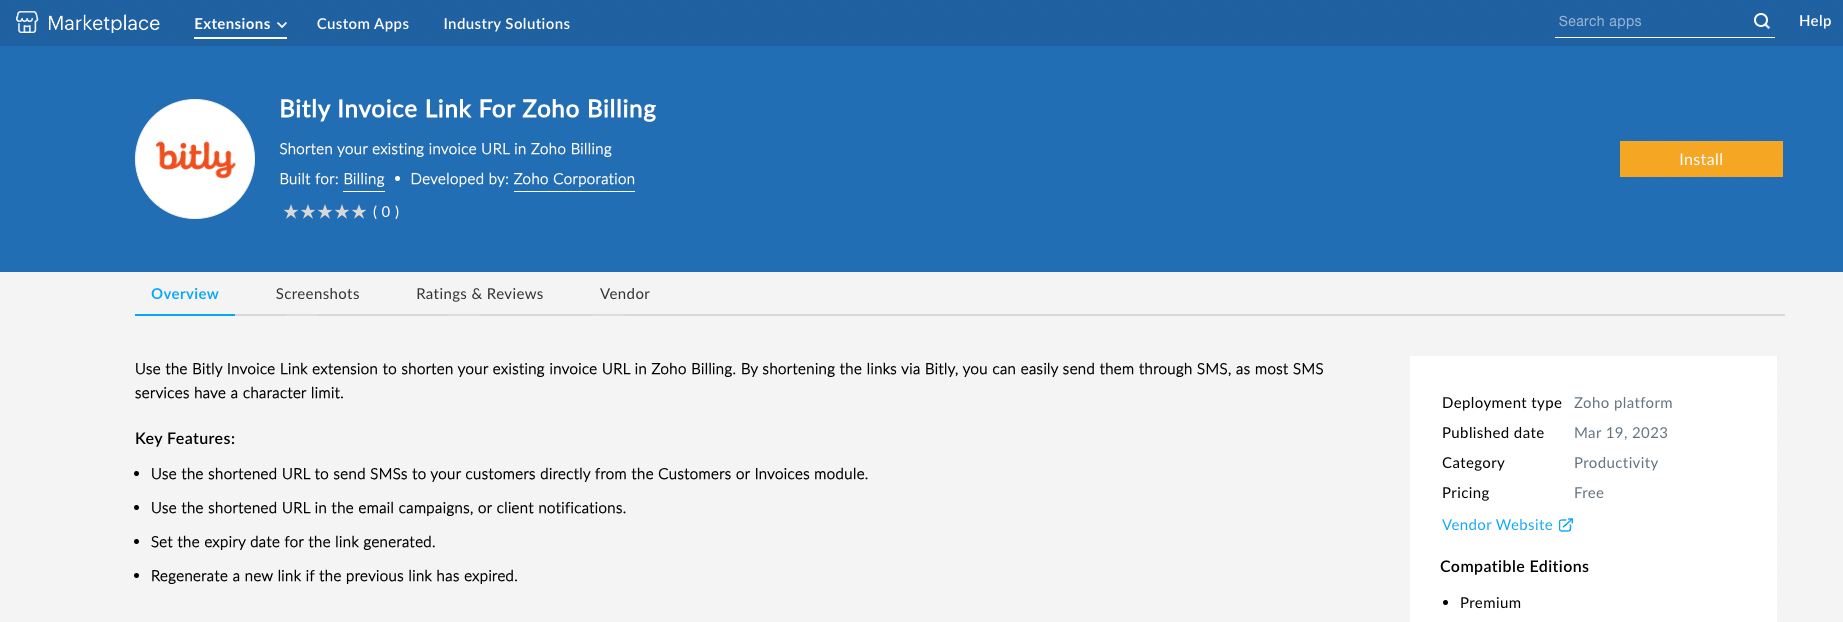
In Zoho Billing, you can generate a link for invoices and share it with your customers. However, this link is long, making sending it to your customers through SMS difficult as it exceeds the character limit. The Bitly Invoice Link extension reduces the length of the link by generating shortened URLs. You can use the shortened URLs to share these invoices with your customers via SMS.
Installing the Bitly Invoice Link Extension
To install the Bitly Invoice Link extension:
-
Go to Zoho Marketplace and search for the Bitly Invoice Link extension.
-
Click Install on the top band.

-
In the pop-up that appears:
-
Verify your details in the Use of Personal Details section.
-
Select the organization for which you want to install the extension from the dropdown next to the Portal Name field in the Installation details section.
-
Read and agree to the terms and conditions of your vendor and Zoho Marketplace.
-
Click Install to proceed with the installation of the extension.
-
-
On the following page, check the I agree to the Terms and Conditions of the integration, and authorize Bitly Invoice Link to access and process my data as needed option and click Next.
- Authorize your Zoho Finance - Bitly Invoice Link and Bitly connections.
- To authorize the Zoho Finance - Bitly Invoice Link connection:
- Hover over Zoho Finance - Bitly Invoice Link and click Connect.
- On the new page that appears, click Connect.
- The extension requires access to certain data from the apps listed on the page to fetch the necessary data. Click Accept to continue.
- To authorize the Bitly connection:
- Hover over Bitly and click Connect.
- On the new page that appears, click Connect.
- Zoho Flow requires access to your app data to fetch the necessary data. Click Connect to continue.
- You will be redirected to the Bitly sign in page. If you already have a Bitly account, you can sign in to your Bitly account directly or using your Google or Apple accounts. If you do not have a Bitly account, you can sign up to create a new one.
- Once you sign in, click Allow on the page that follows.
- To authorize the Zoho Finance - Bitly Invoice Link connection:
- Once you authorize both connections, you will get a confirmation message. Click Install Extension at the bottom of the page.
The Bitly Invoice Link extension will be installed in your Zoho Billing organization.
Generating a Shortened URL Using the Bitly Invoice Link Extension
To generate a shortened link using the Bitly Invoice Link extension:
-
Go to the Sales module on the left sidebar and select Invoices.
-
Select the invoice for which you want to generate a shortened link.
-
Click the Bitly Invoice Link custom button at the top of the invoice’s details page.

-
In the pop-up that appears, select the Link Expiration Date. You can set the expiration date to be 15, 30, 45, or 60 days. You also have the option to choose a custom expiration date.
-
Click Generate Link.

-
Click Copy next to the shortened link to share the link with your customers.

Uninstalling the Bitly Invoice Link Extension
- Go to Settings on the top right corner of the page.
- Select Marketplace under Developer Space.
- Switch to the Installed Extensions tab.
- Click View details in the Bitly Invoice Link extension’s card.
- Click Uninstall on the top right corner of the page.
- In the pop-up that appears, click Yes.
The Bitly Invoice Link extension will be uninstalled from your Zoho Billing organization. You can no longer use it to generate shortened URLs for your invoices.
 Thank you for your feedback!