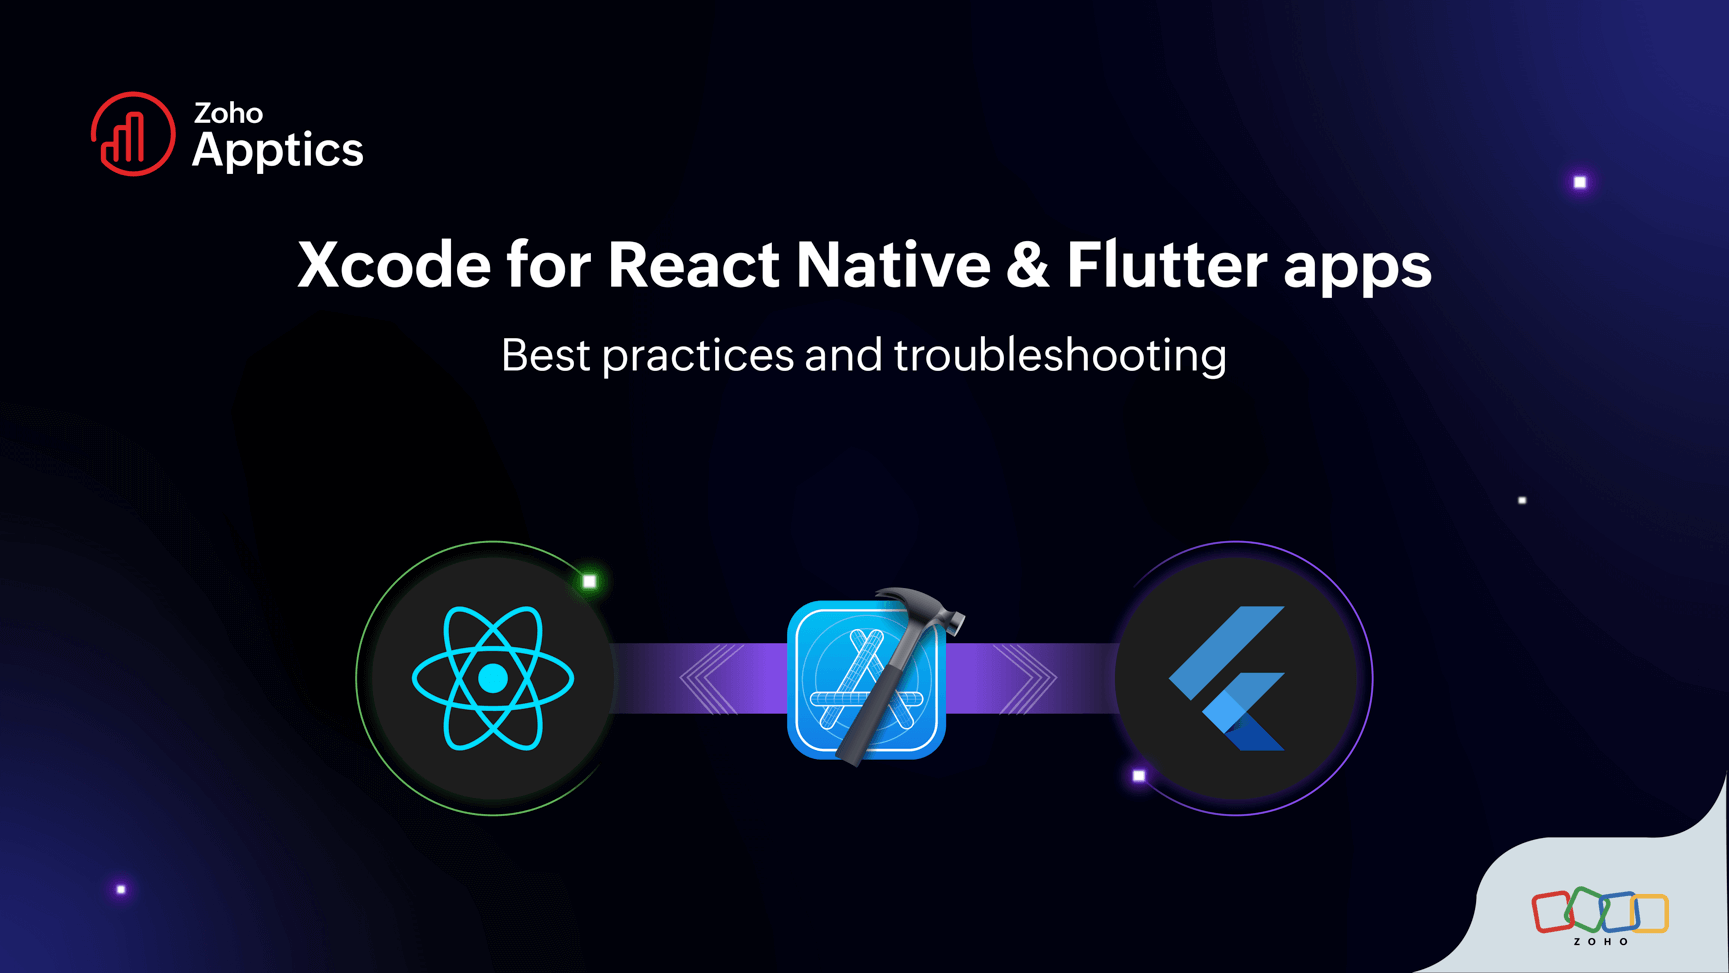
Using Xcode effectively: A guide for React Native and Flutter apps
- Last Updated : May 22, 2025
- 174 Views
- 4 Min Read
If you’re a React Native or Flutter developer who’s just diving into Xcode, it might feel like stepping into a vast, new territory. Xcode is intimidating at first, with its structured interface, endless settings, and the occasional cryptic error. With a bit of guidance, however, Xcode can quickly become a powerful ally in your iOS development journey. In this blog, we’ll explore what Xcode is, why it matters for cross-platform developers, and essential tips to help you tackle common challenges without feeling lost.
What is Xcode?
Xcode is Apple’s integrated development environment (IDE) and a central hub for building applications across Apple platforms—iOS, macOS, watchOS, visionOS, and tvOS. It offers everything you need to write, build, and debug code seamlessly, making it the go-to toolkit for iOS app development. Whether you’re building native iOS apps or adapting your React Native or Flutter project for Apple devices, understanding how Xcode works is invaluable.
For cross-platform developers, Xcode isn’t just a tool—it’s a gateway. If you want to see your app come to life on an iOS device or simulator, Xcode becomes essential for running, testing, and fine-tuning your app.
Why does Xcode matter for React Native and Flutter developers?
Xcode opens up the Apple ecosystem to React Native and Flutter developers, but it does more than simply let you test and run iOS builds. It provides simulators for iPhone and iPad, so you can understand how your app behaves on different screen sizes and device types. While it’s true that you’re mostly working with cross-platform code, Xcode is where you manage critical iOS configurations, like setting up app permissions, adjusting deployment targets, and handling code signing for real-device testing or App Store submission.
How to use Xcode for apps built on React Native and Flutter
To get started with building your iOS app using Xcode, you first need to download it from the App Store. Make sure you have the latest version installed to ensure compatibility with the newest tools and features.
If you're using Zoho Apptics as your preferred analytics solution, you’ll need to register your app in the Apptics console and download the apptics-config.plist file. Once you have the .plist file, place this file in the root directory of your iOS project, specifically at ios/[YOUR APP NAME]/apptics-config.plist. If you’re unfamiliar with CocoaPods or need guidance on setting it up, you can refer to this guide for further detailed instructions on installation and updates. Once CocoaPods is configured, add the necessary prebuild script to your Podfile and run pod install to make sure all your dependencies are synced and ready to go.
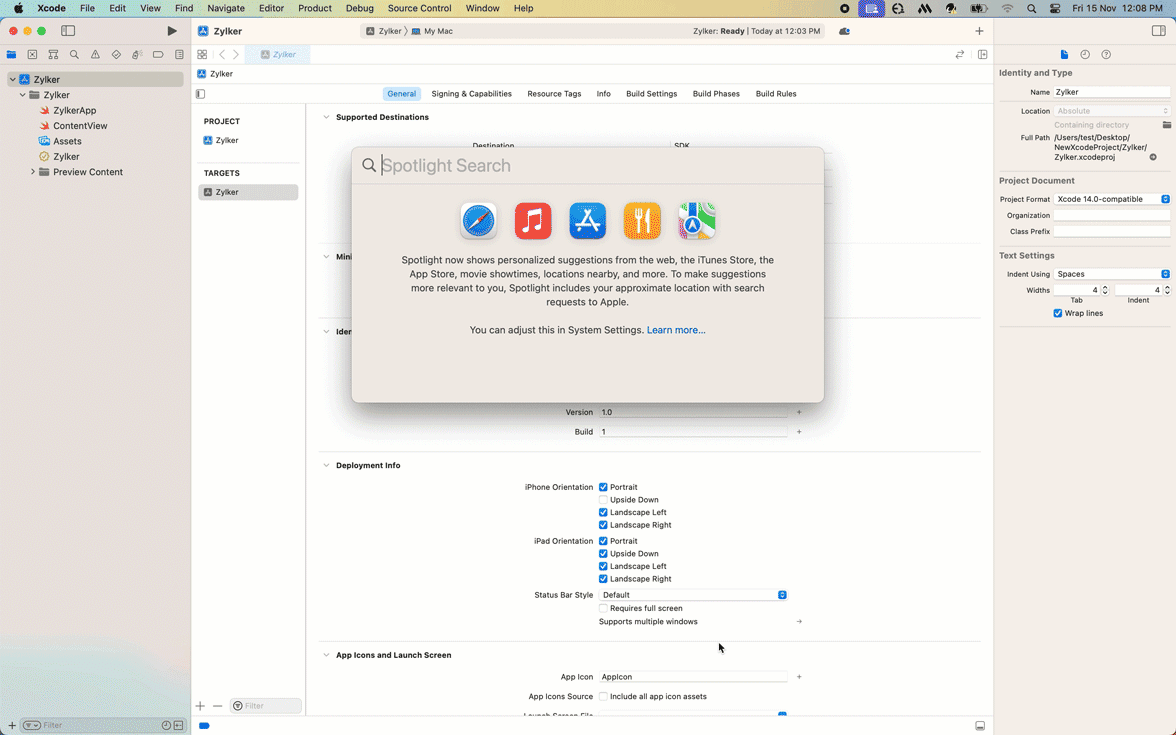
To open the project in Xcode, always use the .xcworkspace file instead of the .xcodeproj file. This ensures that your CocoaPods dependencies are correctly linked and available throughout the development process.
Once you’ve set up everything in Xcode, go to the Signing & Capabilities tab and ensure that your app is configured for code signing. This step is critical for deploying your app on physical devices. Make sure a valid team is selected under Team—you can choose or add your Apple Developer account here. Enabling the Automatically manage signing option allows Xcode to handle provisioning profiles and certificates for you. Finally, check for any errors related to signing or provisioning profiles to confirm that everything is set up correctly. Code signing certifies that your app is legitimate and trusted on iOS, allowing it to run on real devices and eventually be submitted to the App Store.
When you’re ready to test, choose a device model or simulator from the extensive list in Xcode, click Run, and watch as your app launches in the selected environment. This lets you simulate what users will experience without needing a physical device.
Best practices for using Xcode with React Native and Flutter apps
While getting acquainted with Xcode, certain best practices can save you a lot of time:
Always keep Xcode up-to-date
Apple frequently updates Xcode, ensuring compatibility with the latest iOS versions and incorporating essential security enhancements. Regularly updating helps avoid unexpected issues during development.
Get familiar with Xcode’s layout
The toolbar, project navigator, and debug console might seem overwhelming initially. However, understanding their roles makes navigating Xcode much easier. To dive deeper into these features, refer to Apple’s official documentation.
Enable readable crash logs
In the Build Settings, set the Debug Information Format to DWARF with dSYM File. This generates a .dSYM file, making crash reports more readable. If you’re using Zoho Apptics for analytics, this symbolized data is crucial for debugging and fixing issues effectively.
Use CocoaPods wisely
CocoaPods is a dependency manager for Swift and Objective-C projects. It simplifies adding and managing libraries.
Clean your build folder regularly
Use the Clean Build Folder option to clear cached files. This resolves issues caused by outdated or corrupted build data and ensures smooth project builds.
Manage icons and splash screens for a polished look
- For React Native: Customize LaunchScreen.xib or LaunchScreen.storyboard, and add app icons to Assets.xcassets.
- For Flutter: Use the flutter_launcher_icons and flutter_native_splash packages to manage icons and splash screens.
These steps ensure a consistent and professional appearance across devices.
At first glance, Xcode might seem out of place in a cross-platform developer’s toolkit, but once you dive in, it reveals itself as a powerful asset. With its simulators, code signing capabilities, and detailed build settings, Xcode is key to deploying your React Native or Flutter app on Apple devices. Embrace the learning curve—it’s worth it. Soon, Xcode will feel less like an obstacle and more like a trusted ally in your app development journey. Dive in, explore, and make the most of what Xcode has to offer!