Client registration
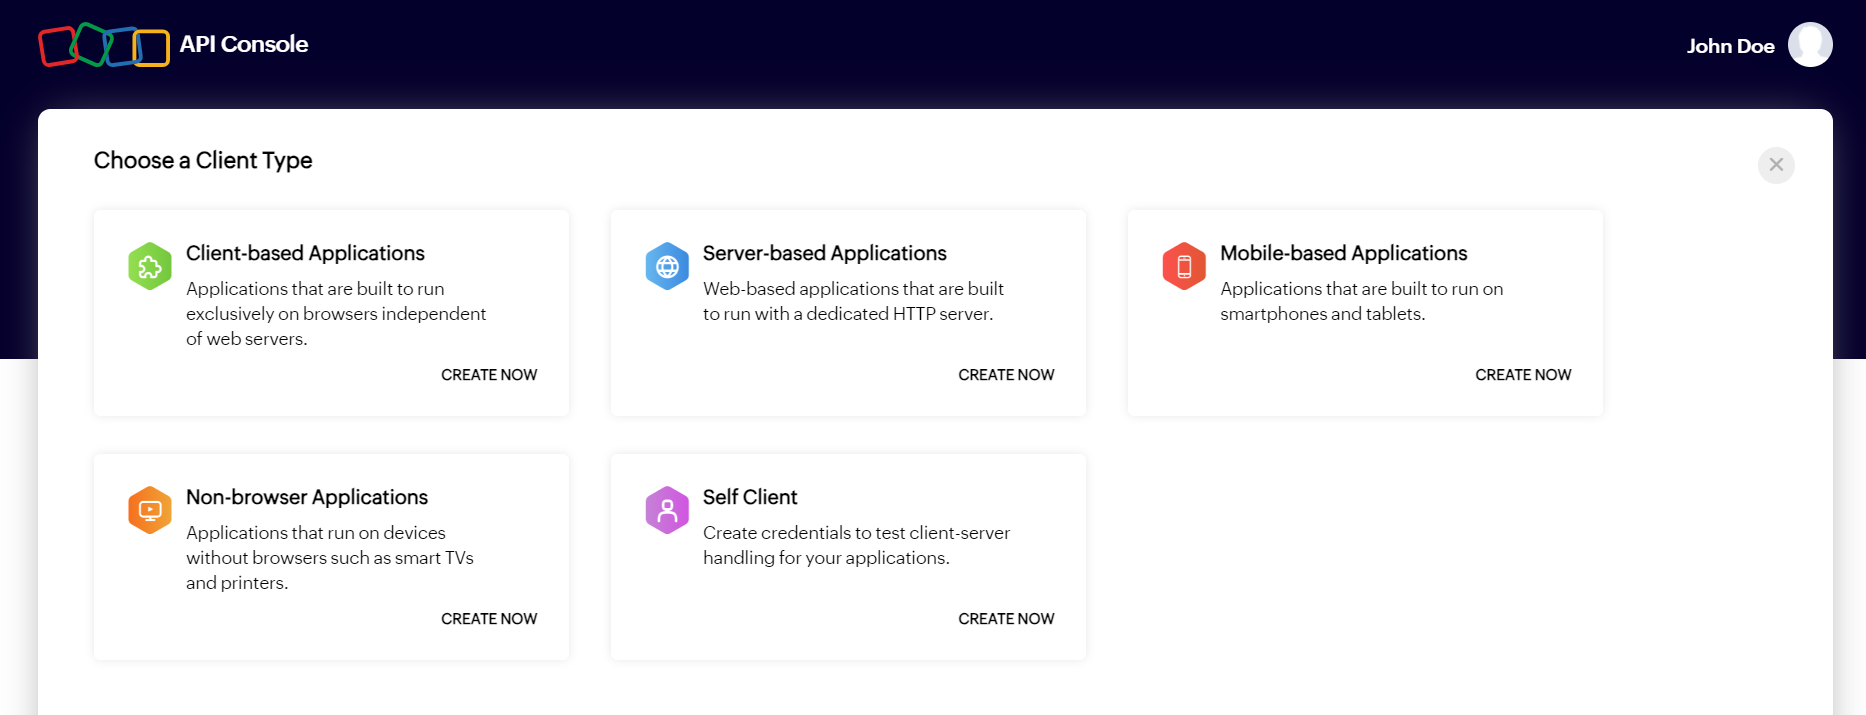
To access the resources of Zoho using the various Zoho APIs, you will need to register your application with Zoho first. You can register your application as one of the following client types:
- Server-based application
- Client-based application
- Mobile-based application
- Non-browser based application
- Self client
On successful registration of your application, you will get a Client ID and Client secret. You can use them to get the access token which is needed to make API calls to Zoho.
To register your application
- Go to Zoho API console, then click GET STARTED.

- Hover over your application's client type and click CREATE NOW. If you've previously added an application, click ADD CLIENT in the top-right corner.

- Enter the required details, then click CREATE. The required details for each client are as follows:
| Details required | Server-based | Client-based | Mobile-based | Non-browser based | Self client |
|---|---|---|---|---|---|
| Client Name | Y | Y | Y | Y | Y |
| Homepage URL | Y | Y | Y | Y | N |
| Authorized Redirect URI | Y | Y | Y | N | N |
| Javascript Domain | N | Y | N | N | N |

INFO:
- Homepage URL
The full URL to your application's home page. - Authorized Redirect URI
It is the URI of the application to which the authorization server (Zoho Accounts) sends the response back to, with the authorization code (or access token in case of client-based application) after the user grants permission through consent. The URI should begin with https:// or http://. You can add multiple redirect URIs by clicking [plus]. Example: https://www.zylker.com/oauthredirect - Javascript Domain
If your application is a client-based Javascript application, you must specify the Javascript domain of the application. The Javascript domain should begin with https:// or http://. You can add multiple Javascript domains by clicking [plus].
You can find the Client ID and Client secret in the Client Secret tab of your application in the console.
To learn more about self client, refer to this article.

