Managing channels
Manage and create channels from your organization settings.
Note: Only the organization admin and moderator can create sender addresses!
Creating channels
- Log in to Zoho TeamInbox with your admin credentials. Navigate to your organization settings.
- Select the Channel tab and click Add Channel.
- Enter a name for the inbox that should be associated with the channel you are creating.
- Select the type of channel you want to create and enter details.
. 
Your channel along with the inbox is now created and will be listed in the left navigating menu.
For email channels, since you can receive from one address and respond using a different address, you can setup either incoming or outgoing configurations or both.
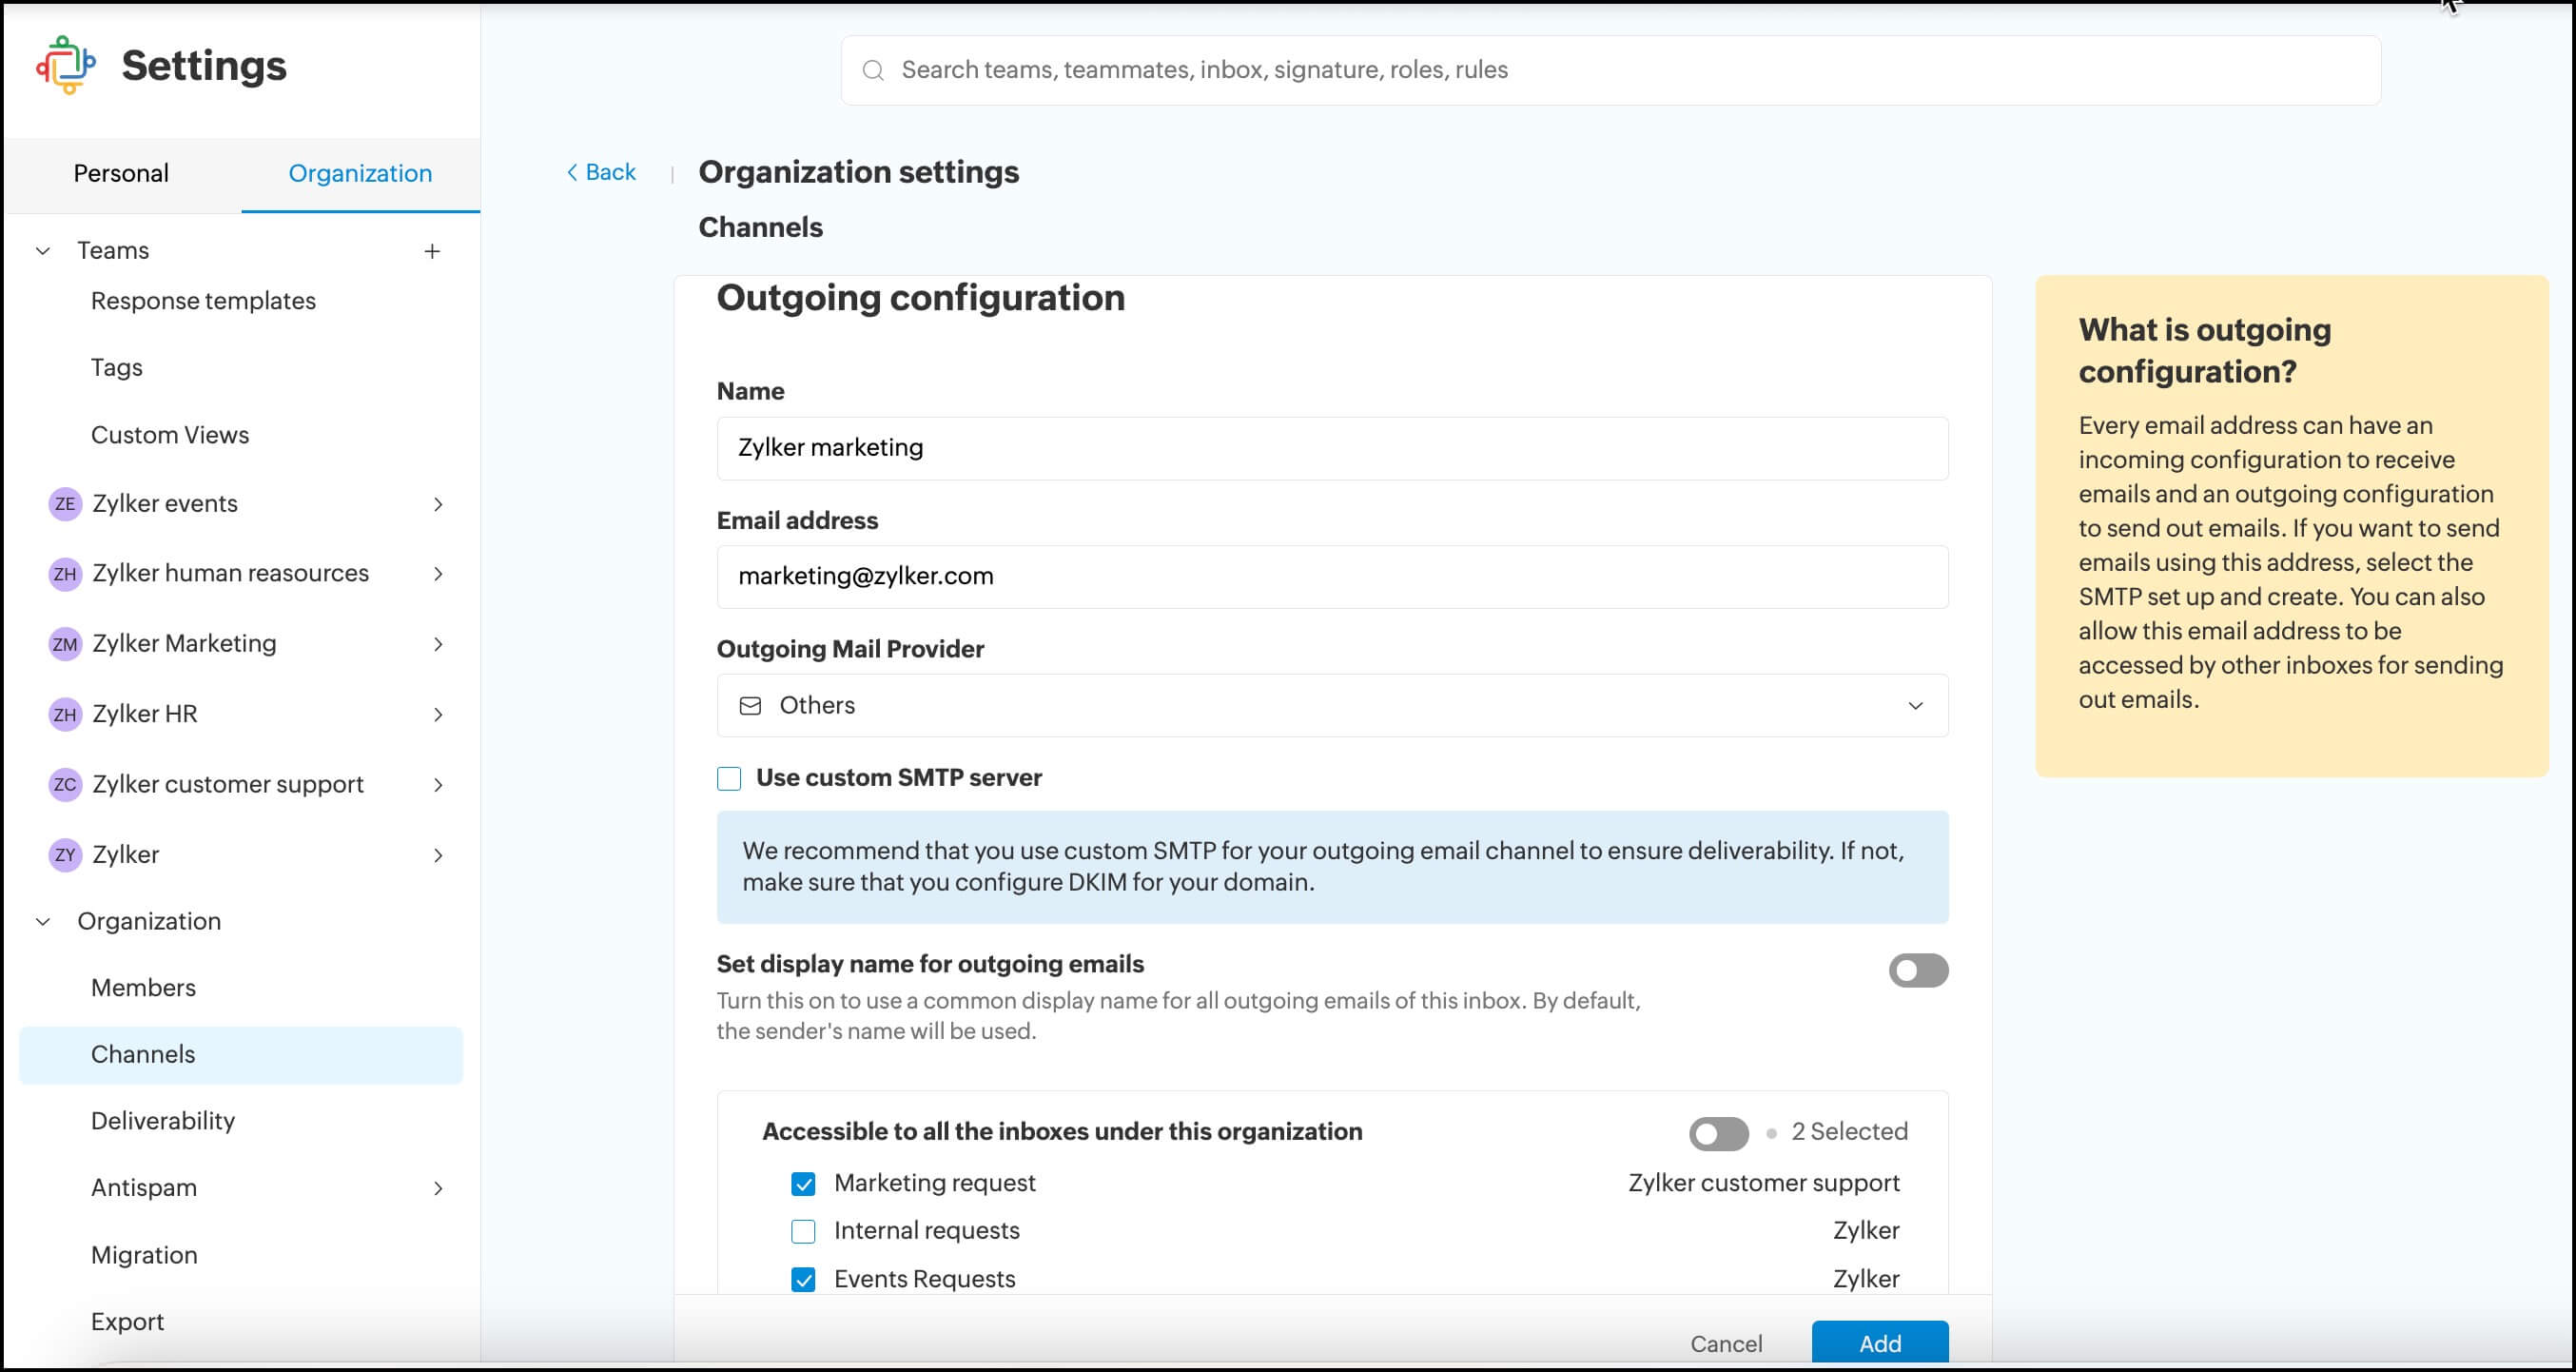
Outgoing Email channel configuration
- Log in to Zoho TeamInbox with your admin credentials. Navigate to your organization settings.
- Select the Channels tab and click Add outgoing email channel.
- Enter a name for future reference.
- Enter the email address.
- Select the Outgoing Mail Provider as Others.
- If you want to use custom SMTP, check the option, enter the outgoing server details and the account credentials.
- If choose not to use custom SMTP, Zoho SMTP will be used. However you should configure DKIM for your domain to ensure deliverability.
- Enable the option for all inboxes to use this outgoing email channel or choose the preferred inboxes.
- Click Add.
Google outgoing email channel configuration
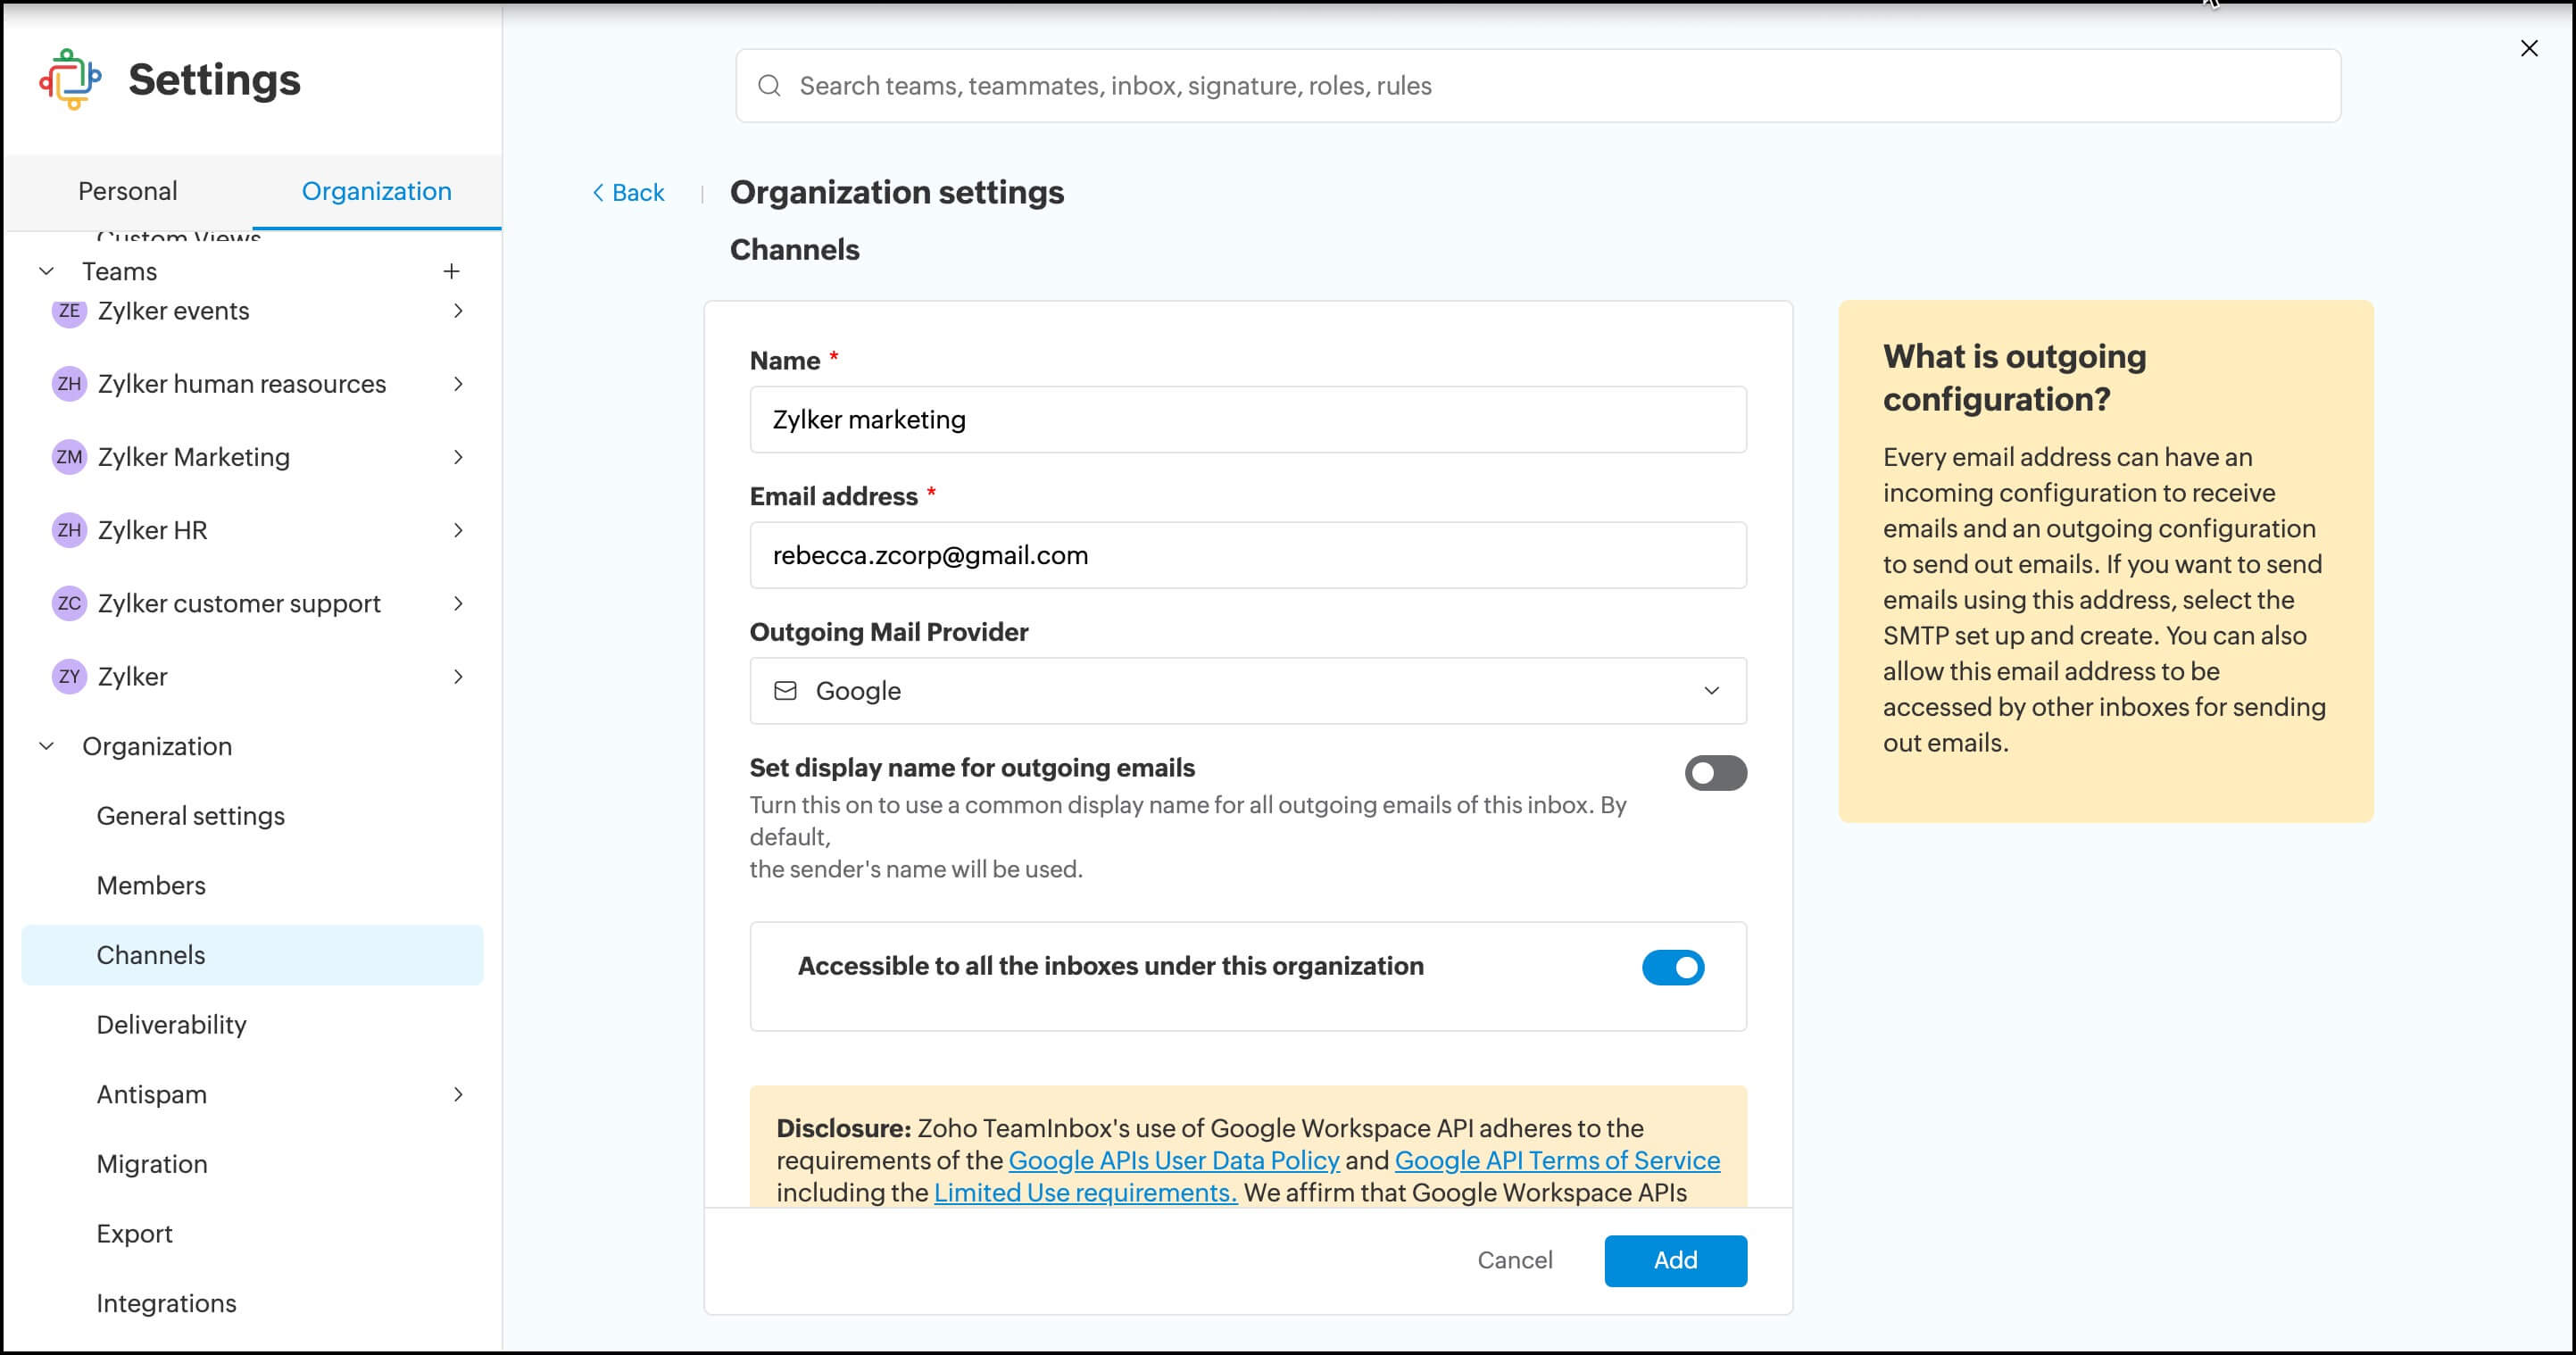
- Log in to Zoho TeamInbox with your admin credentials. Navigate to your organization settings.
- Select the Channels tab and click Add outgoing email channel.
- Enter a name for future reference.
- Enter the email address.
- Select the Outgoing Mail Provider as Google.
- Enable the option for all inboxes to use this outgoing email channel or choose the preferred inboxes.
- Click Add.
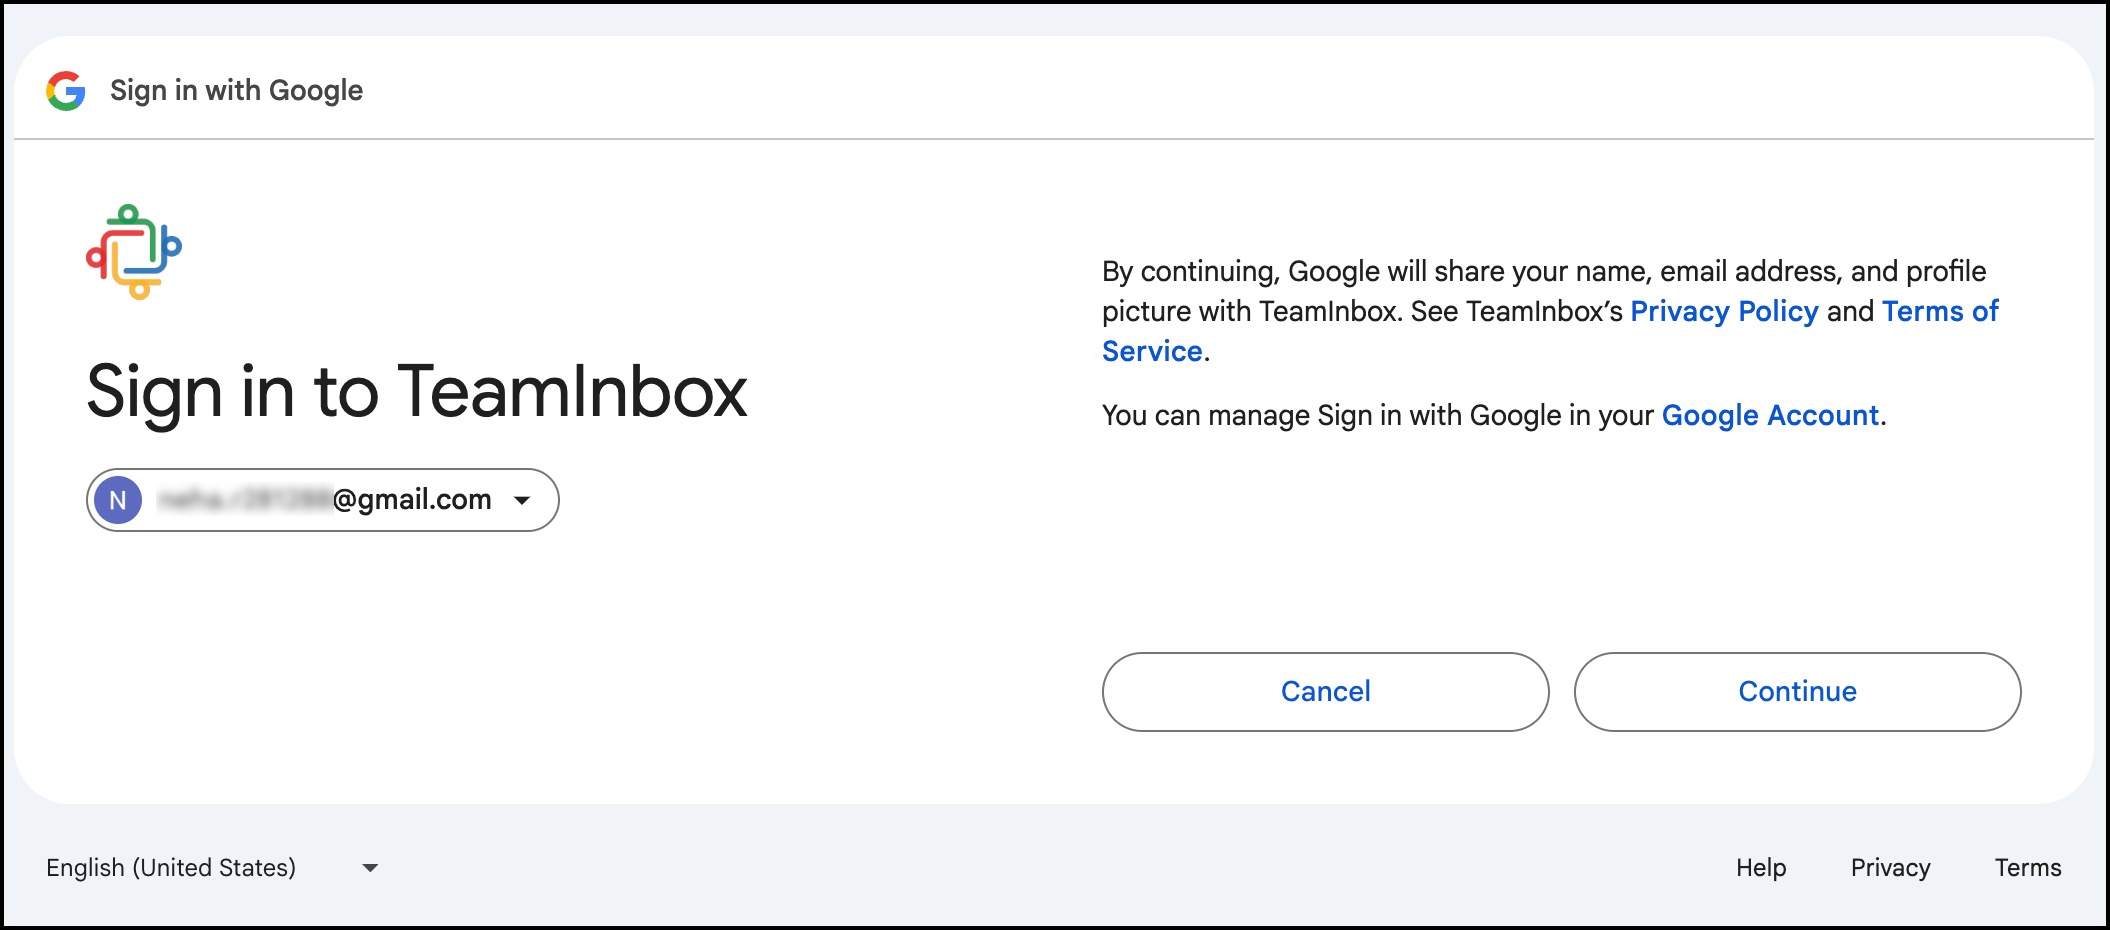
- Sing in your Google account and click continue.
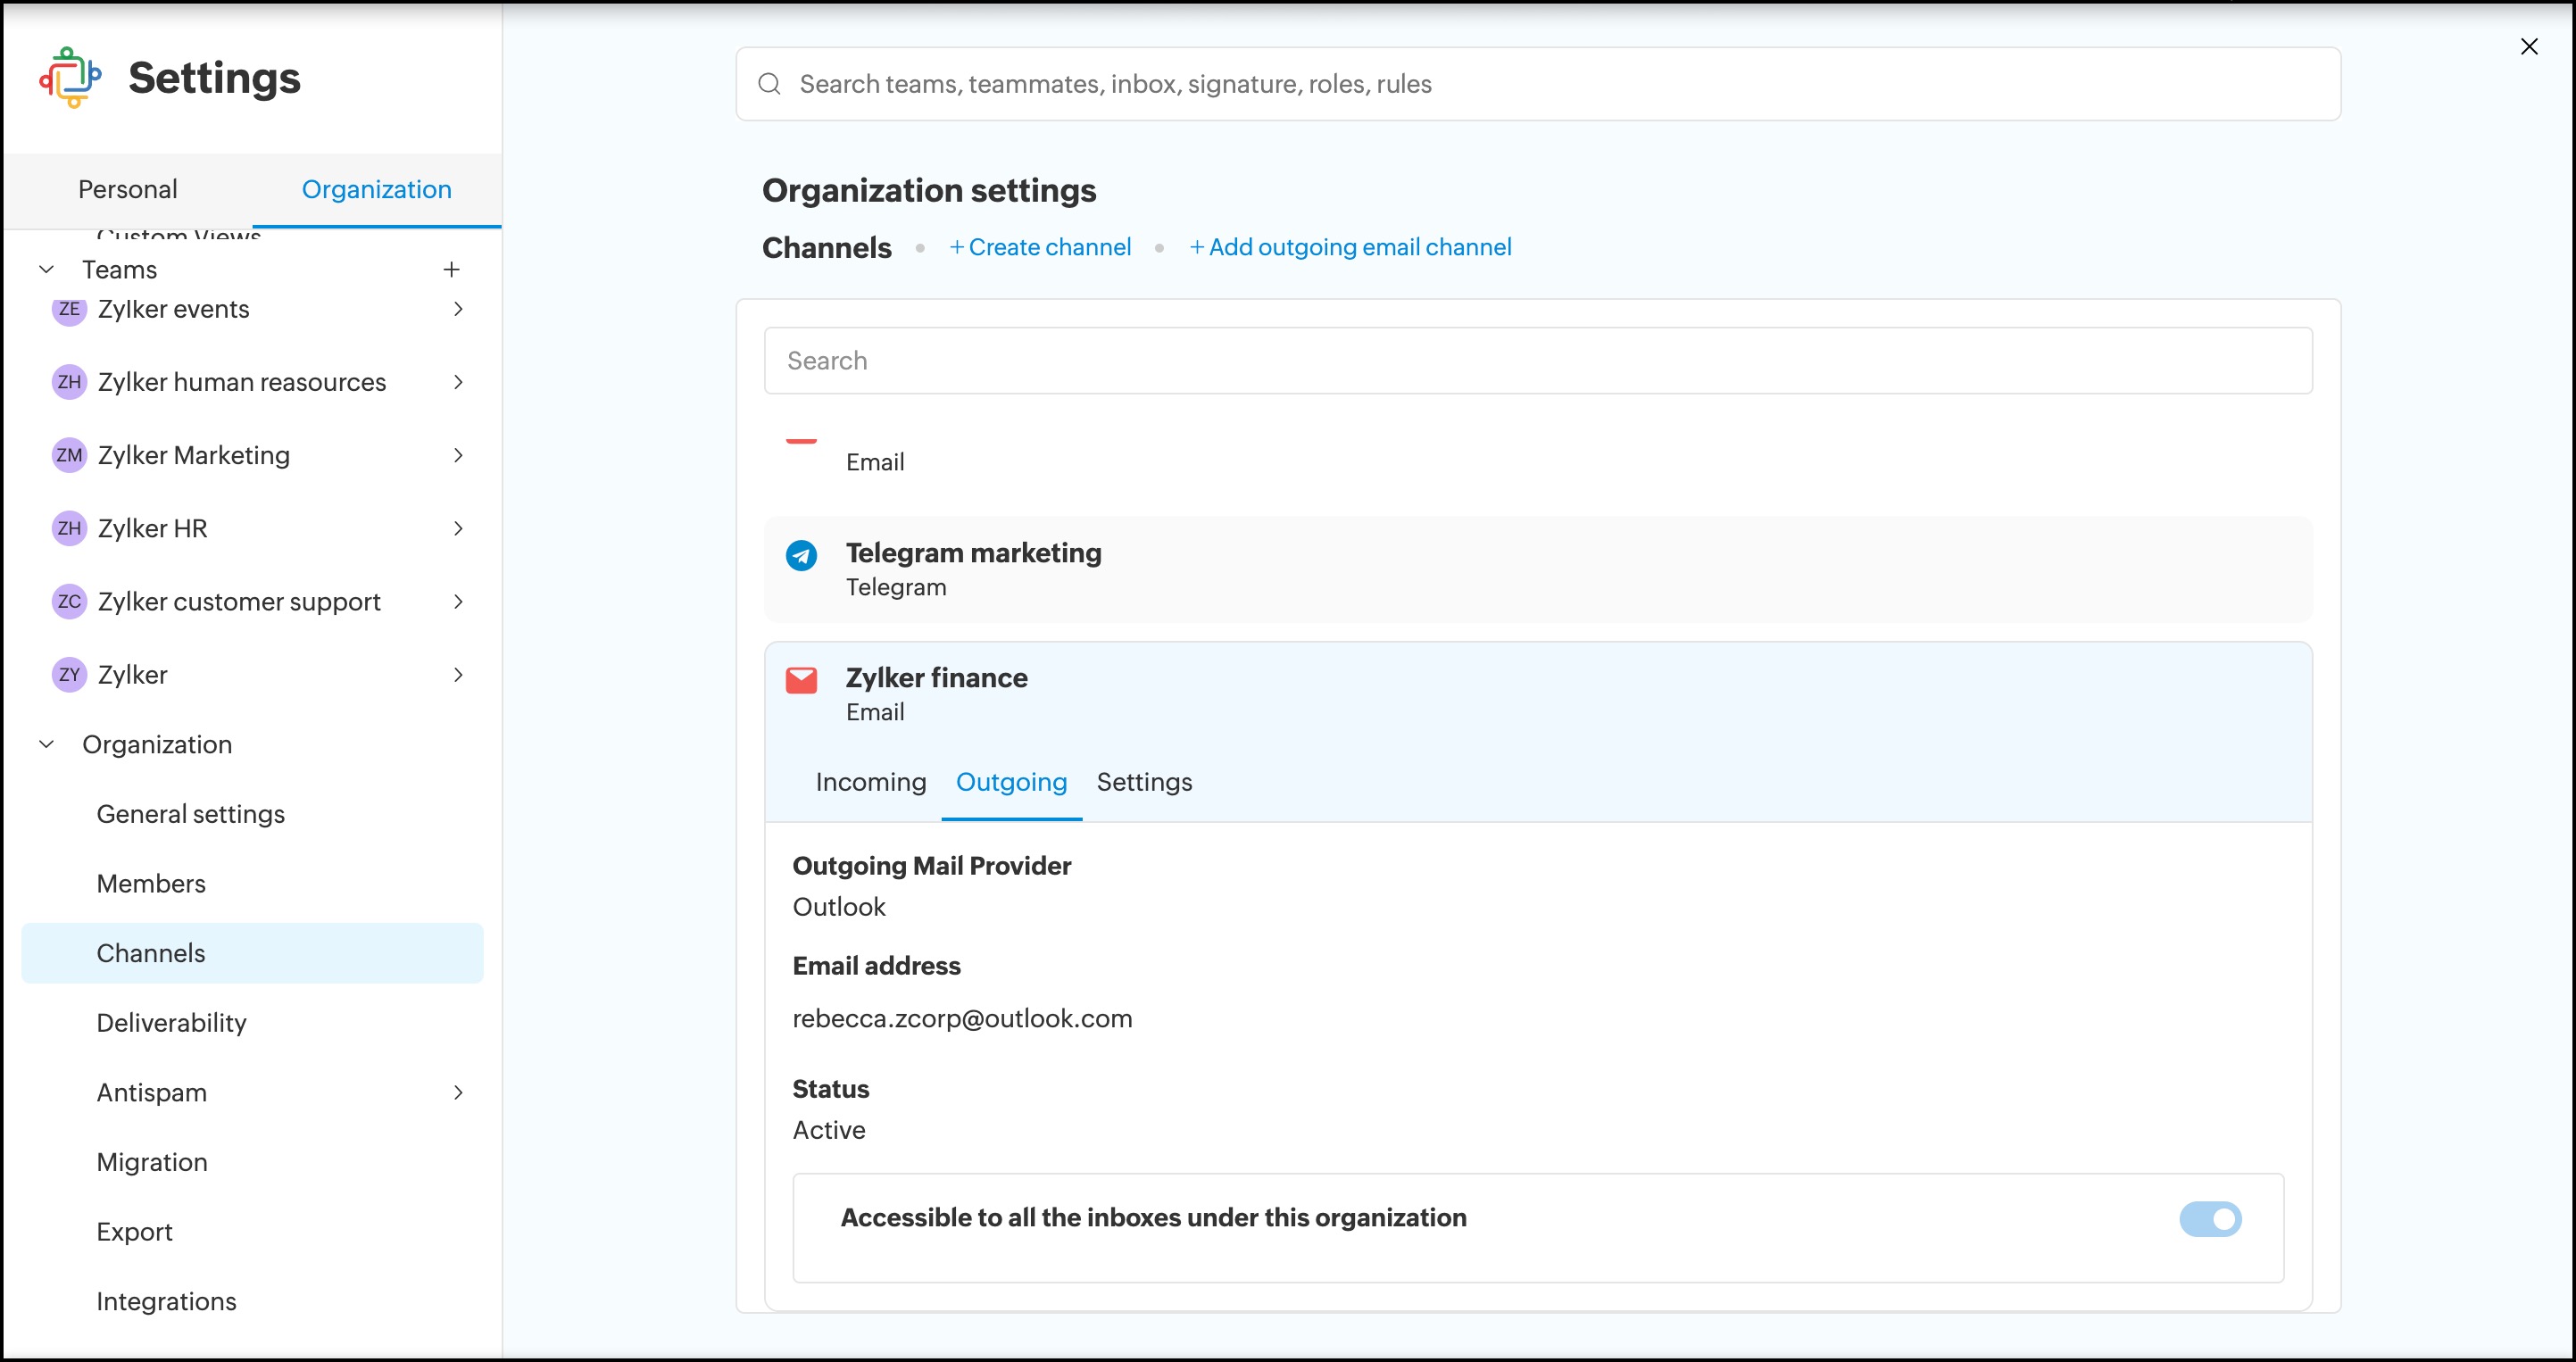
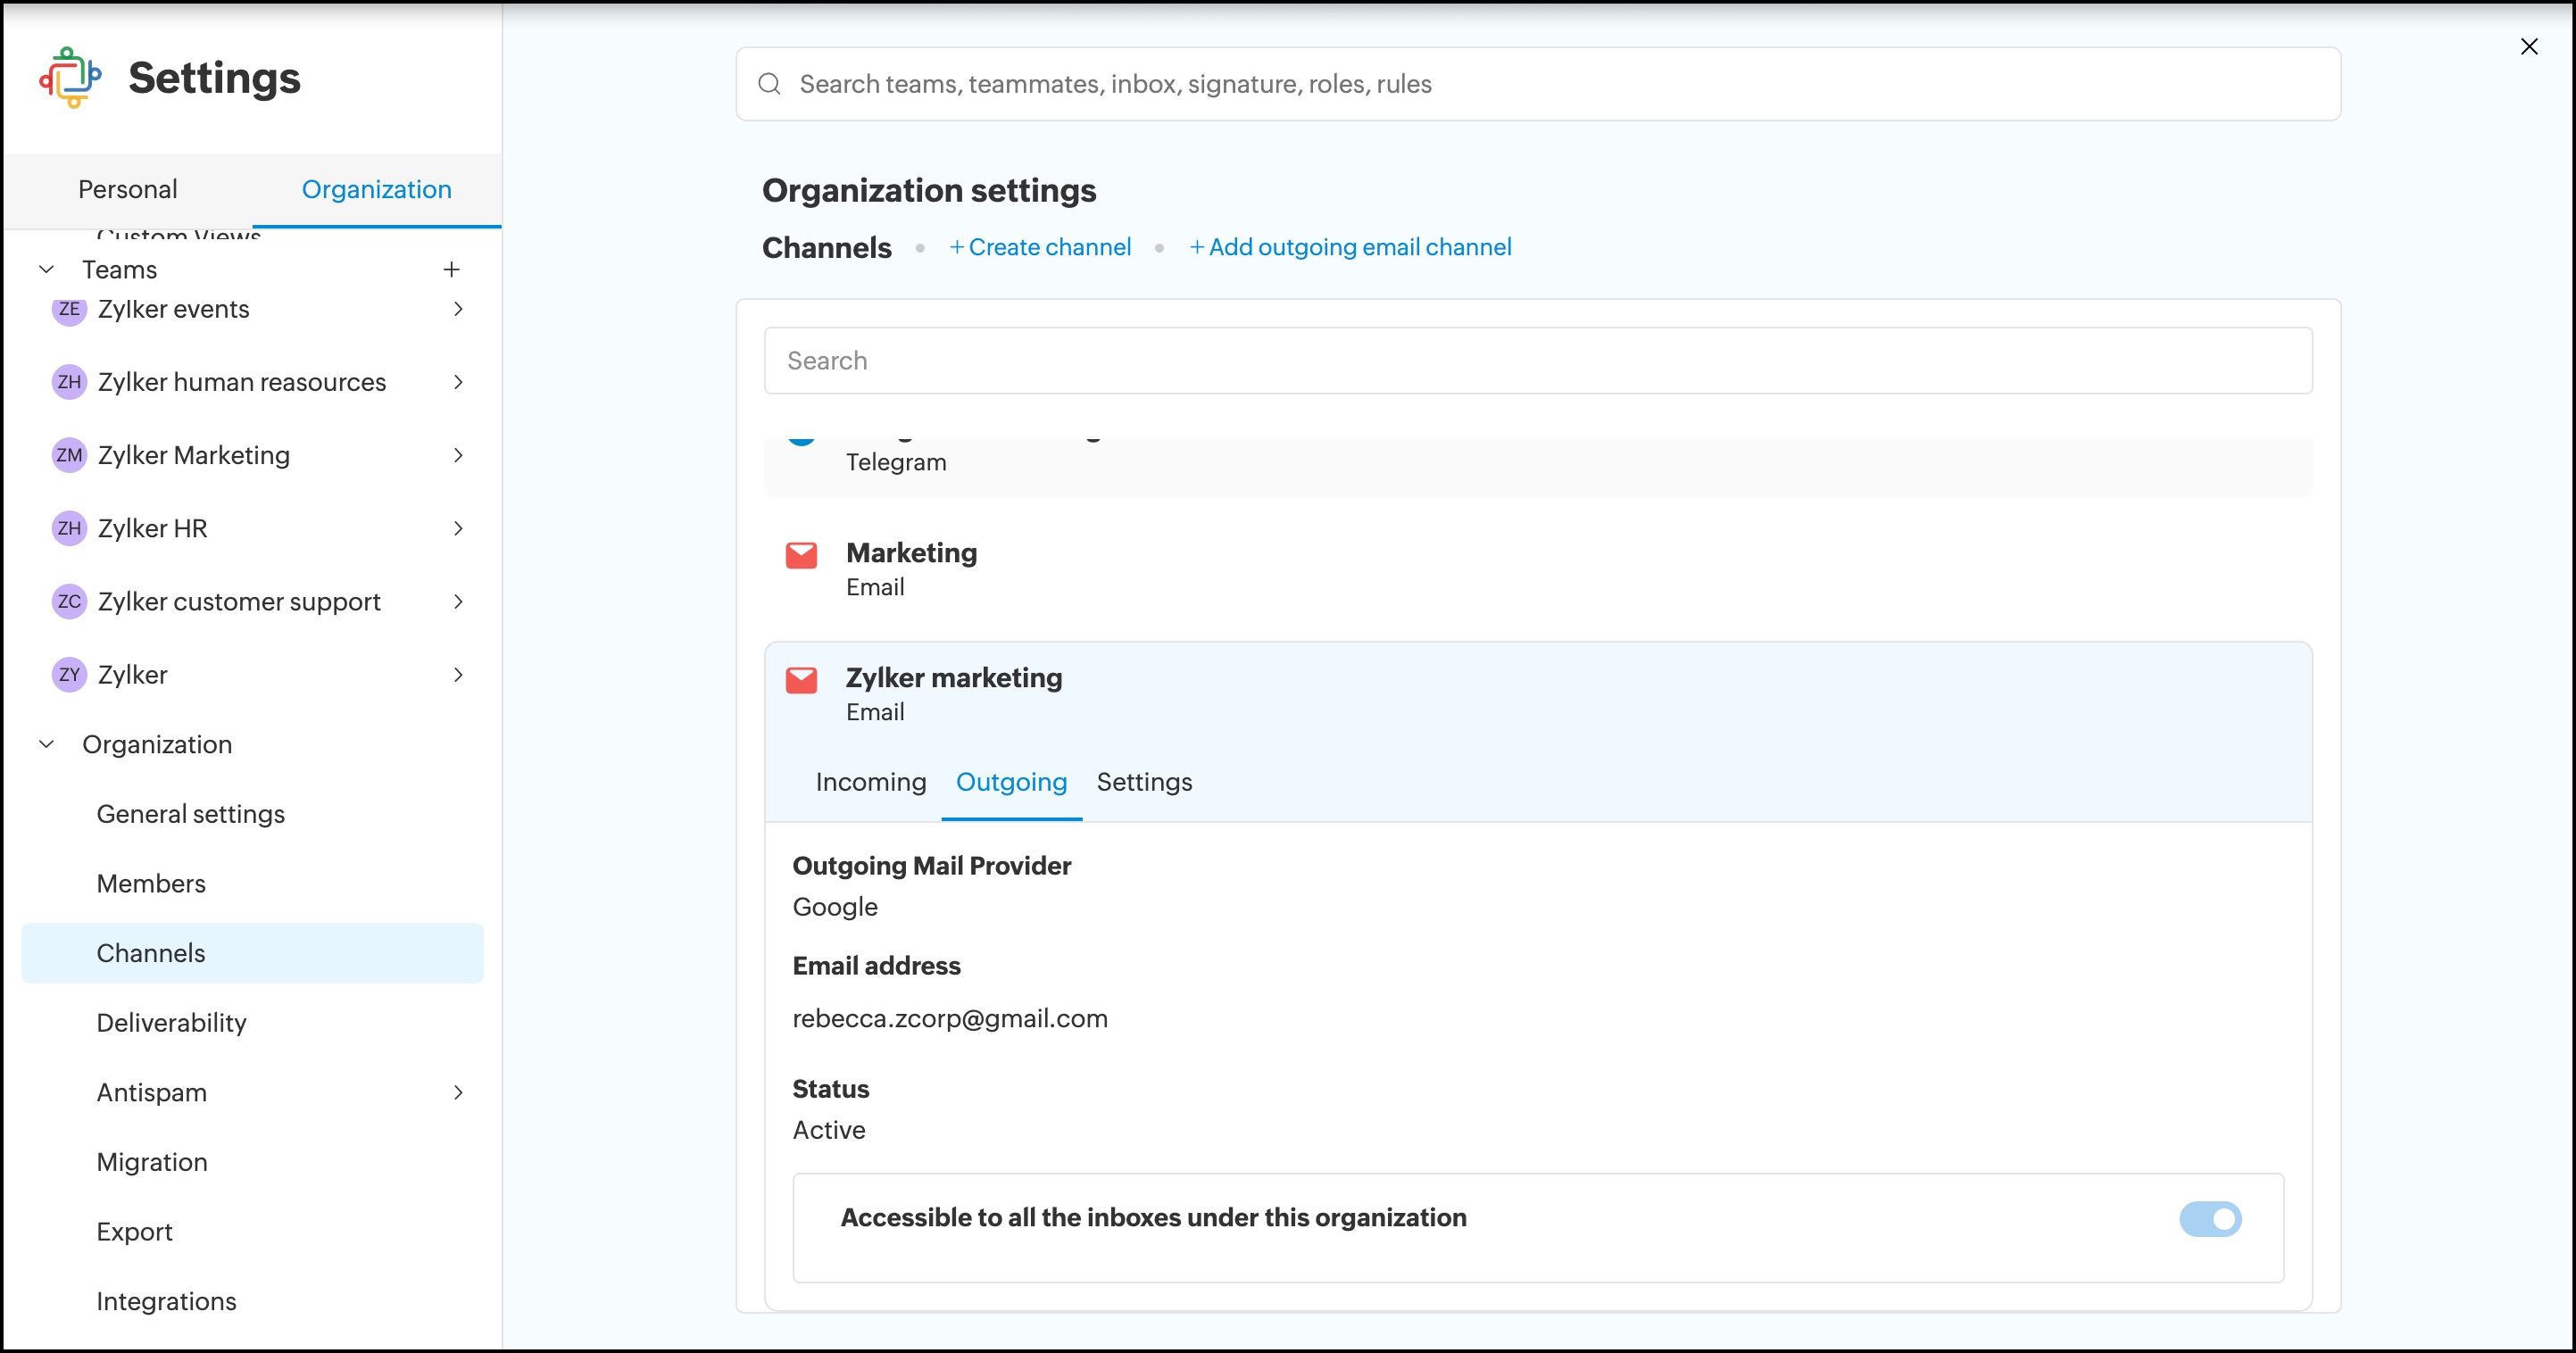
- Once it's verified, the outgoing channel will be created, and you can view it under your organization channels.
Outlook outgoing Email channel configuration
- Log in to Zoho TeamInbox with your admin credentials. Navigate to your organization settings.
- Select the Channels tab and click Add outgoing email channel.
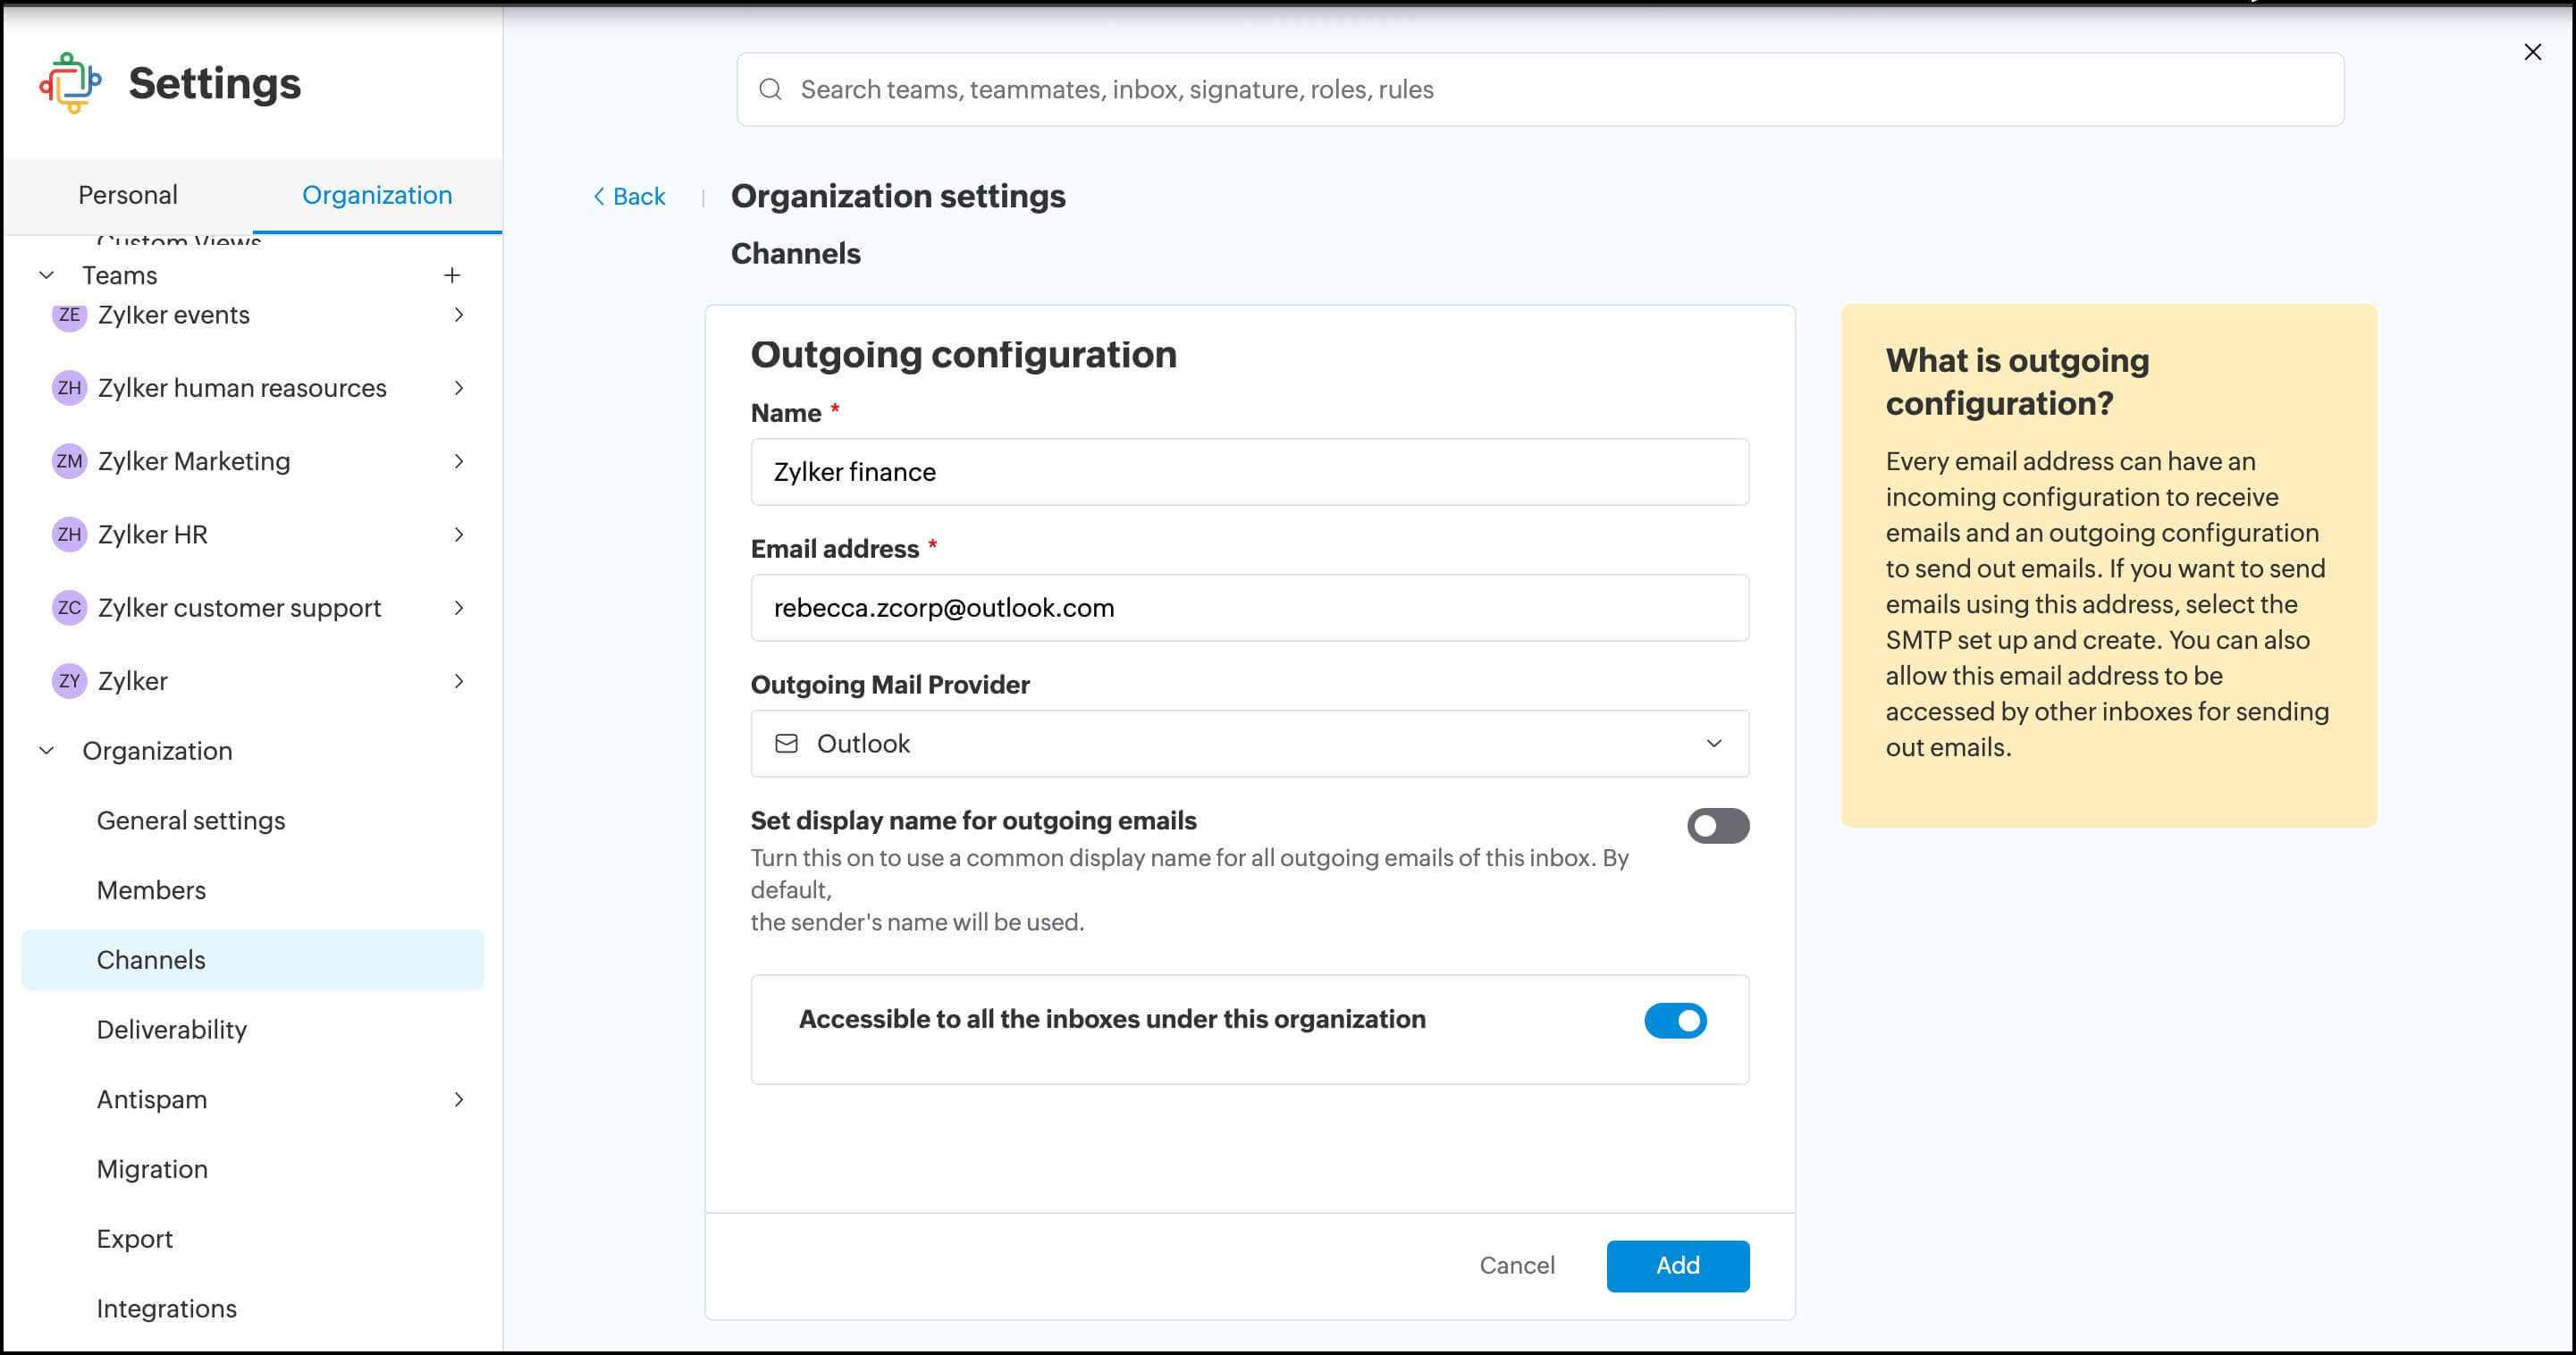
- Enter a name for future reference.
- Enter the email address.
- Select the Outgoing Mail Provider as Outlook.
- Enable the option for all inboxes to use this outgoing email channel or choose the preferred inboxes.
- Click Add.
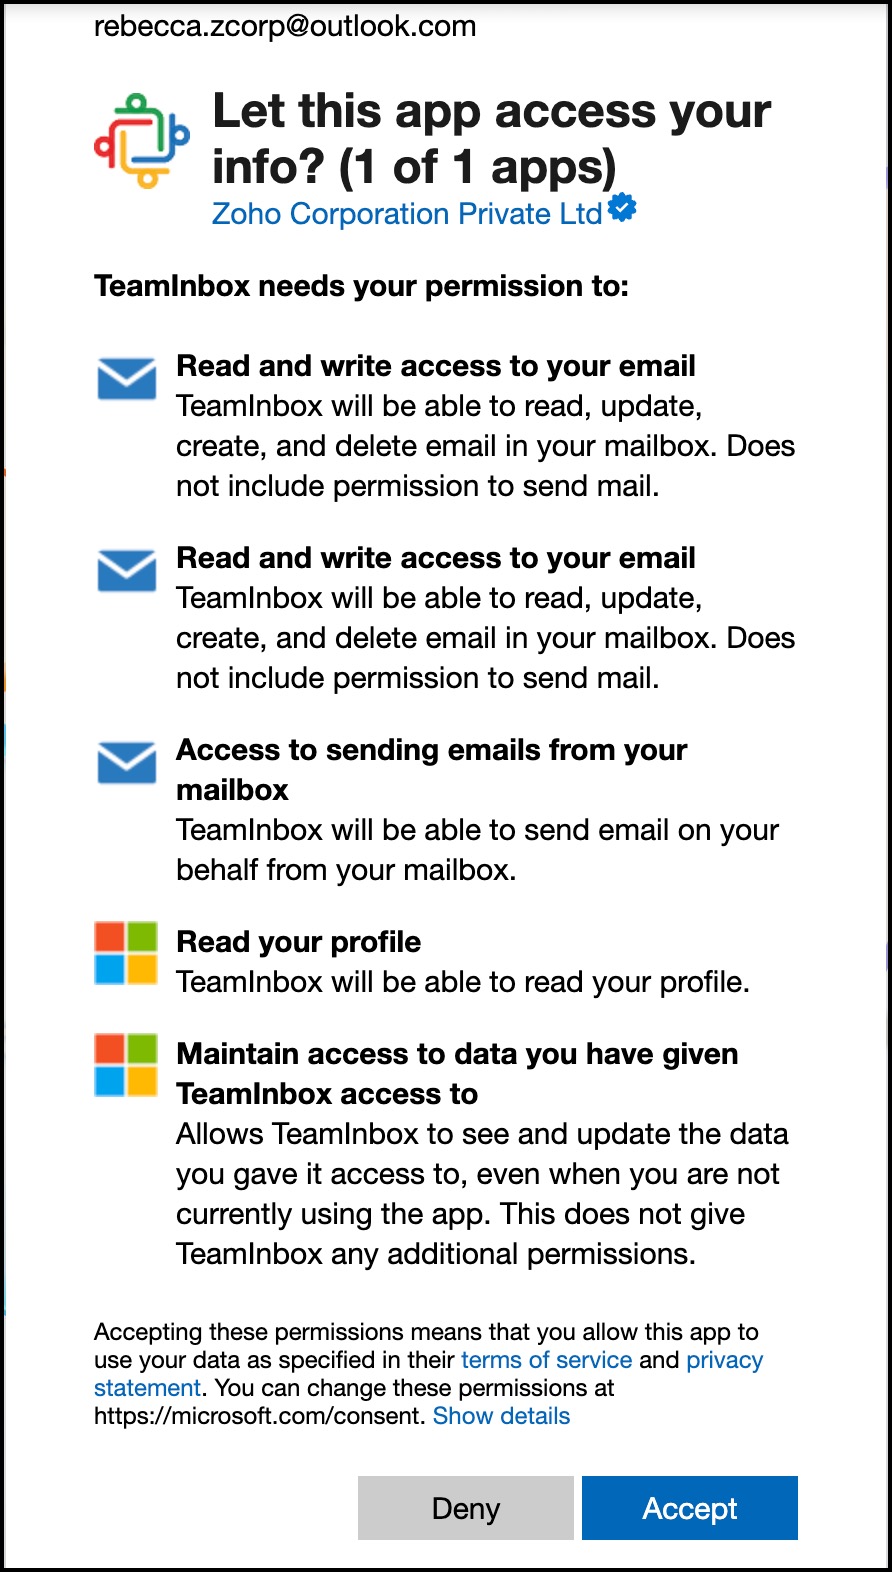
- Login to your outlook account and accept the necessary permissions.
- Once accepted, the outgoing email channel will be created, and you can view it under your organization channels.
