Integration with Zapier
- Purpose
- Triggers possible with Zoho People's integration with Zapier
- Actions possible with Zoho People's integration with Zapier
- Connecting your Zoho People account with Zapier
- Some Use Cases
Purpose
Zapier is a web automation tool that helps to automate tasks between a wide range of acclaimed web apps in the market.Zoho People's integration with Zapier hence allows you to automate much of your HR processes. For example, if you want to have a record added in another app as a result of a record created in Zoho People, you can make it happen with the help of a Zap. Workflows in Zoho People are denoted as 'Zaps' in Zapier.
Zapier supports hundreds of apps. You can mix and match triggers and actions to automate a lot of tasks. Without any effort from you, you can get data flowing from one app to another.
Triggers possible with Zoho People's integration with Zapier
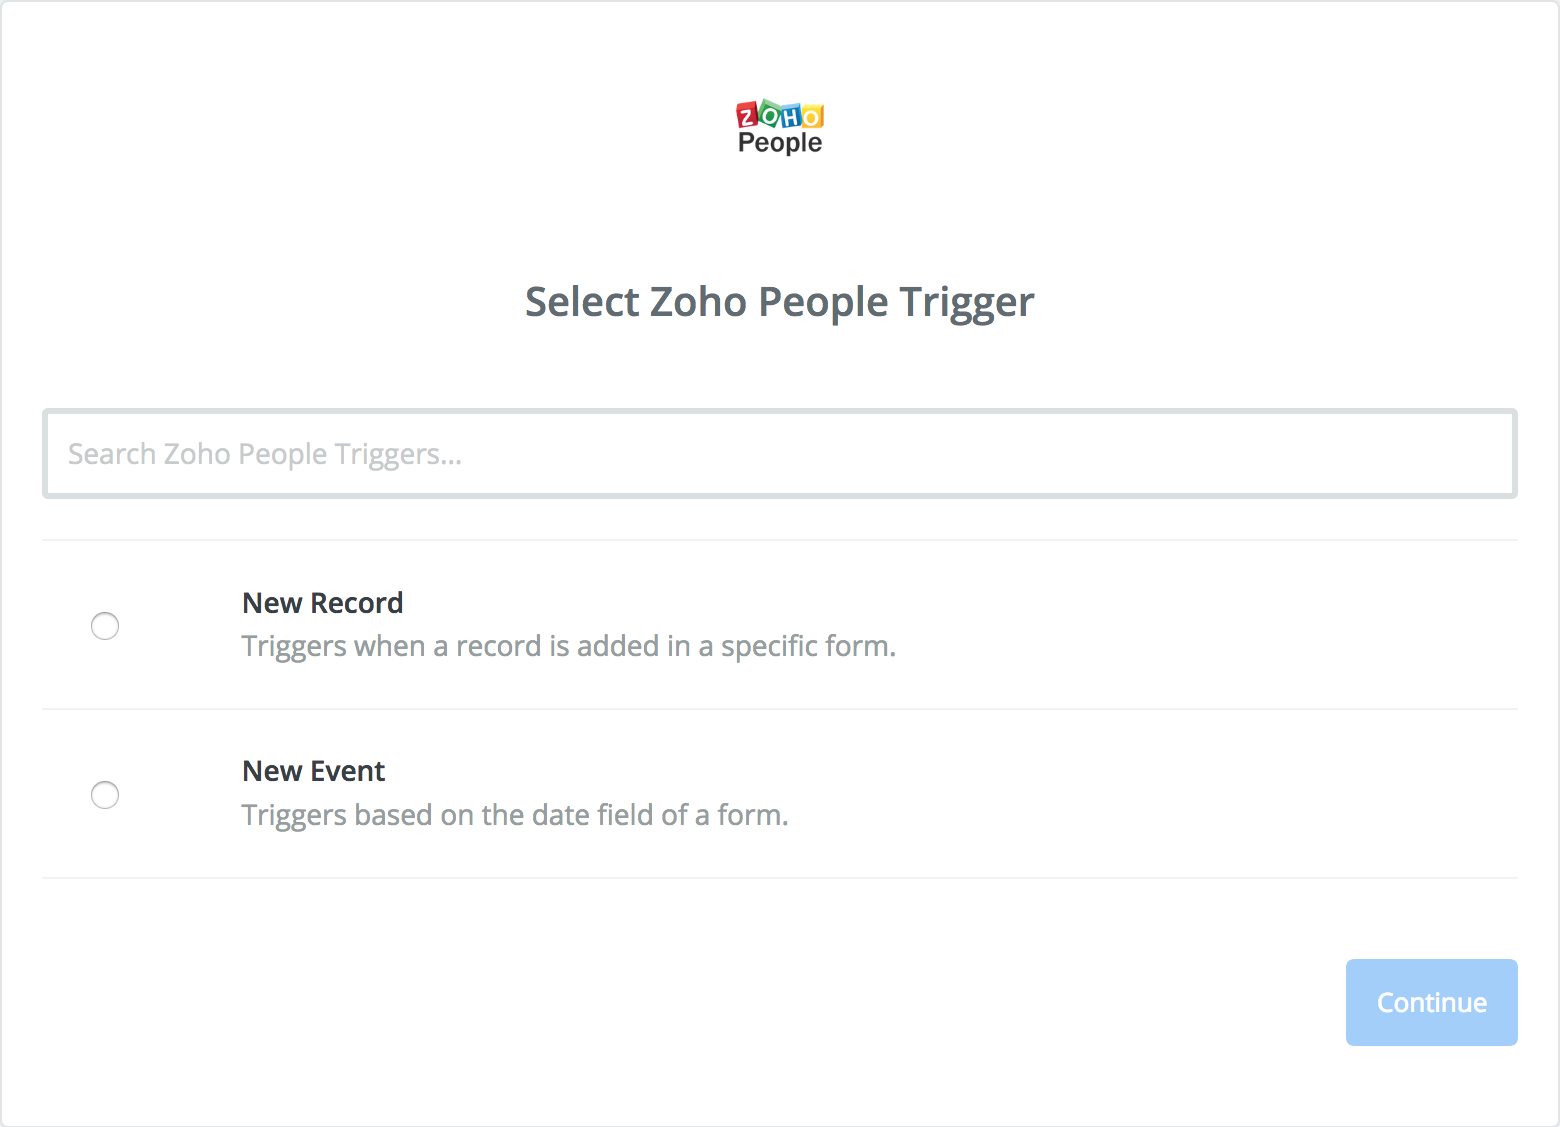
There are two triggers that can be created in Zoho People with the help of Zaps. These in turn, trigger an action in another app.
New Record: When a record is added in Zoho People, some actions can be triggered in multiple apps by creating a single Zap
New Event: Based on a date field in a form in Zoho People, some actions can be triggered in multiple apps by creating a single Zap
Actions possible with Zoho People's integration with Zapier
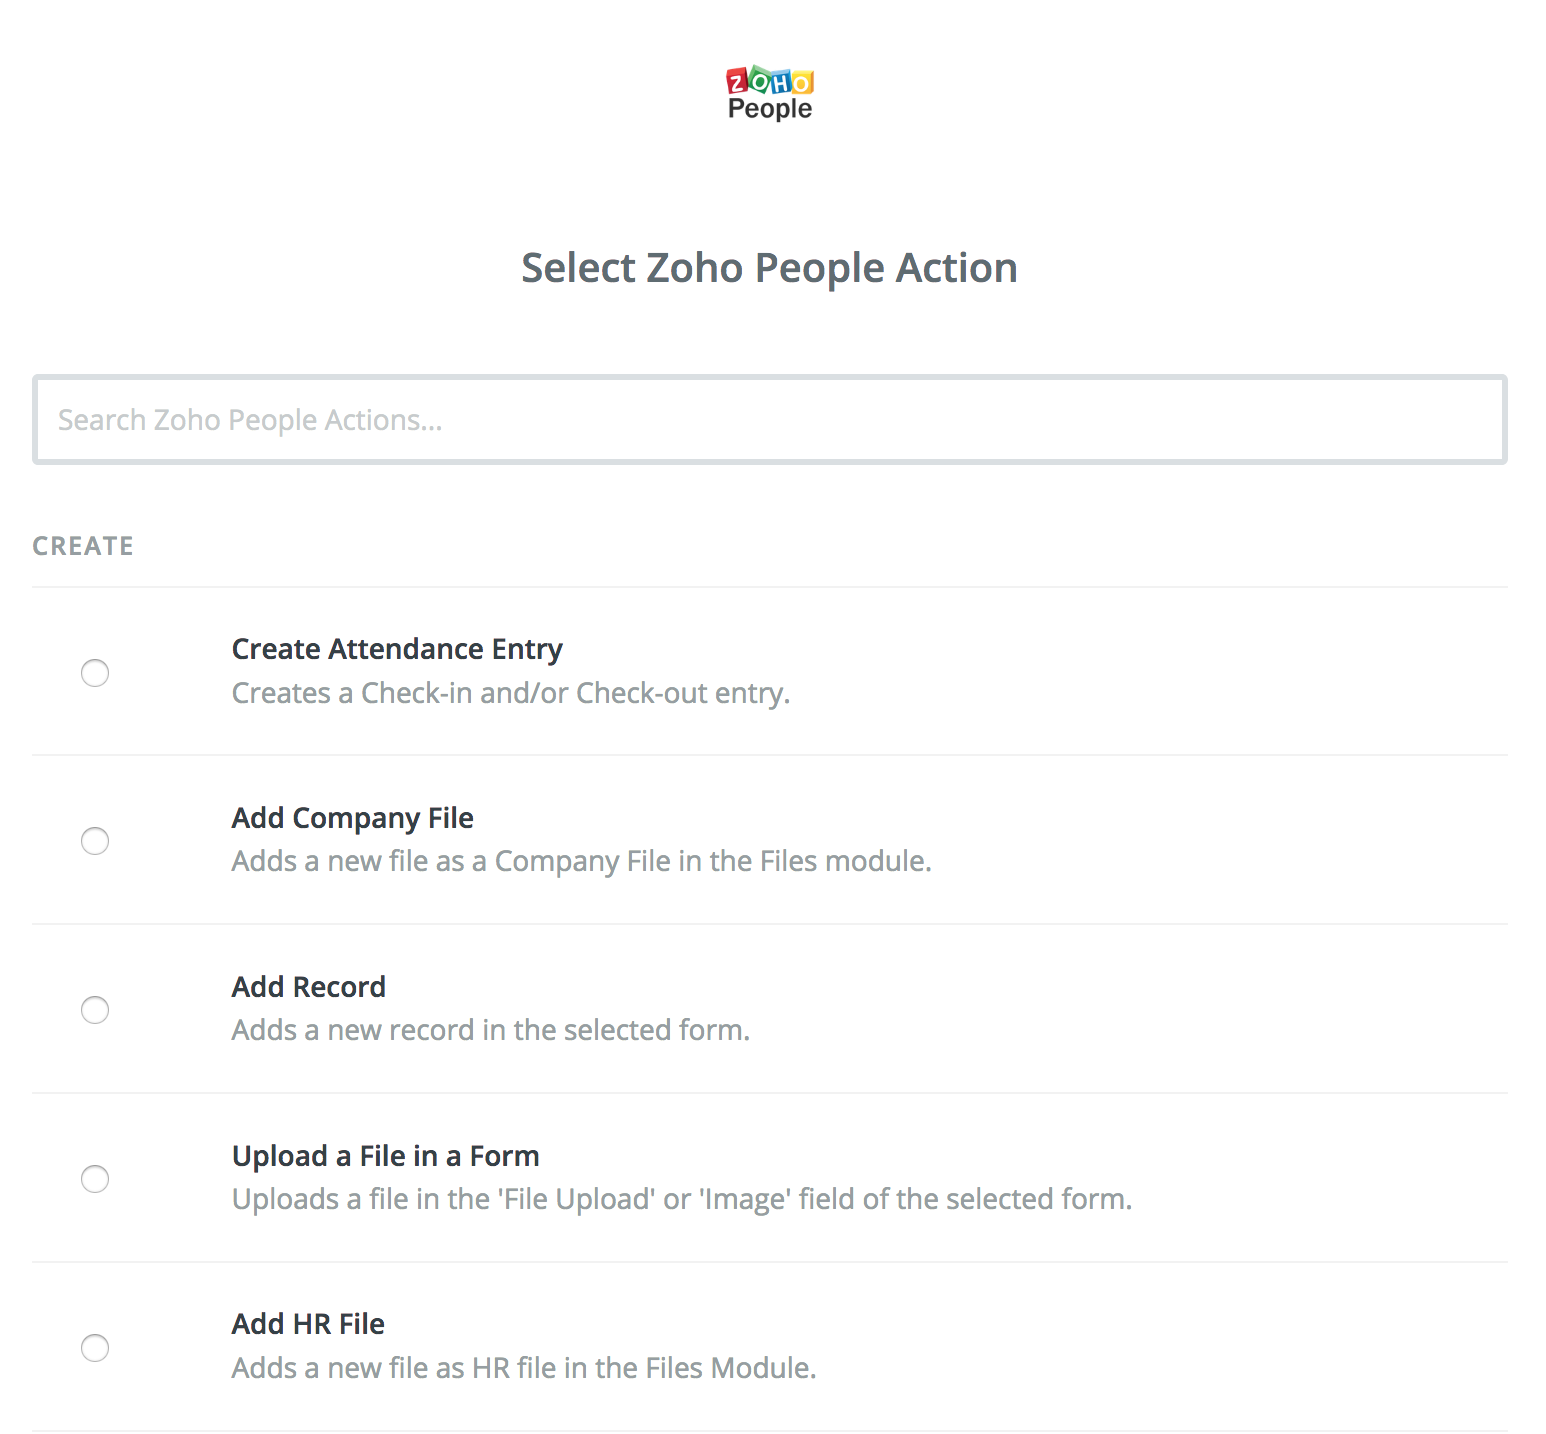
Using Zaps, there are five actions that can be made possible in Zoho People. i.e - as a result of a trigger from another app, there are five actions that can be accomplished in Zoho People as explained below.
Add Record - As a result of a trigger in another app, a new record gets created in a form in Zoho People.
Create Attendance Entry- As a result of a trigger in another app, a entry can be made in the Attendance module.
Add Company File - As a result of a trigger in another app, a file from a folder gets added in the Files Module as a Company File.
Add HR file - As a result of a trigger in another app, a file from a folder gets added in the Files Module as a HR File.
Upload a File in a Form - As a result of a trigger in another app, a file can be uploaded in a new record in Zoho People. This action should be accompanied by 'Add Record' action because, a file upload can be done only for a new record.
Find Employee- With the help of a value in another app, an employee search can be carried out in Zoho People's employee database.
Connecting your Zoho People account with Zapier
Follow the steps below to connect your Zoho People account with Zapier.
- Go to your Zapier dashboard
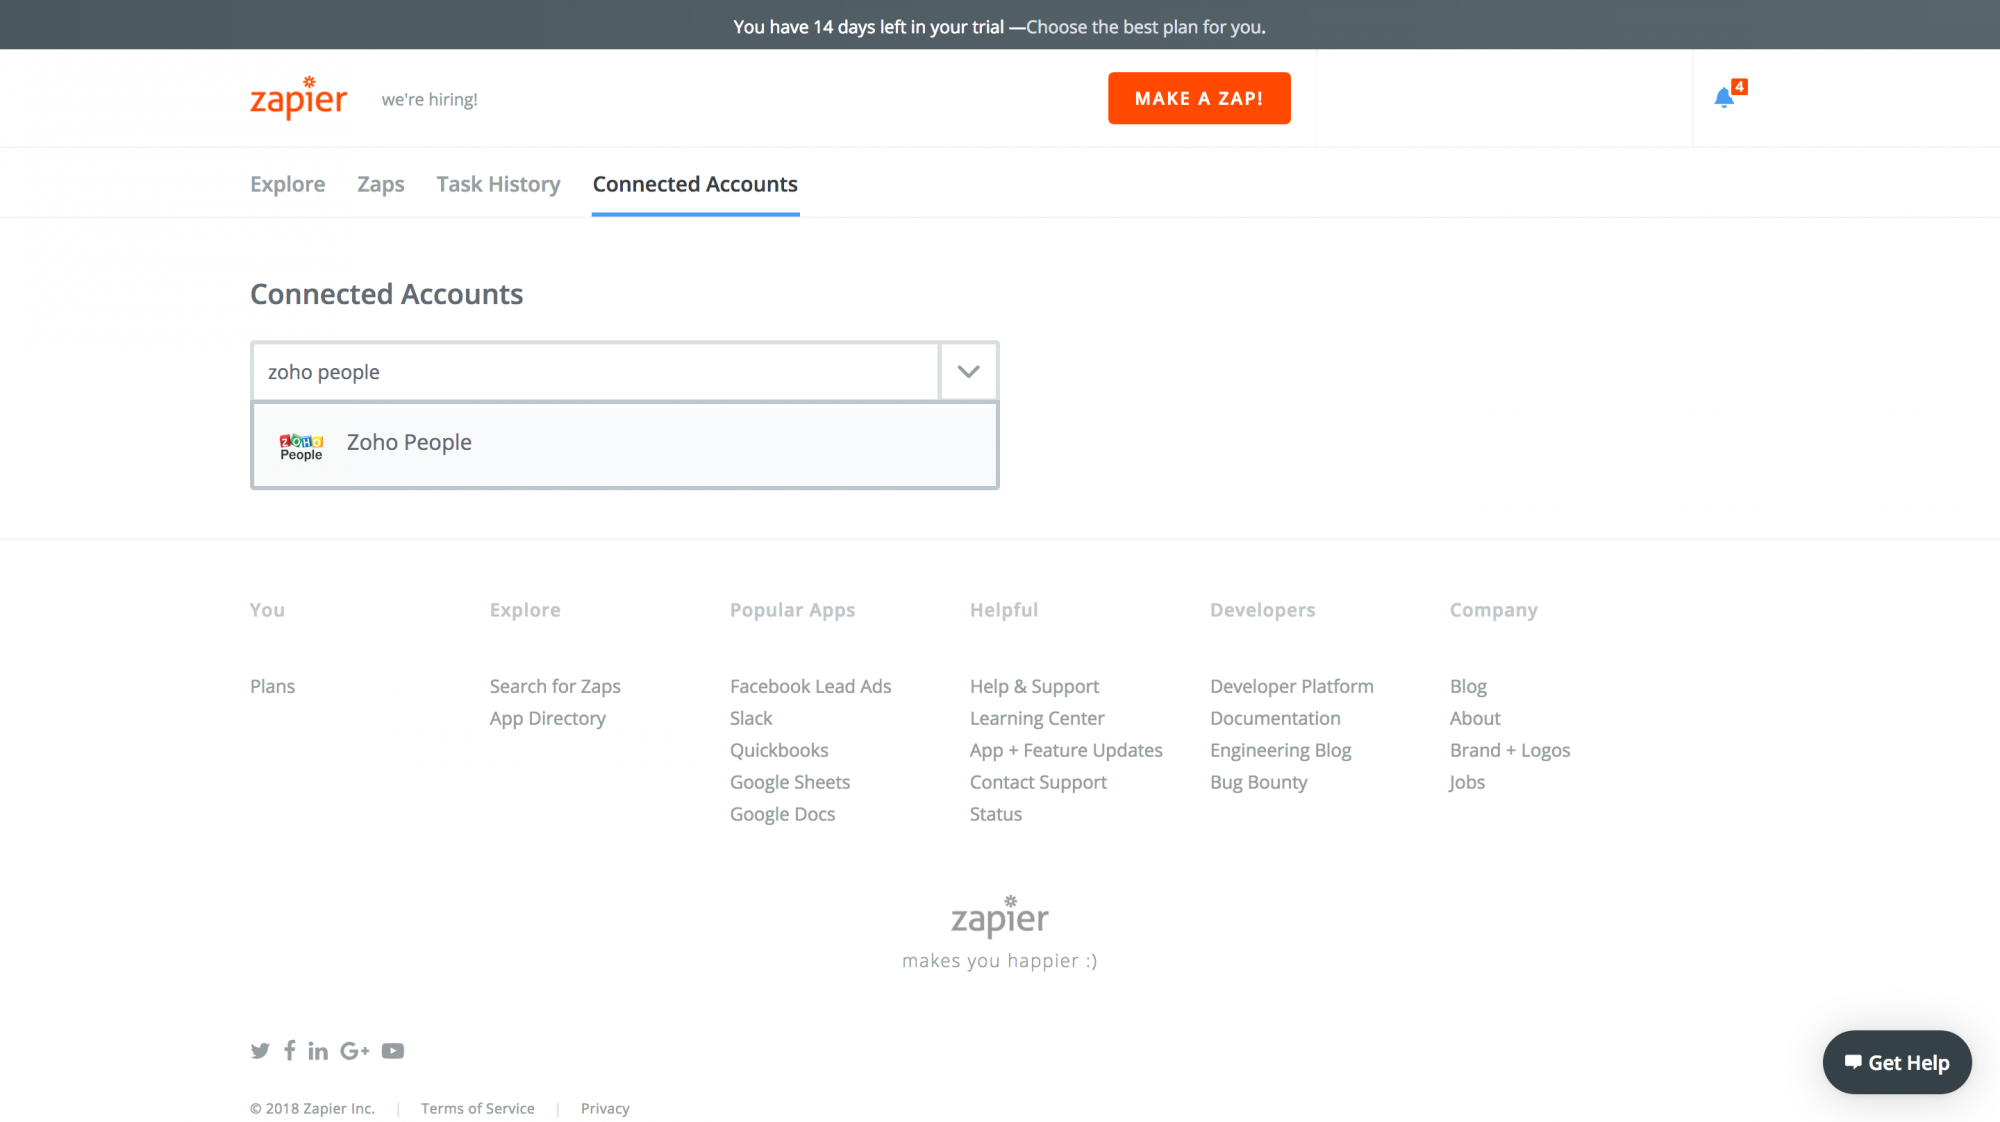
- Click on 'Connected Accounts'
- Under 'My Connected Accounts', select Zoho People from the search drop down
- You will be directed to another tab. Copy and paste the generated authtoken in the provided box and click on 'Yes,continue'
Your Zoho People account has now been connected to Zapier.
Alternatively,you can also connect your account with Zapier while creating a Zap.To do this, after choosing the trigger, click on 'Connect an account'.
Note: Only an admin has access to connect his Zoho People account with Zapier.
Some Use Cases
Triggers that can be created in Zoho People:
Triggers that can be created in Zoho People:
New record -When a new record is added in Zoho People, it can be updated in another app (supported by Zapier). Let us take a use case to understand this better.
For example, if you add a new record in the Employee form in Zoho People, you can also maintain a back up of the data in Google Sheet. Follow the steps given below to do this.
- Go to your Zapier dashboard
- Click on 'Make a Zap!' at the top
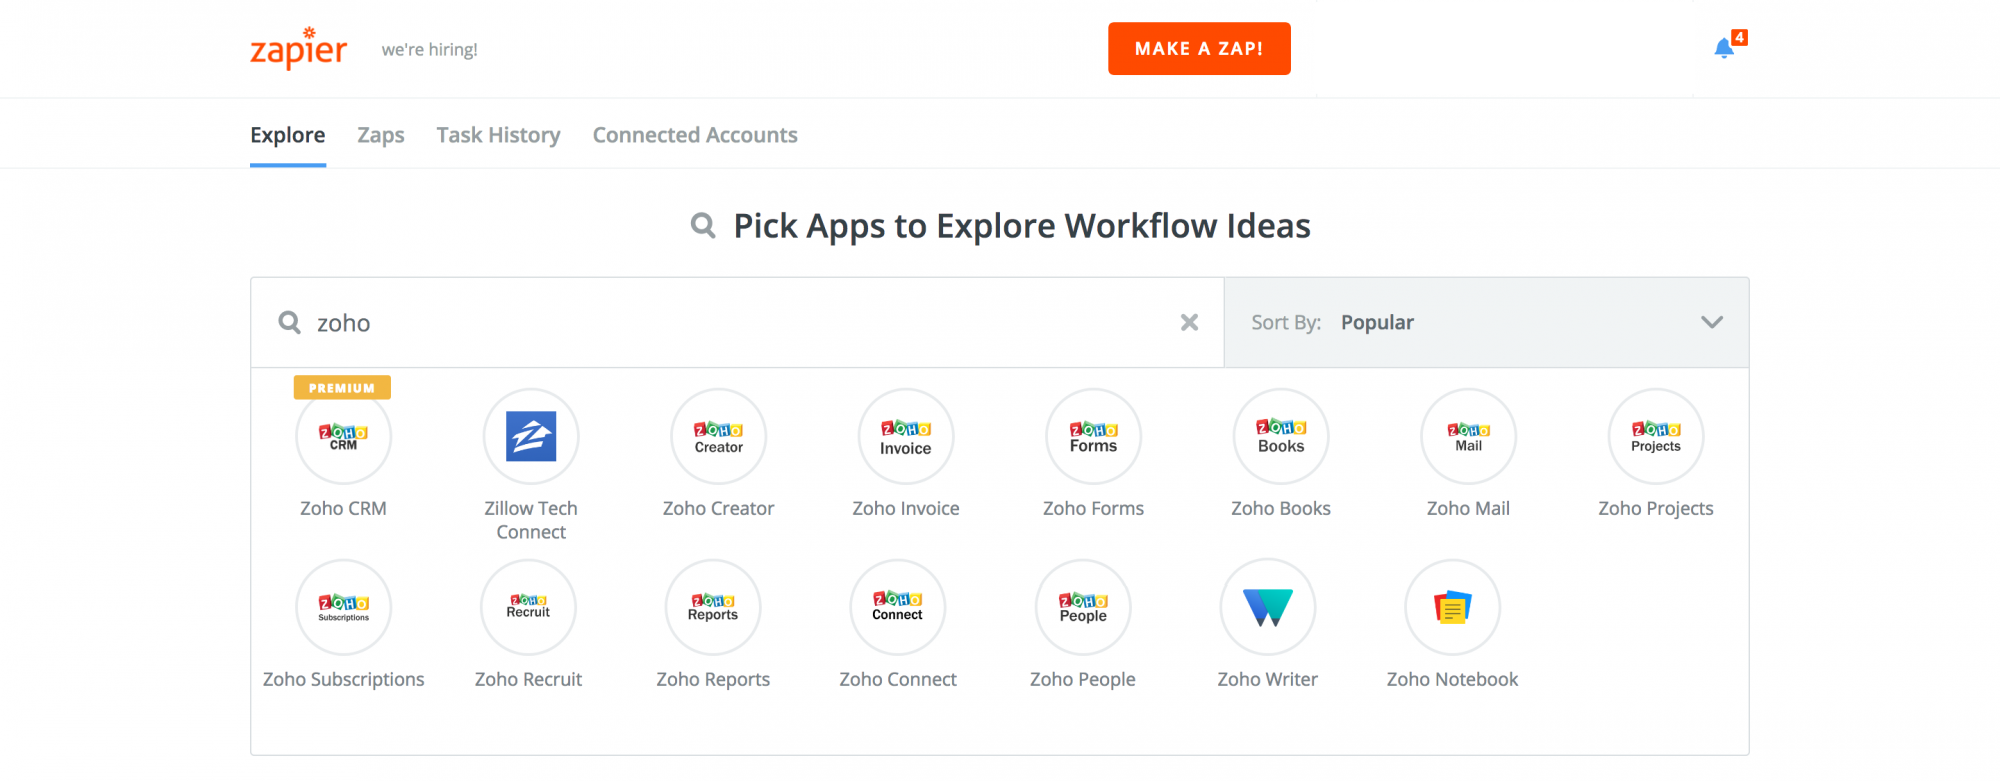
This will take you to the Zap configuration page.
- Under Choose trigger app, choose Zoho People from the apps listed
- Select New Record and click on 'Save + Continue'
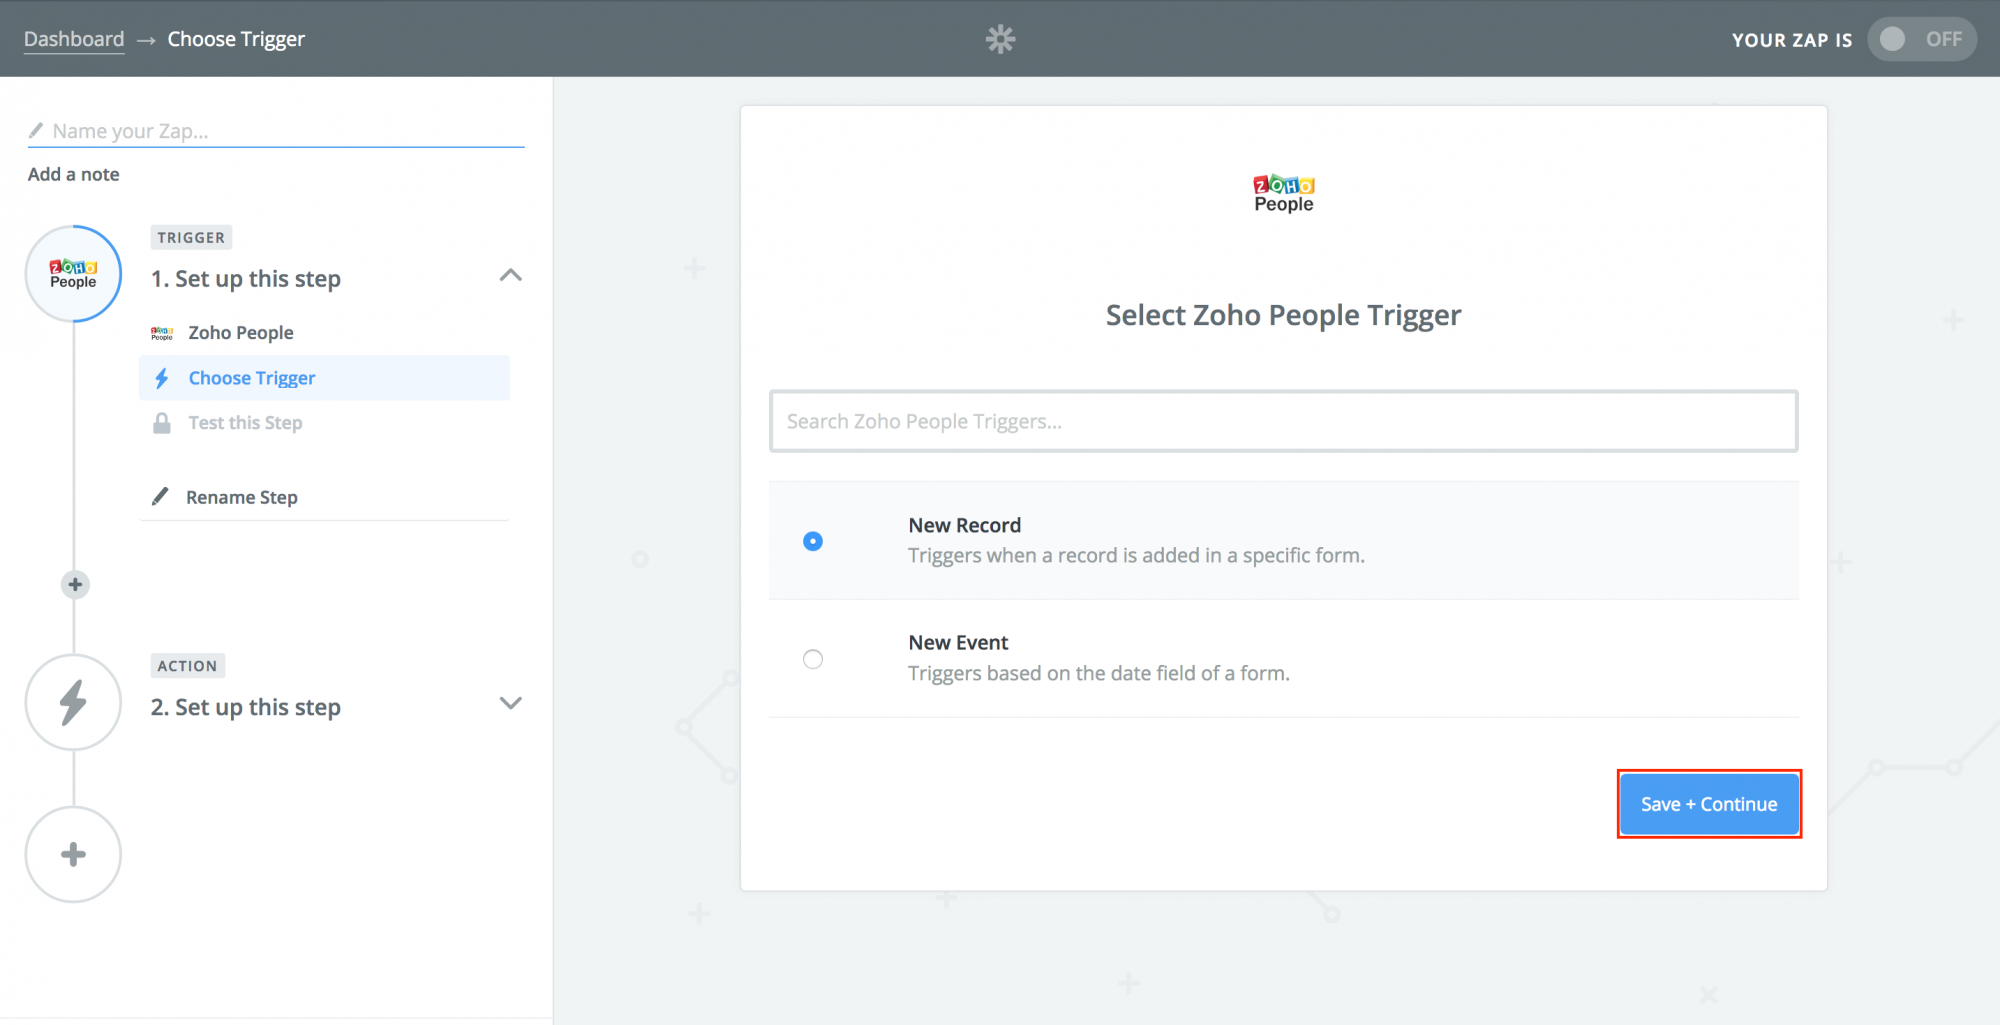
- Select your Zoho People account and click on 'Save + Continue'
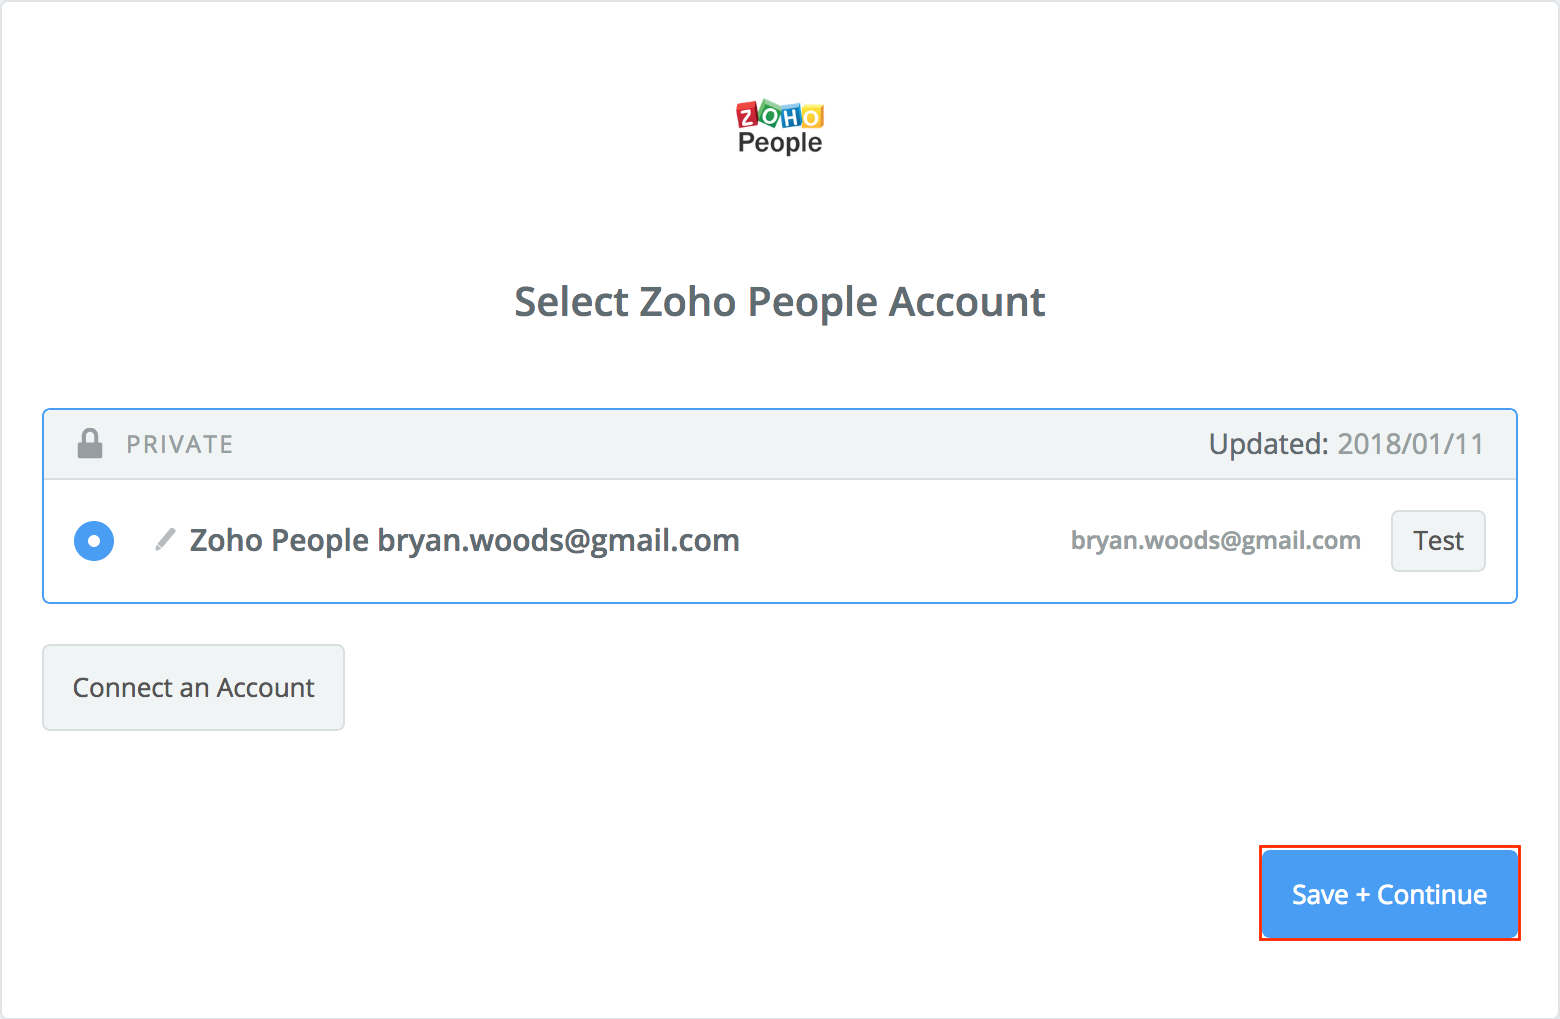
- You can also connect to a new account here by clicking on 'Connect an Account'
- Click on 'Save+Continue'
- Select the form name from the drop down - in this case, the Employee Form and click 'Continue'
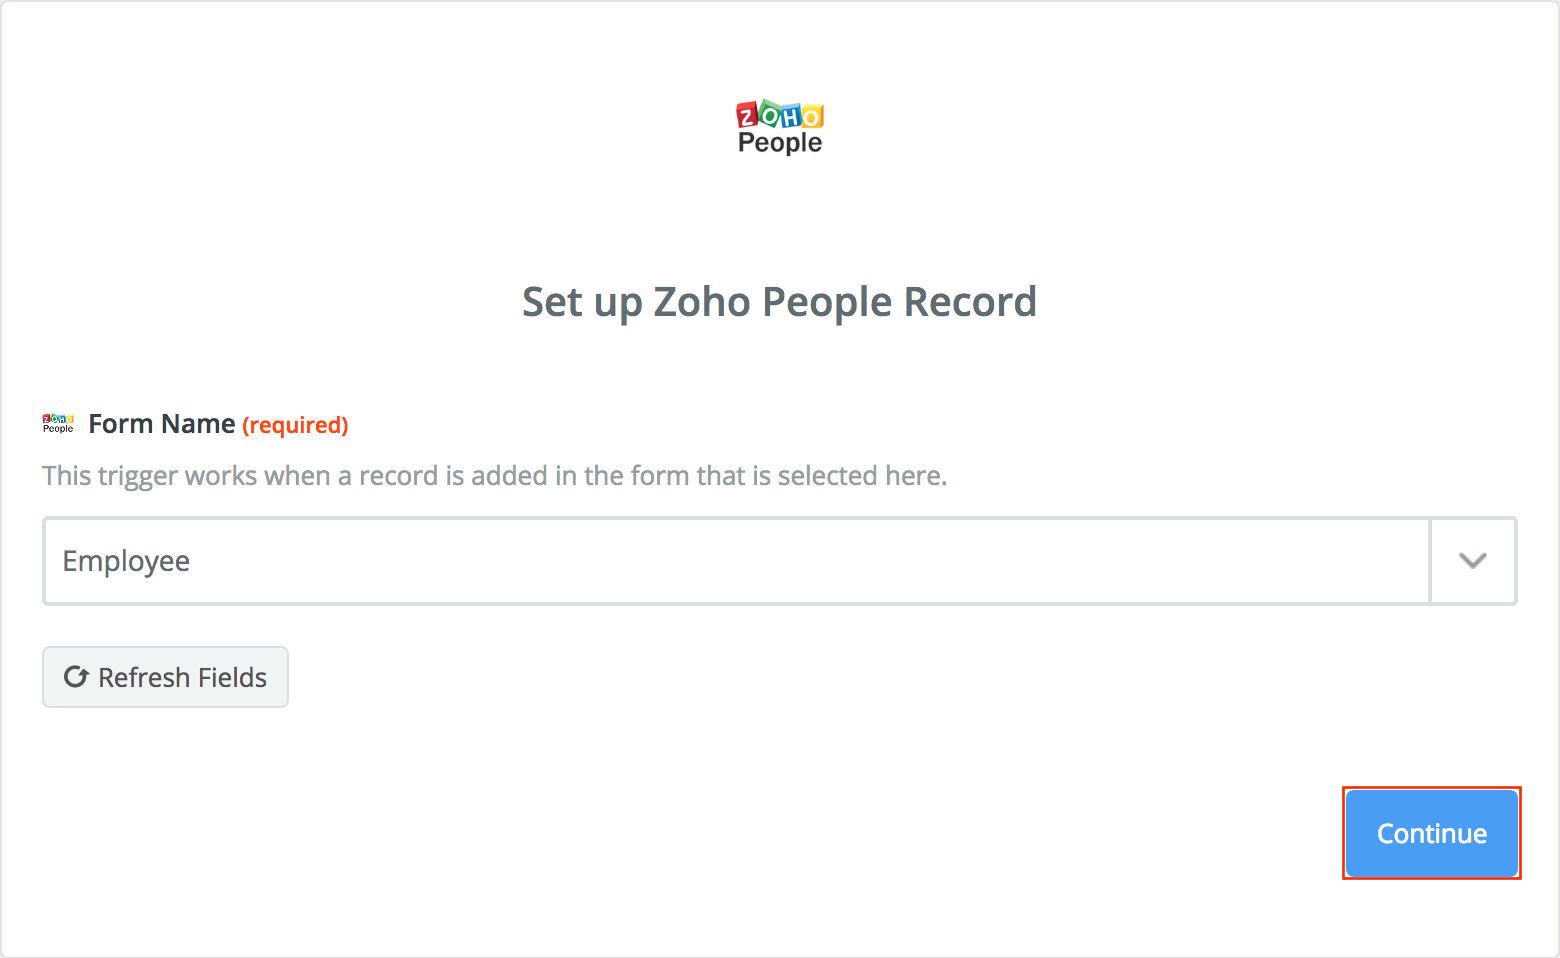
- Click 'Fetch & Continue' to test the Zap
Note: The recently modified record of the respective form will be fetched for testing. If no such record exists, a new record should be added.
- Click 'Continue'
Now you have configured the Trigger. Proceed to configure the resulting action with the help of the steps given below.
- Select the App from the list - in this case, Google Sheets
- Select from the options listed. In this case, you can select 'Create Spreadsheet Row'. This means that as a result of a new record added in the Employee form in Zoho People, a new row will be created in Google Sheets
- Click Save+Continue

- Select the Google Sheets account and click 'Save+Continue'
- Select the Spreadsheet
- Under Worksheet, select the specific Worksheet under the Spreadsheet that you would like to add the record
- Map the fields of the worksheet with the Fields in Zoho People's Employee form,using the 'Insert a field' icon
- Click Continue
- Click 'Send Test To Google Sheets' to create a new entry in the Spreadsheet
You will have an option to see a preview of how the data will get populated in Google Sheets.
- Click 'Finish' if you are done with your Zap
- Name your Zap and enable it
You can include another step by clicking on 'Add a step'. This is useful when you want a set of actions triggered in different apps as a result of a trigger in Zoho People.
New Event-Based on a date field in a form in Zoho People, actions can be triggered in different apps.
Let us take a use case to understand this better.
Consider a scenario where an employee is resigning from your organization.
Using a Zap, you can link Zoho People with Twilio and have an SMS sent to an employee to submit his/her Assets before resigning.
- Click on 'Make a Zap!'
- Give a name for the Zap
- Under 'Choose Trigger App', select Zoho People
- Select 'New Event' and click 'Save+Continue'
This means that on the basis of a date field, an action will be triggered.
- Select the Zoho People account and click on 'Save+Continue'
- Select the Form - in this case the Exit Form
- Select the date field - in this case the Separation Date or Date of Exit
- Under 'Date of Execution' make the selection based on when you would like the SMS to be sent
- Select 'Before' and give '1' under 'Trigger before/after days'
- Fill the 'Time of Occurrence' and the 'Frequency of Occurrence'

- Click 'Continue'
- Click 'Fetch & Continue'. The recently modified record of the respective form will be fetched to test the trigger
- Click 'Continue'
Now you have configured the Trigger. As a next step you need to select the app where you would like to have the action triggered.
- Select 'Twilio'
- Select 'Send SMS' and click on Save+Continue'
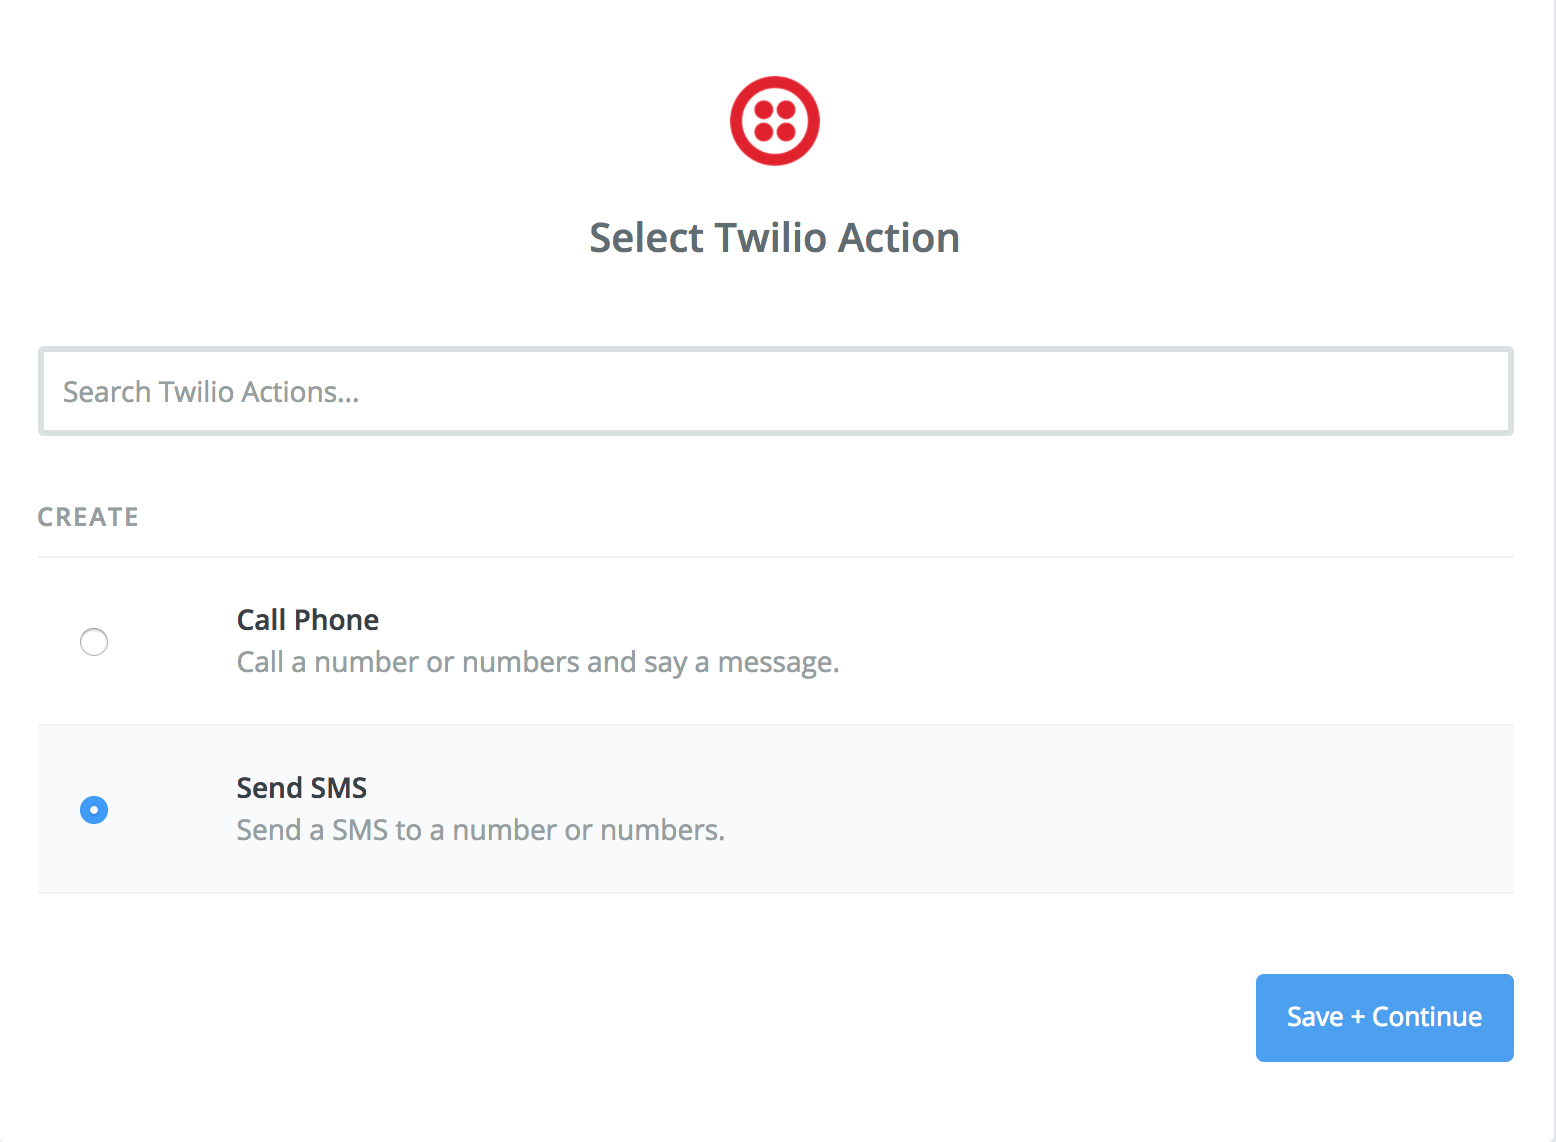
- Select your Twilio account and click 'Continue'
- Choose the Number from which the SMS should be sent
- Map the Number to which the SMS should be sent under 'To Number'
Note: Your Exit form in Zoho People should contain a number field to hold the Phone number.
- Type in the message and click 'Continue'
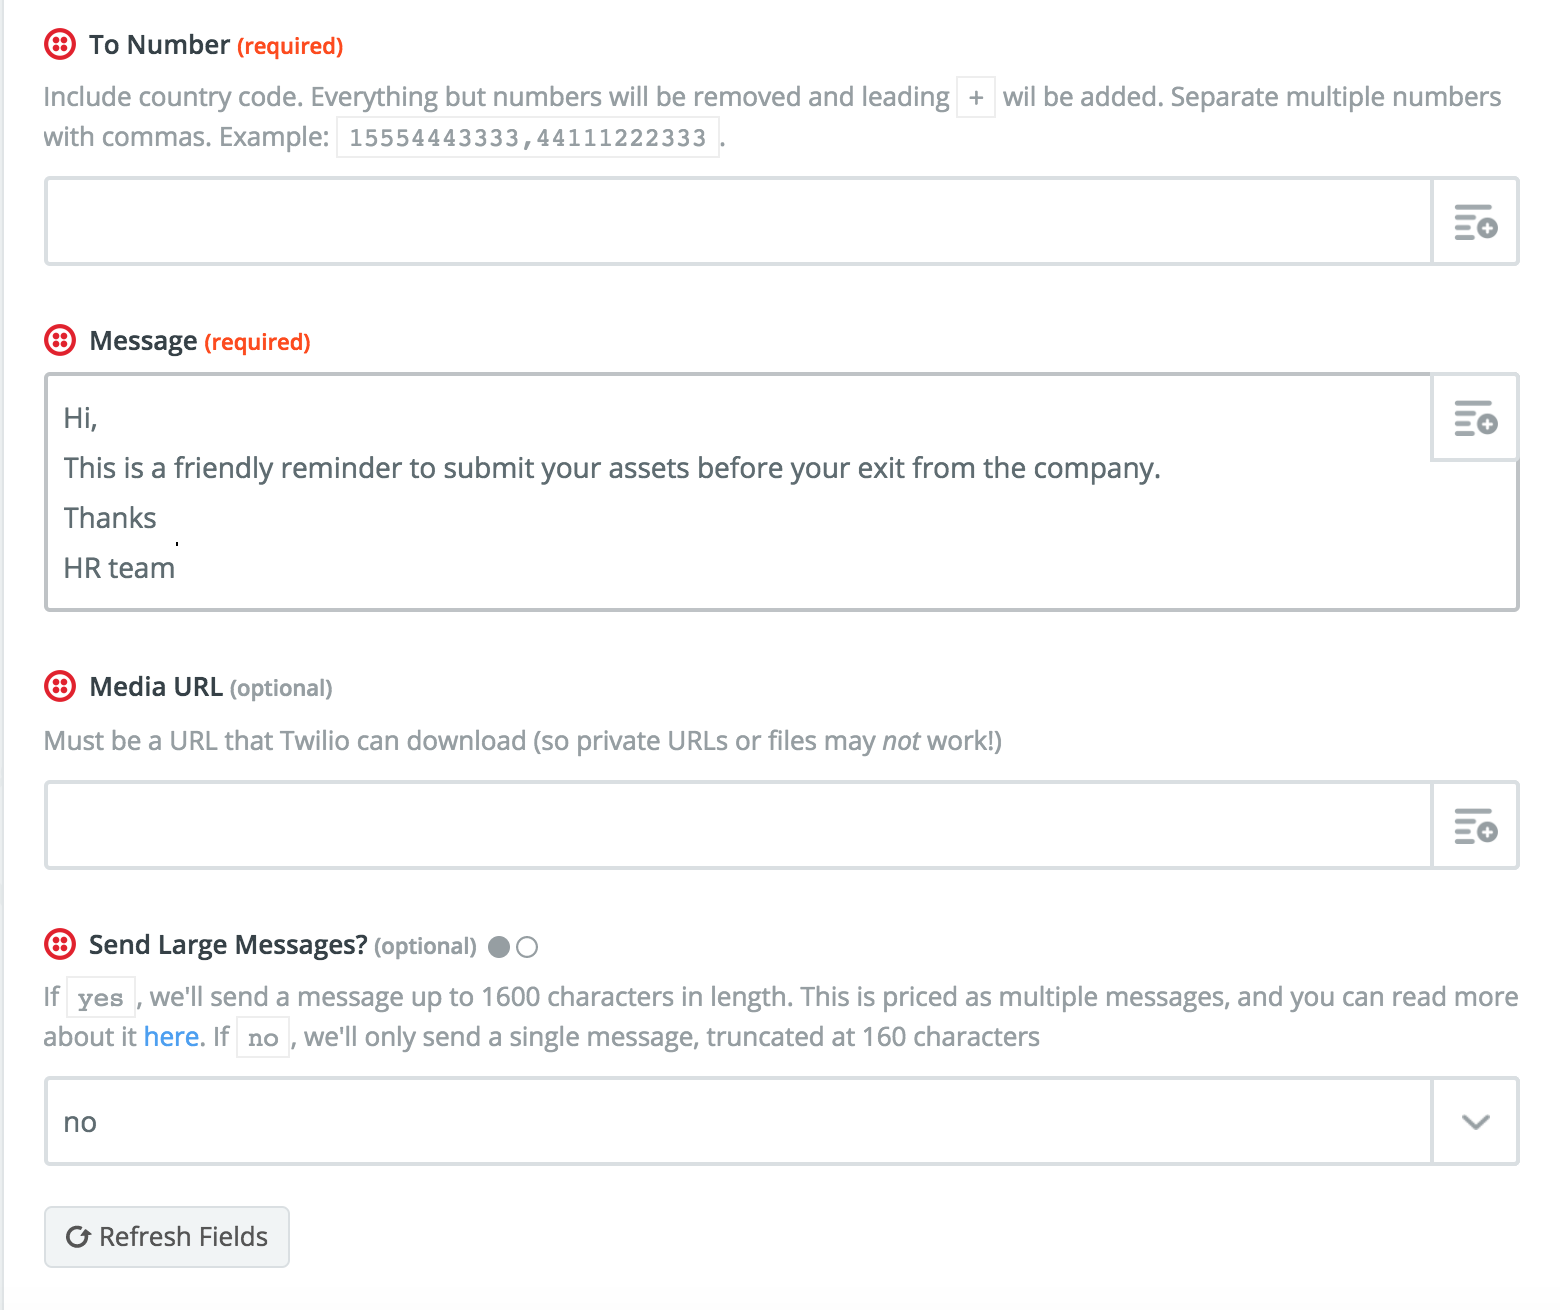
The next step is to test the Zap
- Click 'Create and Continue'
- Click 'Continue' to test the app and enable your Zap
Actions that can be implemented in Zoho People:
Add Record - As a result of a trigger in another app, a new record gets created in a form in Zoho People
Let us take an example of Asana.
A Project that is created in Asana can be added automatically as a new Project in the Time Tracker module of Zoho People.
Follow the steps given below to achieve this.
- Click on 'Make a Zap!' and name the Zap
- Under 'Choose a Trigger App', select 'Asana'
- Select 'New Project' and click 'Save + Continue'
- Select your Asana Account and click 'Save + Continue'
- Select the Workspace/Organization and click 'Continue'
- Click 'Fetch & Continue' to test the step
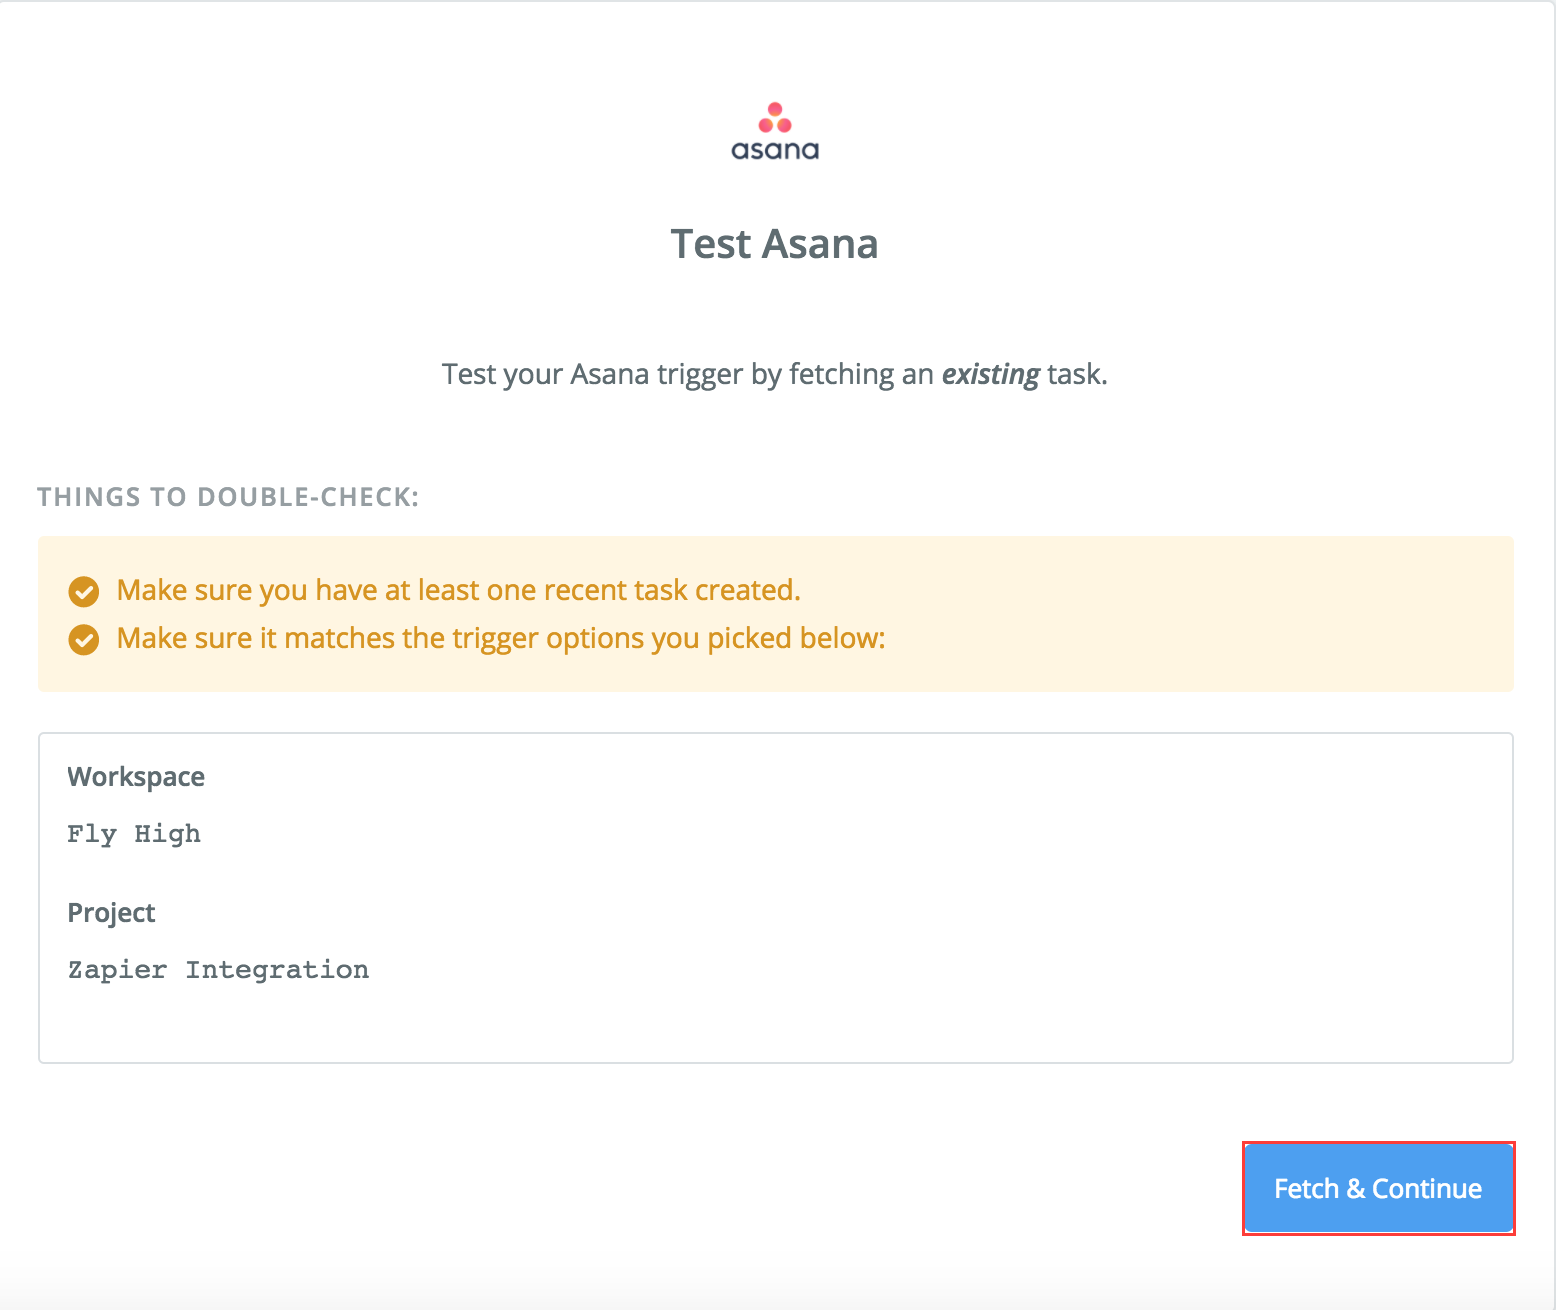
- Click 'Continue'
Now you have set up the Trigger.
- Under 'Set up this step', select 'Zoho People'
- Select 'Add Record' and click on 'Save + Continue'
![]() Tip : Click on 'Click to show less common options' if you want to see all the options listed.
Tip : Click on 'Click to show less common options' if you want to see all the options listed.
- Select the Zoho People account and click 'Save + Continue'
- Select the form - In this case, the 'Projects' form
- Map in the required fields as listed in the project in Asana and click 'Continue'
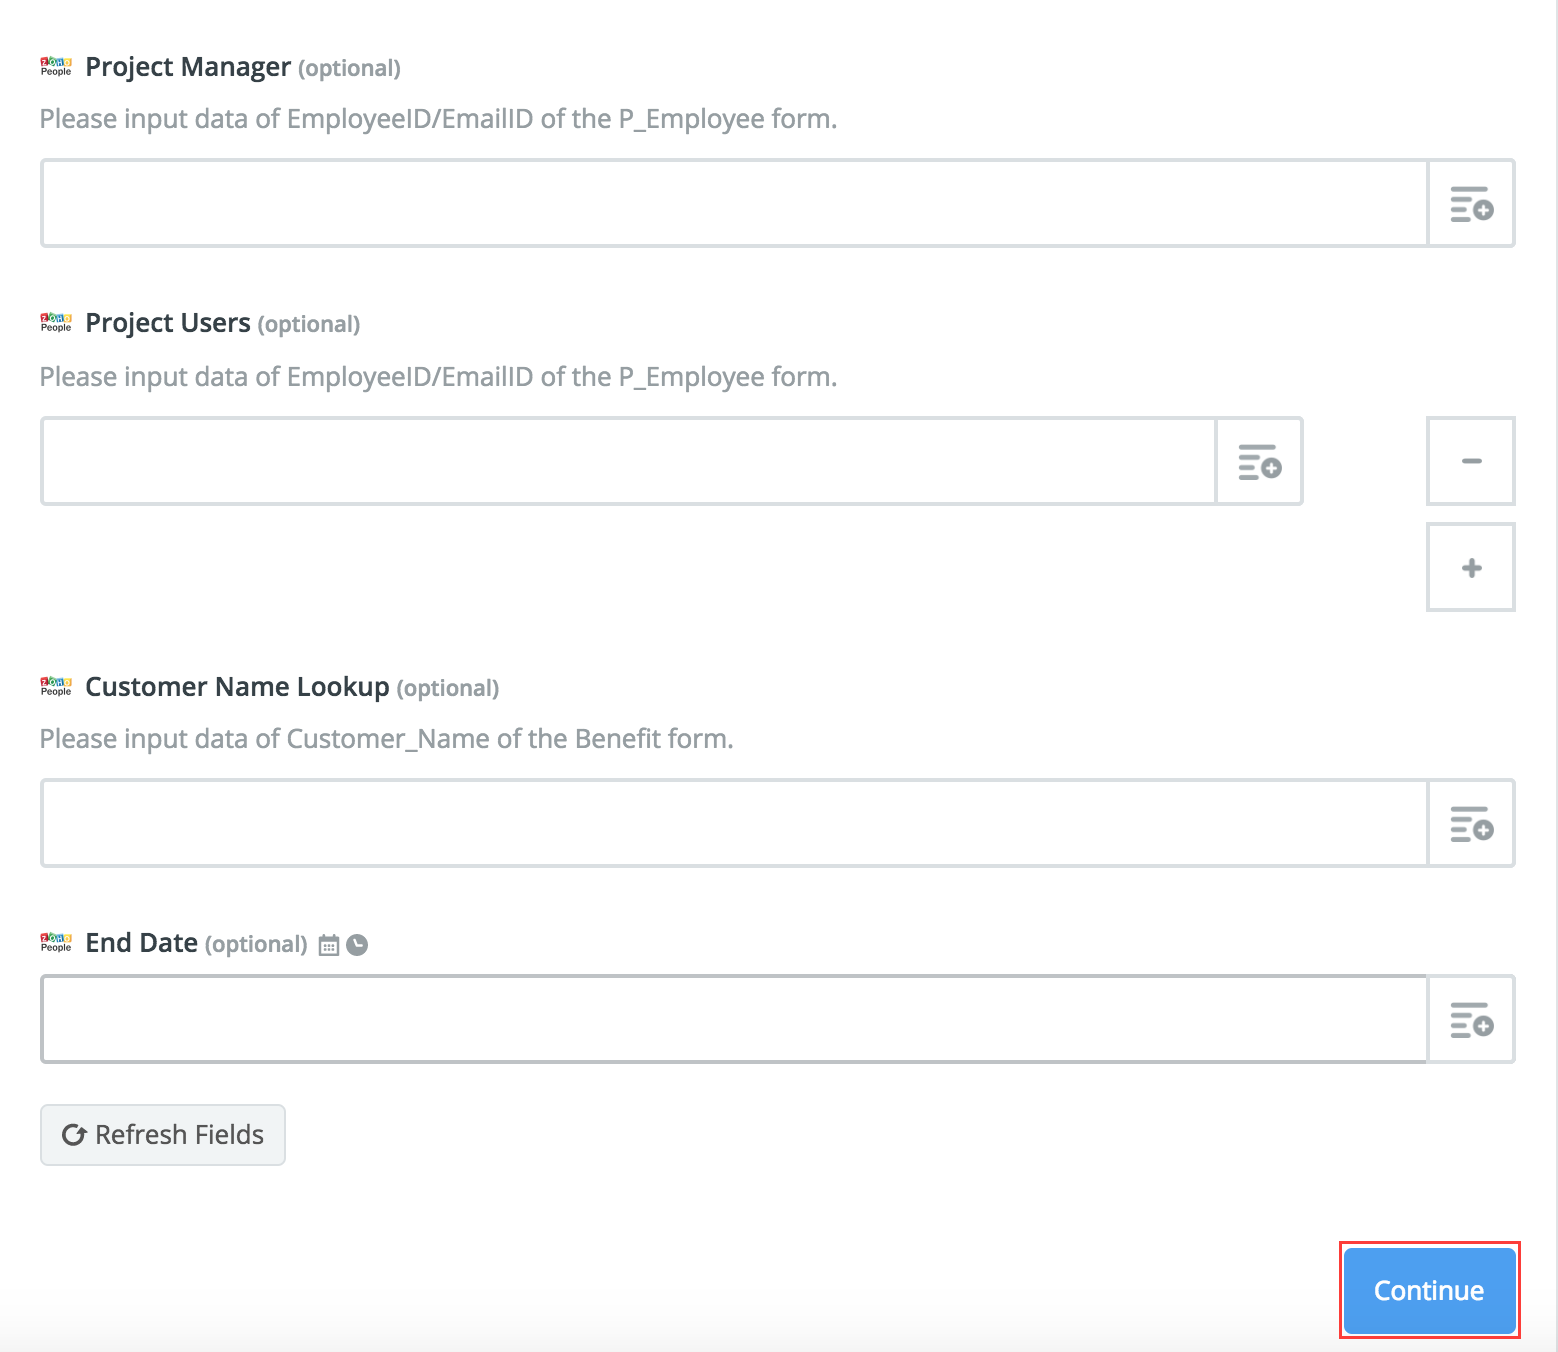
- Click on 'Create & Continue' to test Zoho People
- Click on 'Add a Step' if you would like to push to another app in the same Zap or click 'Finish' to complete the Zap
You can also have Tasks of Asana mapped to Jobs in your Zoho People account.
Add Company File - As a result of a trigger in another app, a file gets added in the Files Module as a Company File
Let us consider a scenario where you have a folder in your Google drive. Whenever a document gets added to this folder, you need it to be added as a Company File in the Files module. This can be done by following the steps below.
- Click 'Make a Zap'
- Select 'Google drive', 'New File in Folder' and click on 'Save + Continue'
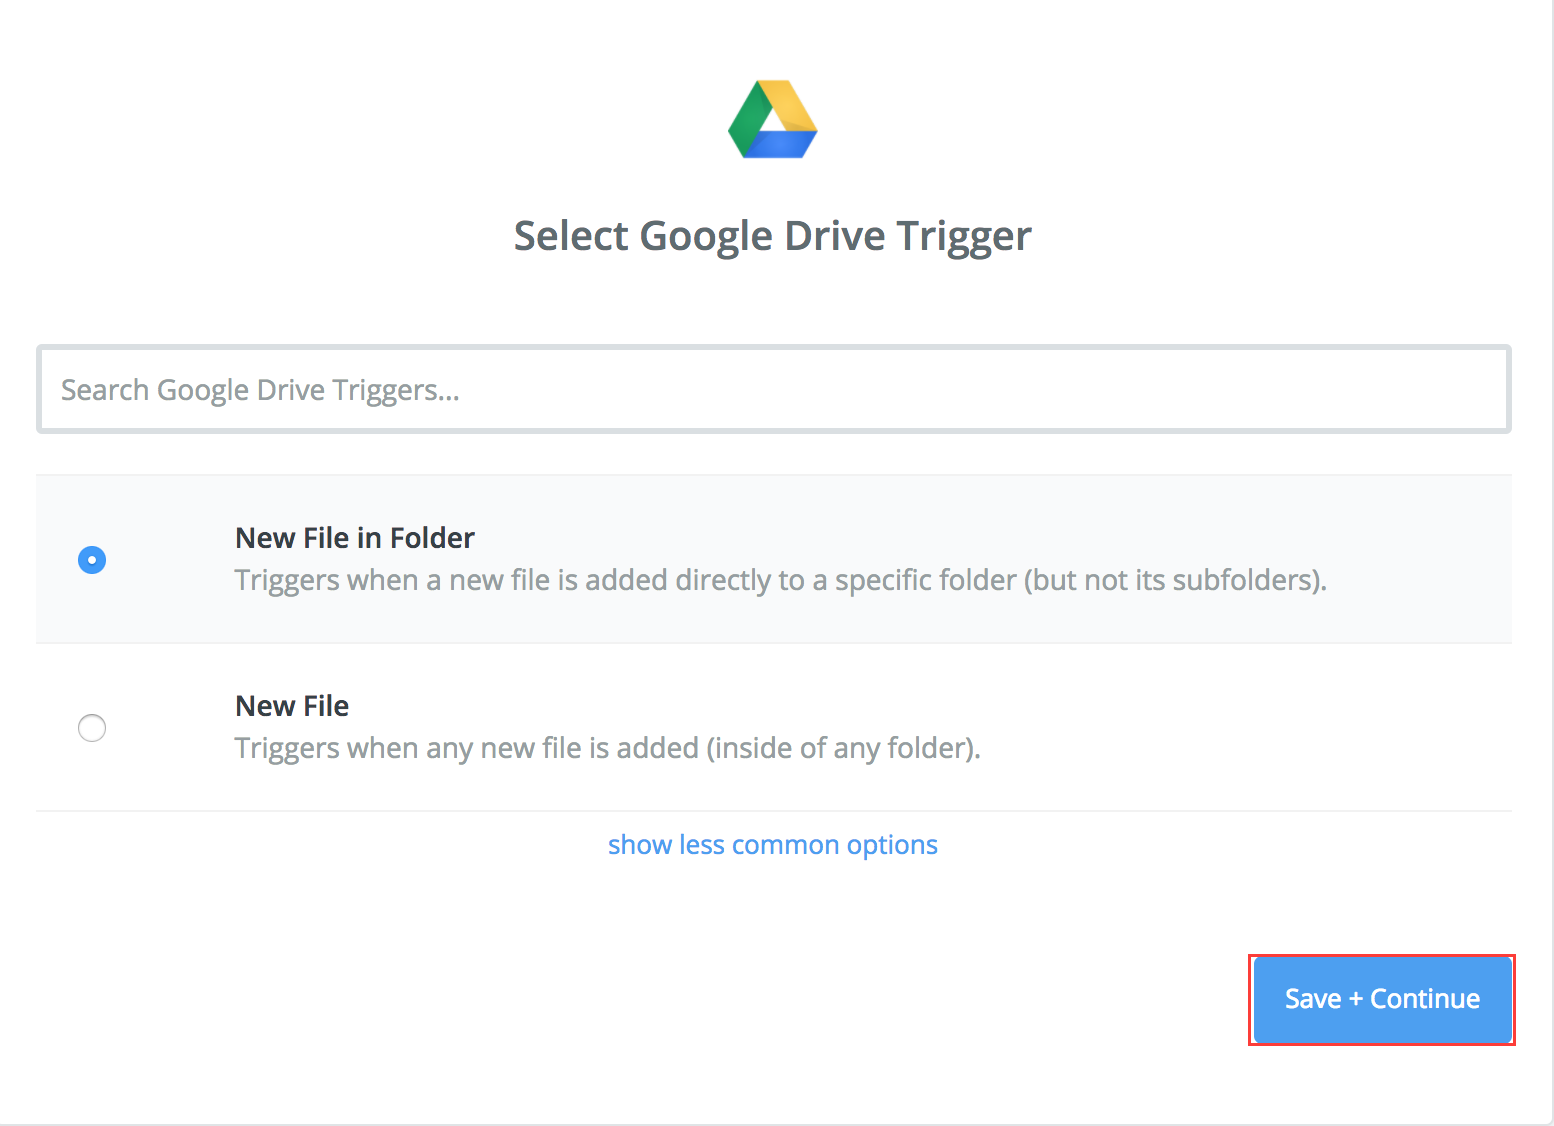
- Select the Google Drive account and click 'Save + Continue'
- Click 'Fetch & Continue'
- Click 'Continue'
You have created a trigger. You can have an action configured now
- Select the Zoho Account and choose 'Add Company File'
- Click 'Save + Continue'
- Select the Zoho account and click 'Save + Continue'
- Make selections appropriately for File, File Name and Category
- Click 'Continue' and enable the Zap
Upload a File in a Form - As a result of a trigger in another app, a file can be uploaded in a new record in Zoho People.
For example, if you receive an email with an attachment, you can have the attachment uploaded as a file in a new record in a Zoho People form.
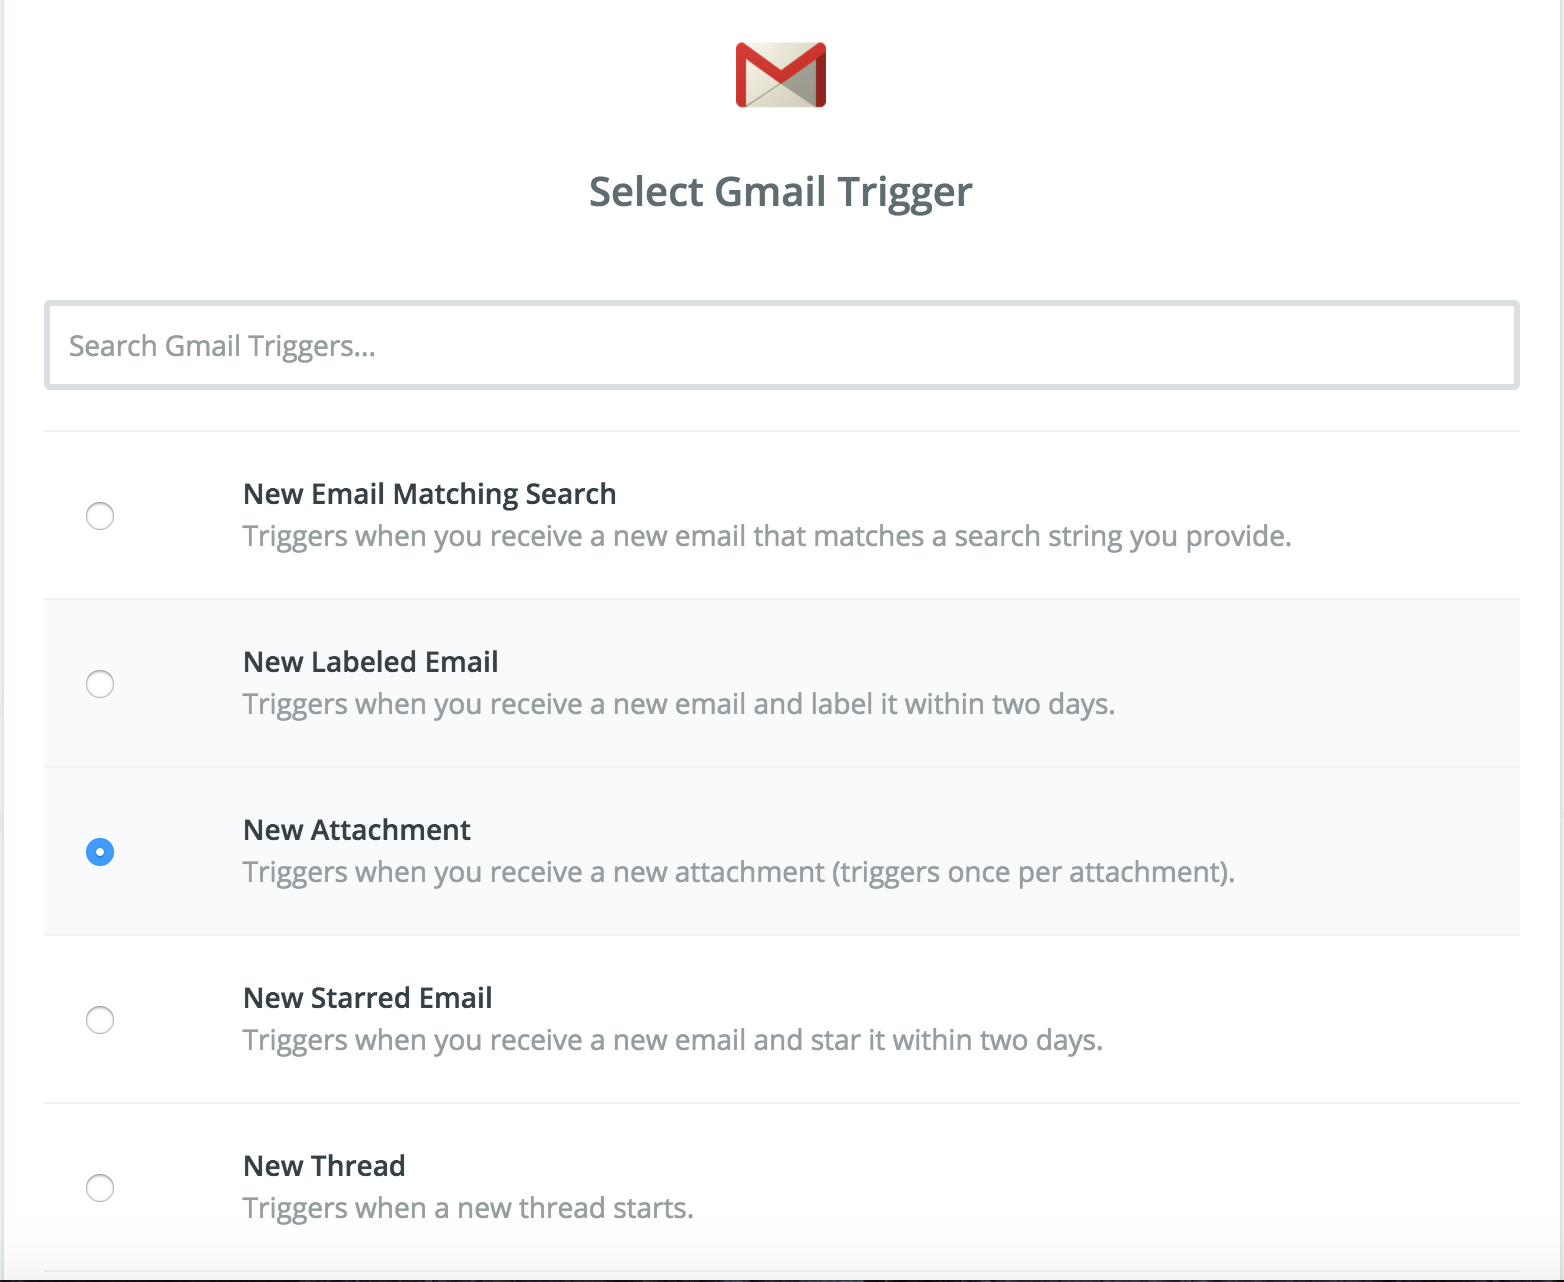
- Click on 'Make a Zap', select Gmail, click on 'New Attachment' and click on 'Save + Continue'
- Select your Gmail account and click 'Continue'
- Give a label box if needed and click 'Continue'
If you select this option, then you can have the email attachments of mails which are under a particular label to be uploaded in Zoho People.
- Click 'Fetch & Continue'
Now you have created a trigger.
- Go to Set up this step and select Zoho People
- Click on 'Upload a File in a Form' and click 'Save + Continue'
- Select your Zoho People account and click 'Save + Continue'
- Select the form name, map the required fields and click 'Continue'
- Click 'Create & Continue'
- Name your Zap and enable it
This action should be followed by a 'New Record' action since file upload can be done only for a new record.


