Basic Functions in Retainer Invoice
Let us have a look at the basic functions that can be performed in the retainer invoices module.
Enable Retainer Invoices
To get started with retainer invoices, you’ll have to enable it first. Here’s how you can do it:
- Go to Settings > Preferences > General.
- Mark the box Retainer Invoices.
- Click Save.

Create Retainer Invoice
After you have enabled the retainer invoices module, you can create a new one. Here’s how:
- Go to Sales > Retainer invoices.
- Click the + icon next to the Retainer Invoices or the + New button in the top right corner of the page.

- Fill in the following details.

| Fields | Description |
|---|---|
| Customer Name | Select the customer you want to create the retainer invoice for. |
| Retainer Invoice Number | The retainer invoice number will be auto-generated. However, you can also enter a unique number by clicking the Gear icon. |
| Retainer Invoice Date | Select the date on which the retainer invoice is created. |
| Reference | Enter a reference number for the retainer invoice if you wish. |
- Click Save.
Record Payment
After you have created a retainer invoice, you can record payment for it when you receive the amount from your customers.
Offline Payments
If you have received the advance payment from your customer in person, or you can record it offline. Here’s how:
- Go to Sales > Retainer Invoices.
- Select the retainer invoice for which you wish to record the payment.
- Click Record Payment.

- Fill in the required details.
- Click Record Payment.

Charge Customer
If you wish to collect the advance amount from your customers online, you can charge their card details. You can charge either charge a card associated with the customer, or charge another valid card. To charge your customer:
- Go to Sales > Retainer Invoices.
- Select the invoice generated from the retainer invoice for which you wish to charge your customer.
- Click the Record Payment drop down and select Charge Customer.

- If you wish to use the card that has already been associated with the invoice, choose the Use the card ending in xxxx to charge this invoice option and click Proceed.
- If you wish to make payment using a different card that is not associated with the contact or the retainer invoice, then click the Charge using another card option, fill in the required card details and click on Proceed.

View Payments Received
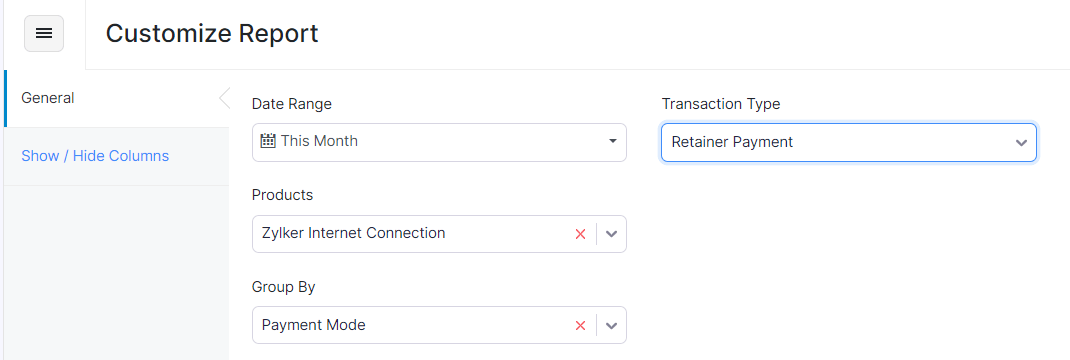
You can generate a report showing a quick summary of the retainer payments received from your customers. This report will include details such as the unused amount and the payment method.
- Go to Reports module in the left sidebar.
- In the Payments Received section, select the Payments Received report.
- Go to Customize Report and select the Transaction Type as Retainer Payments.
- Click Run Report.

Import Retainer Invoices
If you already have a list of retainer invoices, you can import them into Zoho Billing in the CSV, TSV or XLS format. To import retainer invoices:
- Go to Sales > Retainer Invoices.
- Click the Hamburger icon in the top right corner of the page.
- Select Import Retainer Invoices.

- Click the Choose File button next to Upload file. You can download the sample CSV file for your reference by clicking sample file.
- Choose the Character Encoding and File Delimiter for your file.
- Character Encoding is used to pair numbers with characters. By default, the Unicode Transformation Format (UTF-8) encoding is used which supports a wide range of characters that go beyond 8 bits.
- The Field Delimiter is used to separate two values in a row. While importing vendor credits, the default file delimiter is comma (,).
- Click Next.

- Ensure that all the fields are mapped correctly in the Map Fields page.
- Mark the box Save these selections for use during future imports if you want to use a similar import format next time.
- Click Next.

- In the Preview page, click Import.


 Yes
Yes