Track Branch Transactions
Once you’ve created branches and associated the transaction series, you can start creating transactions. Let’s take a look at how you can include transactions to each branch and track them in Zoho Invoice.
Associate Branches to Transactions
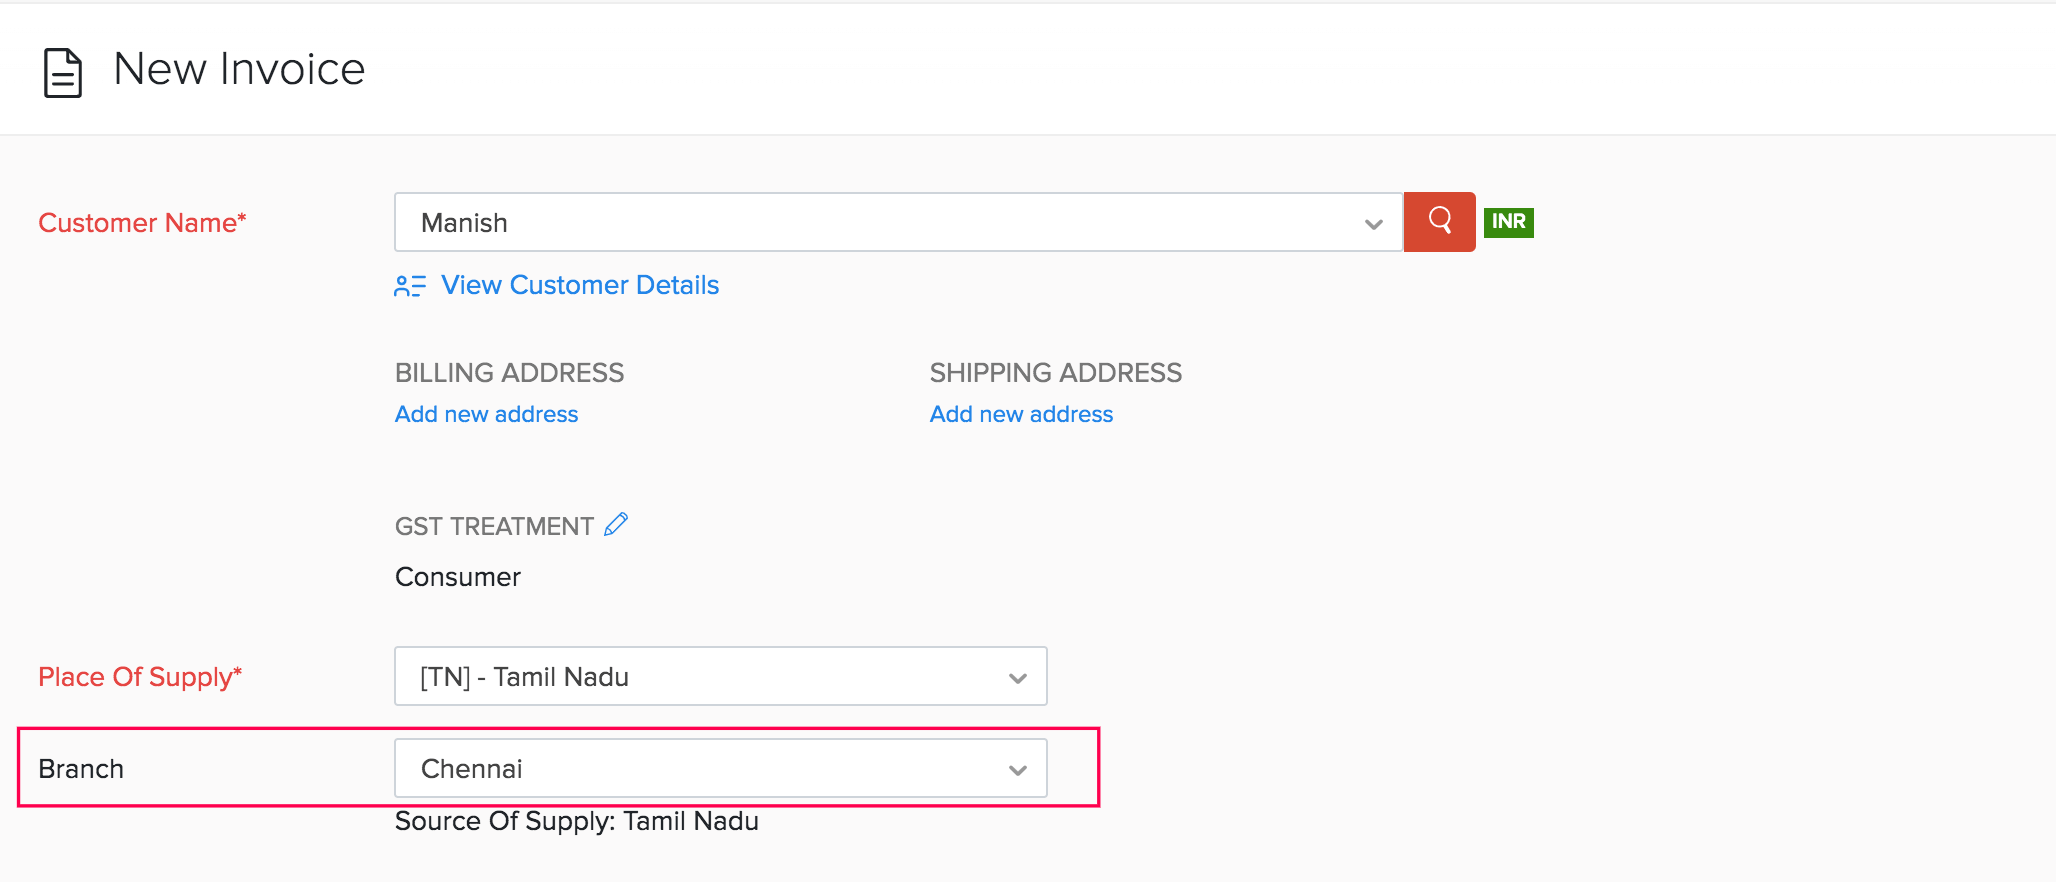
Each time you create a new transaction, you will be able to associate a branch to it. You can associate a branch for all your sales and purchase transactions. To associate:
Go to any transaction module. For example, let’s associate branches to Invoices.
Click + New in the top-right corner to create an invoice.
Select the Customer.
Select the Branch for which you’re creating the transaction.

Enter other details, and click Save.
Similarly, you can create transactions and associate branches for other modules as well.
Pro Tip: If you’ve been maintaining a branch’s transactions separately, you can import them to your organization along with the branch and map them accordingly.
Here are some points to note:
- All the transactions added before enabling the branches feature will be associated to the head office/primary branch.
- By default, all the transactions you create will be tracked under the head office/primary branch. You will have to manually select the branch each time you create a transaction.
- The transaction series and address will be according to the branch selected while creating the transaction.
- Payments can be made or collected among the various branches.
- The estimate created for a branch cannot be converted to an invoice for another branch. This applies to other transaction types as well.
View Dashboard
When you associate branches with transactions, you can get an overview of each branch’s performance right from the dashboard. Here’s how:
Go to your Zoho Invoice’s Dashboard.
Click the All Branches dropdown in the top-left corner.
Select the branch whose details you want to view.

Generate Reports
If you’ve associated transactions with branches, you will be able to generate reports for a particular branch or for all the branches collectively. This lets you view the sales or the expenses of a particular branch.
Insight: If your Zoho Invoice organization is integrated with Zoho Analytics, you will be able to sync the branch details as well and run advanced reports as per your requirements.
Run Reports for Specific Branches:
Go to the Reports module in Zoho Invoice.
Select a report for which you want to view the details. For example, the Sales by Item report.
Click the Customize Report option in the top.
Go to the General tab and you will be able to find the Advanced Filters option.
Select the parameter as Branch from the dropdown.
Set the comparators and choose the branch or branches.

Click Run Report.
Note: This option will not be available for certain reports.
View Branch Details in Reports:
Go to the Reports module in Zoho Invoice.
Select a report for which you want to view the details in the report.
Click the Customize Report option, and go to the Show or Hide Columns tab.
Select the Branch column and click Run Report.

Note: The Branching feature is available only for organizations that are on any of the paid plans in the Global, UAE, KSA, Bahrain, Oman, Qatar, Kuwait and India editions.
Next >


 Yes
Yes