React Native
1. Register
Register your mobile application at the Zoho Accounts Developer Console to receive your Client ID and Client Secret. You must enter the client name, client domain, valid authorized redirect URI. Make sure you use the drop-down to change the client type to Mobile Applications.
Note: The authorized redirect URI is the URLScheme (Example: MyDemoApp://) of your application.
2. Set up Your Development Environment
Using Cocoapods
- Navigate to your project folder in a terminal window.
- Make sure you have the CocoaPods gem installed on your machine before installing the ZohoAuth pod.
    $ sudo gem install cocoapods
    $ pod init
- Add the following to your Podfile:
pod 'ZohoAuth'
- Run the following command in your project root directory from a terminal window:
$ pod install
3. Integration
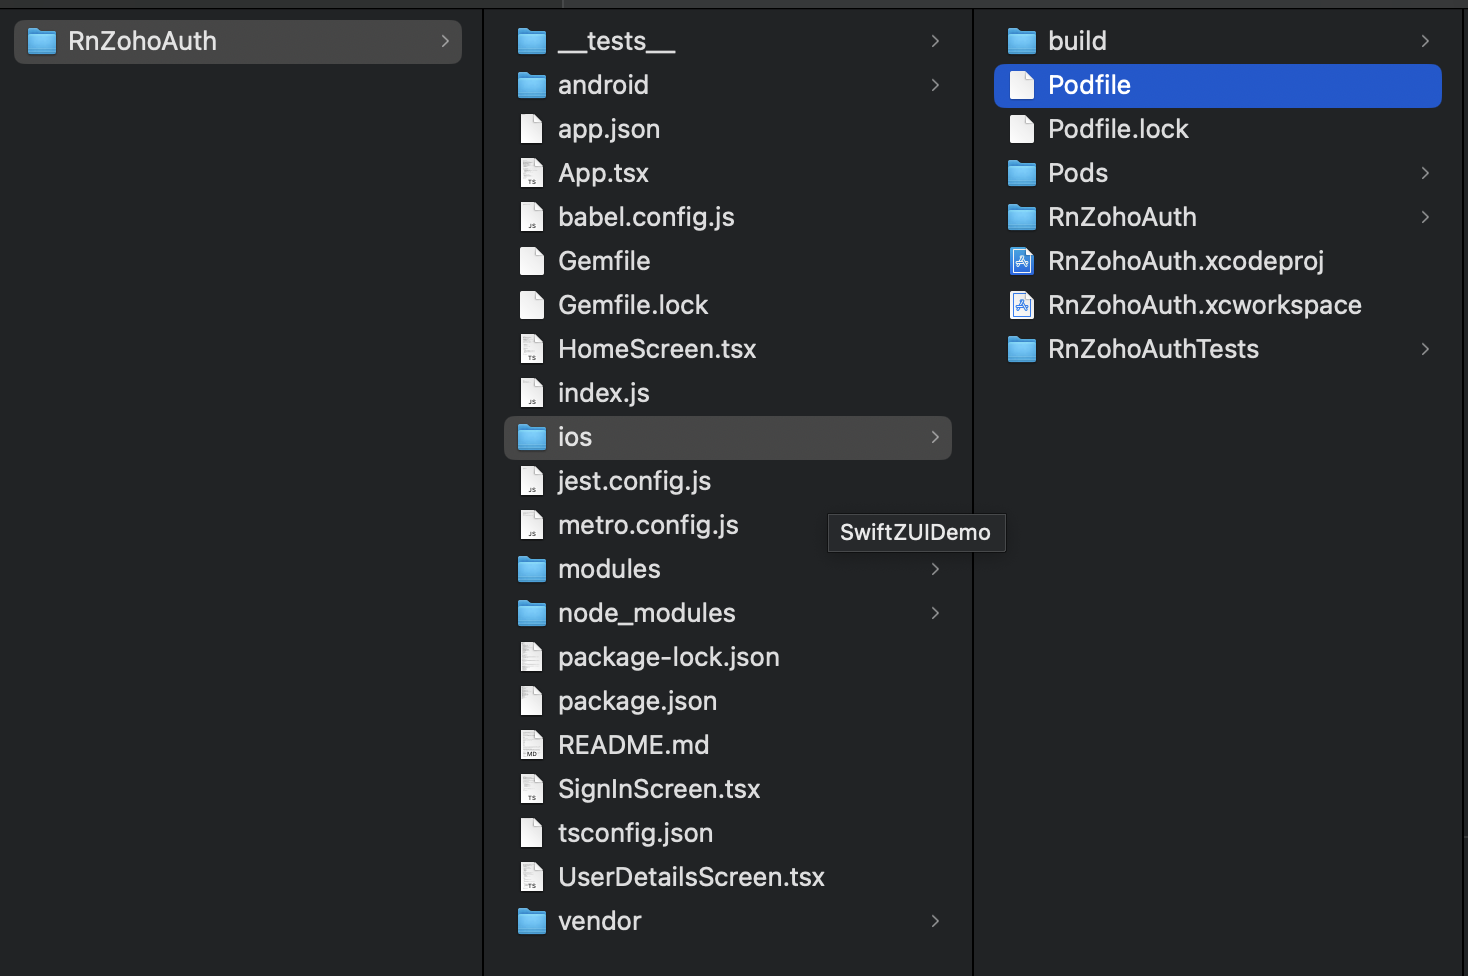
After installing, you may find Xcworkspace in this pathclass. {projectName}/iOS/{projectName}.xcworkspace as mentioned in the screenshot below.
Step - 1: Add helper files
To access the SDK from your React Native code, you need to add the following files.
1a. Open the {projectName}.xcworkspace file. Create a file named RnZohoAuthSDK.m and enter the code shown below.
        #import
        #import "ZohoAuth.h"
        #import "RnZohoAuthSDK-Swift.h"
        #import
        #import "RnZohoAuthSDK.h"
        @implementation RnZohoAuthSDK

        RCT_EXPORT_MODULE()
        // Func to initialize the client ID, ClientSecret, Scopes, AccountURL, ProfileURL And URLScheme
        RCT_EXPORT_METHOD(init:(NSString*)clientID ClientSecret:(NSString*)clientSecret Scope:(NSArray*)scope URLScheme:(NSString*)scheme AccountsURL:(NSString*)accountsURL ProfileURL:(NSString*)profileURL)
        {
           dispatch_async(dispatch_get_main_queue(), ^{
               // Get the scene delegate
               UIWindowScene *windowScene = (UIWindowScene *)[[[UIApplicationsharedApplication] connectedScenes] anyObject];
               id sceneDelegate = windowScene.delegate;
               // Access the window from the scene delegate
               UIWindow *window = sceneDelegate.window;
               [ZohoAuthinitWithClientID:clientID ClientSecret:clientSecret Scope:scope URLScheme:scheme MainWindow:window AccountsURL:accountsURL ProfileURL:profileURL];
           });
        }

        // Func is user signed in
        RCT_EXPORT_METHOD(isUserSignedIn:(RCTPromiseResolveBlock)resolve rejector:(RCTPromiseRejectBlock)reject)
        {
           BOOL isSignedIn = [ZohoAuthisUserSignedIn];
           resolve(@(isSignedIn));
        }
        //
        // Func present sign in page
        RCT_EXPORT_METHOD(presentZohoSignIn:(RCTPromiseResolveBlock)resolve rejector:(RCTPromiseRejectBlock)reject) {
        [ZohoAuthpresentZohoSignInHavingCustomParams:@"hide_signup=true"signinHanlder:^(NSString *token, NSError *error) {
           if(token == nil){
               if(error != nil){
                   reject(@(error.code).stringValue, error.localizedDescription, nil);
               }
               return;
           } else {
             resolve(token);
           }
         }];
        }
        //
        RCT_EXPORT_METHOD(getOauth2Token:(RCTPromiseResolveBlock)resolve rejector:(RCTPromiseRejectBlock)reject)
        {
            [ZohoAuth getOauth2Token:^(NSString *token, NSError *error) {
                if(token == nil){
                    if(error != nil){
                        reject(@(error.code).stringValue, error.localizedDescription, nil);
                    }
                    return;
                } else {
                  resolve(token);
                }
            }];
        }
        //
        RCT_EXPORT_METHOD(signOut:(RCTPromiseResolveBlock)resolve rejector:(RCTPromiseRejectBlock)reject)
        {

         ZohoAuthRevokeAccessTokenHandler callback = ^(NSError *error) {
               if (error) {
                   reject(@(error.code).stringValue, error.localizedDescription, nil);
                   return;
               }
               resolve(nil);
           };
           [ZohoAuthrevokeAccessToken:callback];
        }
        @end

        @interface RCT_EXTERN_MODULE(ZohoAuthDatafetch, NSObject)
        RCT_EXTERN_METHOD(getUserDetail:(RCTResponseSenderBlock)callback)

        @end
RnZohoAuthSDK.m file acts as a bridge between ZohoAuth.h of ZohoAuth SDK and your React Native application. We have added the basic functions to this file for quicker access. You can add any function available in the ZohoAuth.h file to this file as required by your application.
1b. Create another file named RnZohoAuthSdkSwift.swift and enter the code below:
        import Foundation
        import ZohoAuth
        import React

        @objc(ZohoAuthDatafetch)
        class ZohoAuthDatafetch: NSObject {

            @objc
            func getUserDetail(_ callBack: @escaping RCTResponseSenderBlock) {
                let getDCInfo = ZohoAuth.getDCLInfoForUser()
                let dcLoaction = getDCInfo?["location"] as! String

                guard let user = self.getCurrentUserWrapper() else {
                    debugPrint("current user wrapper returns nil")
                    return
                }
                if user.profile != nil {
                    let profile: ZohoAuthUserProfile = user.profile!
                    let userDetails: [String: Any] = [
                         "firstName": profile.firstName,
                         "lastName": profile.lastName,
                         "primaryEmail": profile.primaryEmail,
                         "displayName":  profile.displayName,
                         "gender": profile.gender,
                         "userZUID": user.userZUID,
                         "userName": profile.userName ?? ""
                       ]
                    callBack([NSNull(), userDetails])
                }
            }

            funcgetCurrentUserWrapper() -> ZohoAuthUserObject? {
                if ZohoAuth.isUserSignedIn() {
                    return ZohoAuth.getCurrentUser()
                }
                return nil
            }
        }
Step - 2: Include ZohoAuth Native Module
Open your App.js or App.tsx file and import the native module in React Native.
        import { NativeModules, Platform } from 'react-native';
        const { RnZohoAuthSDK } = NativeModules;
Step - 3: Initialise the SDK
To initialise the SDK, call the below method on app launch.
        RnZohoAuthSDK.init(
            'ClientId','clientSecret',
            ["scopes"], // Array of scopes
            'urlScheme://',
            'https://accountsURL',
                'https://ProfileURL'
            );
Step - 4: Present login screen
Create a login button and add the function below in button-click action.
        const handleSignIn = async () => {
            try {
            await RnZohoAuthSDK.presentZohoSignIn();
            // Handle successful sign-in
            console.log("Sign-in successful");
            // Call the native method
            } catch (error) {
            // Handle sign-in error
            console.error("Sign-in failed:", error);
            }};
Step - 5: Handle login redirection
When your login is successful, your application URL scheme will be called. After this, call the ZohoAuth handleURL method in the openURL methods of UIApplicationDelegate in your AppDelegate.
        - (BOOL) application:(UIApplication *)application openURL:(NSURL *)url options:(NSDictionary *)options {
            return [ZohoAuthhandleURL:url sourceApplication:options[UIApplicationOpenURLOptionsSourceApplicationKey] annotation:nil];
          }
4. Features
(i) Check user sign-in status
To check if the user is signed in or not, call the below function.
const isSignedIn = await RnZohoAuthSDK.isUserSignedIn();
(ii) Fetch user details
To get the details of the signed-in user, call the below function.
        const getUserDetail = async () => {
            try {
           // Call the native method console.log('User ZohoAuthDatafetch)
           const userDetails = await ZohoAuthDatafetch.getUserDetail(); console.log('User Details:', userDetails);
           // Now you can use userDetails in your React Native code
           }
           catch (error) { console.error('Error fetching user details:', error);}
           };
(iii) Get OAuth token
To get the OAuth access token of the signed-in user, call the below function.
RnZohoAuthSDK.getOauth2Token()
You need to use this token for the "Authorization" header while connecting to your server in the below format.
        //This token should be sent in the Authorization Header.Header Value should be
    "Zoho-oauthtoken"
Sample code for authorization header:
        var config = {
            method: 'post',
            url: 'https://my.api.url.com/',
            headers: {
              'Authorization': `Zoho-oauthtoken 1002.xxxxxx`,
              'Content-Type': 'application/json'
            },
          };
(iv) Sign Out
To get the user signed out, call the below function. This will revoke the current session.
        const handleSignOut = () => {
            RnZohoAuthSDK.signOut().then(() => {
            console.log('Sign-out successful');
           navigation.navigate('SignIn')
           }).catch((error: any) => { console.error('Sign-out failed:', error);});};